
Knowing how to make a good educational video is one of the keys to helping students learn better — even when classes are in-person. But how do you create educational videos, and how do you know if they’re effective?
Luckily, making great educational videos doesn’t have to be difficult. In fact, with the right tools and know-how (and a free template), it can be incredibly easy to create effective, engaging videos that enhance the learning experience while improving engagement and knowledge retention among students.
In this article, here’s what you’ll learn:
- What is an educational video?
- What makes a good educational video?
- The six steps to educational video success.
- How to ensure your educational video is accessible.
What is an educational video?
An educational video is a video to educate (of course!) someone on a specific topic or collection of topics. But, how is that different from an instructional video, a how-to video or training video?
While instructional, how-to, and training videos are all types of videos that can be considered “educational”, they’re usually more focused on teaching a skill or skillset.
In the higher education (or even K-12) space, educational videos have the potential to go way beyond skills and how-to guides. In fact, the best educational videos can teach abstract concepts, theories, and much more.
In this article, we’ll focus on videos for use in higher education as opposed to instructional videos, workplace training, or other knowledge-sharing videos used in internal communications.
That said, most — if not all — of the tips and techniques we explore in this article will apply to any type of video intended to instruct or inform, including the types of business videos used by large and small organizations.
Create Incredible Videos with Camtasia
Camtasia is an intuitive video editing software that will enhance your tutorials, how to videos, and more. Start creating today!
Get started for freeWhy are educational videos important?
When considering whether to make an educational or course video vs. hosting a live online class, it’s worth considering the strengths and weaknesses of both formats.
Even classes that are 100% in-person, or feature a mixture of in-person and online attendees, can benefit from educational videos.
Let’s take a closer look at some of the reasons why videos are important:
The limits of live video sessions
While live sessions via Zoom, Google Meet, and similar platforms have plenty of benefits, they also have a few disadvantages.
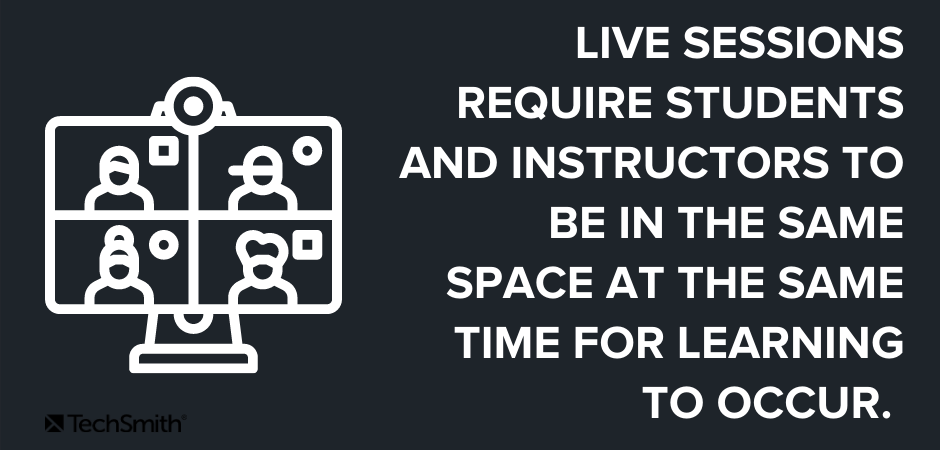
Live sessions try to mimic the face-to-face learning experience and require both students and instructors to be in the same (virtual) space at the same time, for learning to occur.
This can be a huge disadvantage for students in different time zones, students who must share technology resources with others in the households, or those who may have limited access to high-speed internet.
The advantage of on-demand video
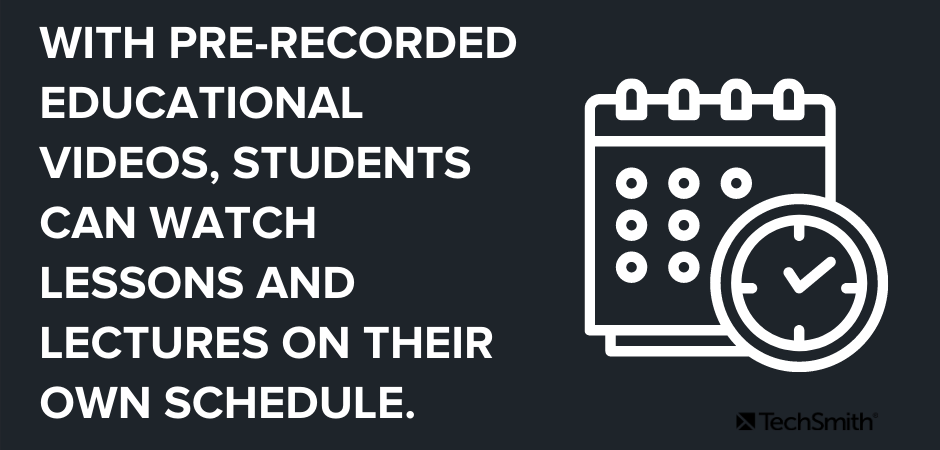
With pre-recorded educational videos, students can watch lessons and lectures at a time that suits them, consuming the content in a way that works with their own learning style. They can also pause, rewind and rewatch content as needed, which is great when studying for exams or for students who need more time to absorb information.
On-demand learning also allows students to better interact with course content through the use of interactive quizzes, which can be embedded directly into course videos and video hotspots that allow viewers to seek out more information.
Meanwhile, instructors can measure student engagement with their content by looking at quiz results and video analytics. Better yet, educators can give greater learning incentives by assigning points for watching and engaging with videos.
What makes video content truly great, is it’s easily scalable and accessible. Whether you’re giving a lecture on the Roman empire to 10 students, or 50,000, you don’t need to book out the entire Colosseum for people to access your lessons. 👍
Educators and students prefer educational videos
In recent years, educational videos have become increasingly popular among educators and students. Why? Well, there’s a whole list of reasons:
- Maximum flexibility for students and faculty.
- Easily scalable.
- Content can be refined and improved as needed.
- No restrictions on location or time of instruction.
- Complements synchronous learning time by extending content life.
- Motivates students to engage with course content, instructors, and their peers.
- Video content can be reused for other courses without having to be presented live, over and over again.
- The content can also be used in mixed learning environments when both virtual and face-to-face courses are available.
With so much flexibility for teachers and students, it’s no wonder why video has quickly become the preferred method of learning.
Whether you want to deliver content in an online course or supplement face-to-face classes with additional resources, educational videos offer the fluidity, scalability, and engagement that modern learners thrive on.
Common types of educational videos
What’s more, educational videos aren’t limited to recorded lectures. In fact, video can be used in a wide variety of ways to enrich, optimize, and supplement a learning course. Depending on the need, you could create videos for each and every part of your course – because why wouldn’t you?
To give you some ideas, this could include:
- Lecture recordings
- Introduction videos
- Course & syllabus navigation videos
- Assignment or project feedback videos
- New week/topic preview videos
There are also different video styles you can create, such as:
- Screencasts
- Animated videos
- Explainer videos
- Presentation recordings
- First-person camera videos
Quickly create educational videos!
Are you ready to make your own educational video content? Camtasia is the right tool for the job.
What makes a good educational video?
Just like traditional teaching, when it comes to creating a good educational video, you’ve got to do a little more than just show up.
In this section, we’re going to explore some of the best practices when creating educational videos, for kids, adults, and everyone in between.
Educational videos should be engaging
Great educational videos — like great in-person lessons — should be engaging for students to keep them interested and actively listening.
There are many ways to ensure educational videos are engaging, but perhaps the most important way is to ensure you inject some of your personality into the lesson. Cold, impersonal video lectures are boring and will almost certainly make your students tune out – no matter how old they are.
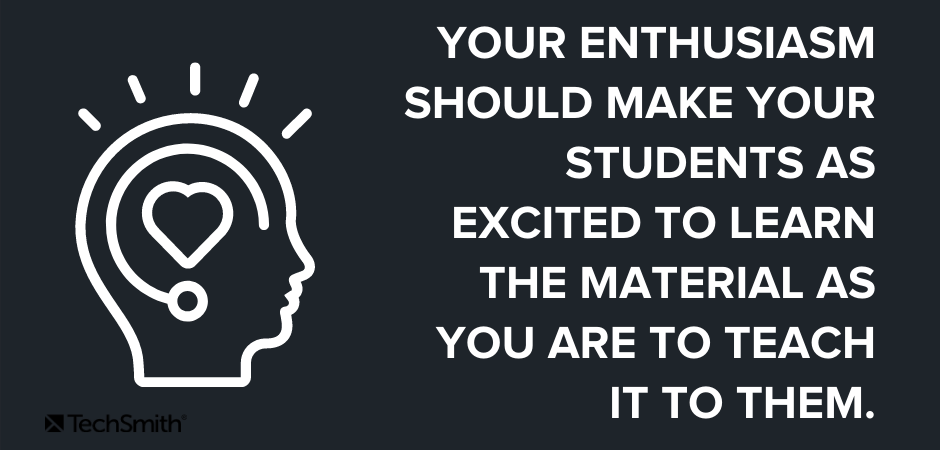
Just like your face-to-face lectures, your enthusiasm for the course content should shine through. Make your students as excited to learn the material as you are to teach it.
You can also include things like interactive quizzes to keep students on their toes and video hotspots that allow students to seek out more information on topics that interest them.
Quickly create educational videos!
Are you ready to make your own educational video content? Camtasia is the right tool for the job.
Educational videos should be sized right
The idea of “less is more” applies to educational videos too, only you might say “shorter is better” instead. While this is a good guideline to work with, it would be more accurate to say that your videos should be the ‘right’ length for the subject matter.
If you’re used to longer in-person class sessions, it might be tempting to do the same thing with video. But to truly leverage the advantages of this type of learning, your videos should be concise and easy to digest. Depending on the subject, that may be two minutes or 20 minutes.
As with so many aspects of creating videos, it’s really important to keep your audience in mind. So when making a video, consider your students’ age and cognitive load as well as the difficulty of learning the content, and the video’s learning goals.
Essentially, you want to create a video that’s long enough to cover the topic in a meaningful way, but doesn’t overload the viewer with too much information. If your video starts feeling too long, you may want to break it up into two or more videos to make the information more digestible.
Educational videos should be super-focused
Ensuring your videos are focused on a single topic or a selection of related topics is directly related to video length and engagement. Videos that try to do too much or jump from topic to topic are less effective and will cause your students to lose interest.
Make sure each video has a clear learning objective, and make a video that achieves that objective — nothing more, nothing less. Simple!
Educational videos should be centered on students’ needs
It may go without saying, but just in case: All educational content, whether it’s a video or something else, should center your students’ needs. Ask yourself, what do your students need to know to succeed? And more importantly, what DON’T they need?
This goes beyond the actual content, as you need to think about things like how students will consume the content. Are they likely to use a traditional computer? Will they be on mobile devices? Will they listen with sound or rely solely on visuals? Is the video accessible to students with disabilities?
Knowing what your students need and expect will go a long way to ensuring their success.
Quickly create educational videos!
Are you ready to make your own educational video content? Camtasia is the right tool for the job.
How to make an educational video
In the age of online learning, creating educational videos has become an increasingly important skill for educators. Whether you’re teaching in a fully online environment or supplementing a face-to-face course with additional resources, videos offer a dynamic and engaging way to deliver instructions to learners of all ages.
If you’re wondering how to make educational videos, you’re in luck as this section will act as a step-by-step guide to help you create high-quality videos that will engage and inspire your learners.
1. Start with a plan
As we mentioned already, every educational video should have a learning objective. Once you know what your video needs to accomplish, you must work on a plan to do exactly that. While not every video needs a high degree of professional polish, pressing the record button before you’ve prepped probably won’t be as effective as you want it to be.
For less formal videos, such as providing feedback on student projects, consider a quick run-through of what you intend to record to ensure you know what you want to cover. Even a bulleted list can help keep you on track.
Here are a few other things to consider:
Gather any information you need
The best videos will include visual assets and other elements that help keep a viewer’s attention. Be sure to grab any other relevant resources you might need, such as images and graphics that you want to include.
Write a script
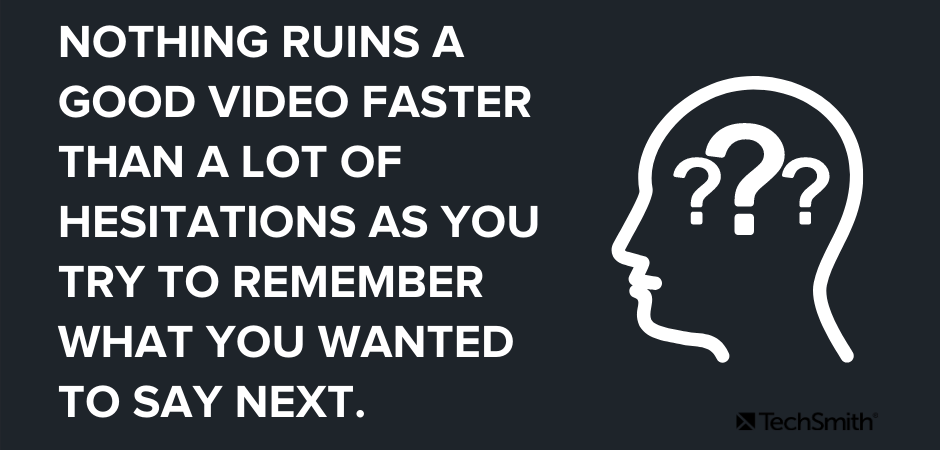
Nothing ruins a good video faster than a lot of hesitations. While it’s natural for “ums” and “ahs” to slip in a natural conversation, if you’re “umming” and “ahhing” too much it’s probably because you’re underprepared – and your audience will pick up on that.
Having a script will help you sound more professional and preserve your video’s focus.
The best scripts will include — word-for-word — everything you intend to say. Taking the time to write this out before recording helps ensure that you will cover everything you want to without the danger of meandering into unrelated topics.
A script also gives you a chance to practice before you record, which means you’ll be less likely to make mistakes.
To write a script, start by outlining the points you want to make, then write your full script based on that outline. Even if you don’t want to create a full script, you should at least create a list of talking points.
Create a storyboard
If your educational video will include camera footage, a storyboard helps you visualize what all your shots will look like before you shoot. This will save you a lot of time in the long run.
Quick sketches and stick figures are perfectly fine for live video. For a screencast or screen recording, you can use a series of simple screenshots to roughly show what you plan to display with the narration.
If your video won’t use camera video, or if the camera video has already been recorded and you’re simply assembling it into the final product, you probably don’t need a storyboard.
Quickly create educational videos!
Are you ready to make your own educational video content? Camtasia is the right tool for the job.
2. Record your voice over
With your script in hand, it’s time to record your voice over. TechSmith Camtasia comes with a built-in, easy-to-use voice recording feature and can be an excellent choice, but you might also benefit from using TechSmith Audiate.
Audiate takes voice over recording and editing to a whole new level by transcribing your voice in real-time, as you record. If you already have a voice over recorded, you can import it into Audiate and the software will transcribe it for you.
Then, you can edit your audio in the same way you would edit the text in a document. So, rather than staring at an audio waveform and trying to figure out precisely what you said and when, you can actually see your words on your screen.
Audiate will even flag all the “ums”, “ahs,” and other hesitations automatically so you can easily find and delete them. You can even delete them all at once!
When you’re done, save the audio file and import it into Camtasia. If you want, you can also export the edited text as a transcript or an SRT file and use it to provide subtitles or captions.
It’s worth noting that it isn’t always necessary to record your voice over separately from your video. For those videos, we recommend recording your voice over in Camtasia directly.
3. Record your educational video
If your video is going to include any screen recording, be sure to tidy up your computer desktop of any clutter. Adding personality to your videos doesn’t mean showing your students all your files.
Once your desktop is clutter free, open the software applications you want to show in your recording. This could be anything from your internet browser to Microsoft PowerPoint.
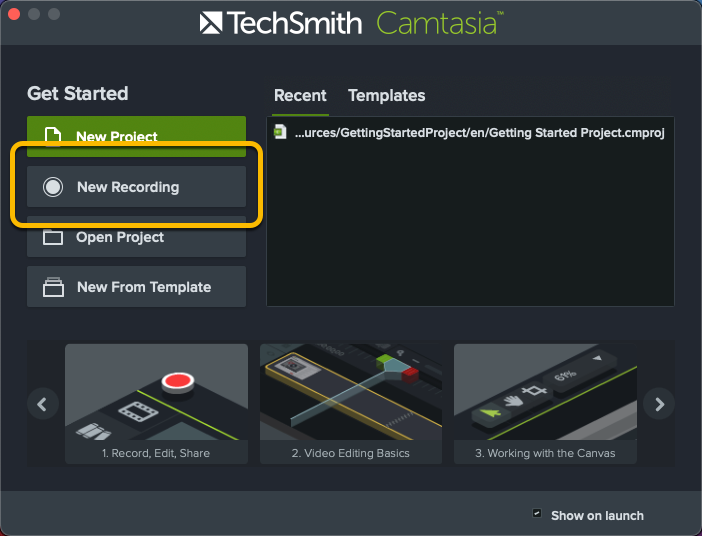
Open Camtasia and click the New Recording button.
Next, select the screen or window you want to record, choose your microphone, and toggle your system audio on or off. Camtasia allows you to record your screen and camera at the same time, so you can show your students your face throughout your video.
For most videos, we’d recommend including your webcam footage and system audio as both offer your audience additional layers of context. However, it’s really up to you to decide what’s best for your video and your students.

Once you’ve made your selections, click Start Recording, wait for the three-second countdown, and you’re on your way.
Remember, if you make a mistake while recording, it’s better to keep going than to start over. Take a moment to pause before starting again from just before the mistake was made – this will make it easier to edit later on.
When you finish recording, click the stop button and Camtasia will automatically add your recording to the timeline in a new Camtasia project.
Quickly create educational videos!
Are you ready to make your own educational video content? Camtasia is the right tool for the job.
4. Import any other necessary asset
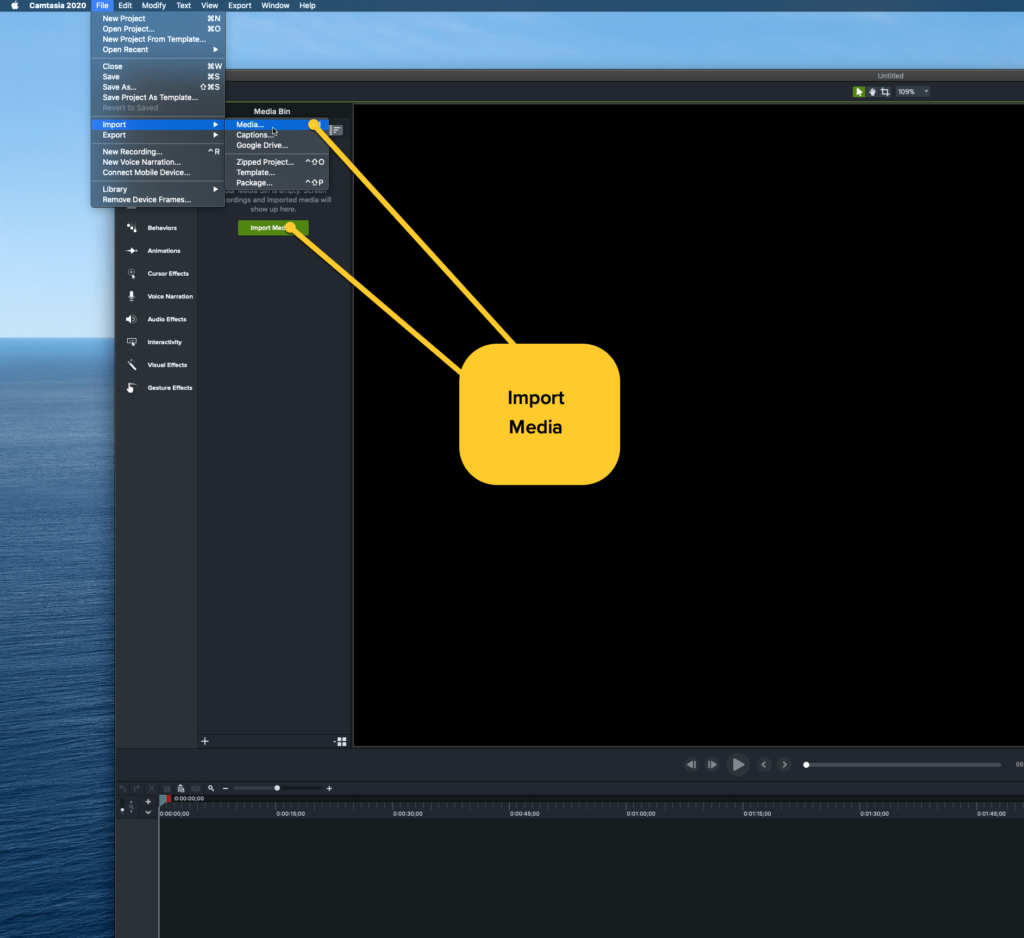
If you want your video to include any other visuals or assets, such as music, screenshots, images, or even other videos, import them by clicking Import Media and navigating to the folder where your assets are stored.
Camtasia can also directly import PowerPoint slides, which is a fantastic feature if you plan on including a slide deck in your video.
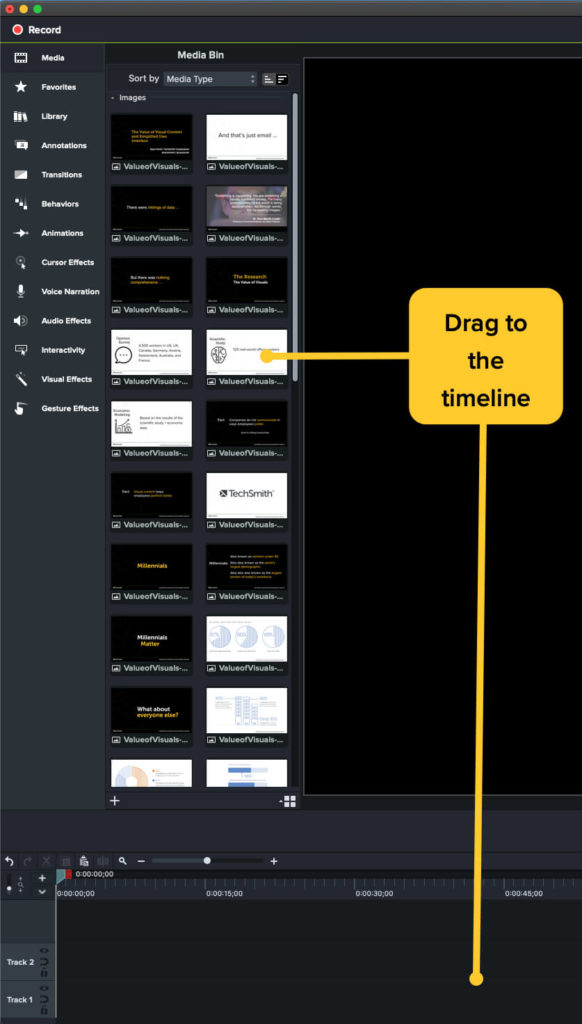
Placing your assets in your video is as simple as dragging them to where you need them to be in your timeline. If you need to make any changes and move them later, you can!
5. Edit your video (hint: use a template!)
Editing your video might sound like a daunting task, but it really isn’t. With Camtasia, it’s incredibly easy to edit video content. If you can drag and drop assets, then you can edit – trust us!
Video editing is even easier if you’re using a video template.
Templates help to standardize and simplify the editing process by providing a structure. You can adjust the template as you need, but it gives you a starting point that’s far closer to the finished product than the raw footage.
If you’re new to recording educational videos, or any videos for that matter, templates can help take some of the guesswork out of the process.
To use a template in Camtasia, go to File > New Project from Template. Camtasia will automatically load assets into your media bin and even place some of them on the timeline.
Next, open your screen recording from your library and drag it to the timeline and over the template placeholder. When the placeholder turns green, you can release the recording and choose “Ripple Replace.”
Finally, make any final edits as you see fit. For a more detailed explanation and walkthrough on using templates, check out the video above.
Quickly create educational videos!
Are you ready to make your own educational video content? Camtasia is the right tool for the job.
6. Share your video
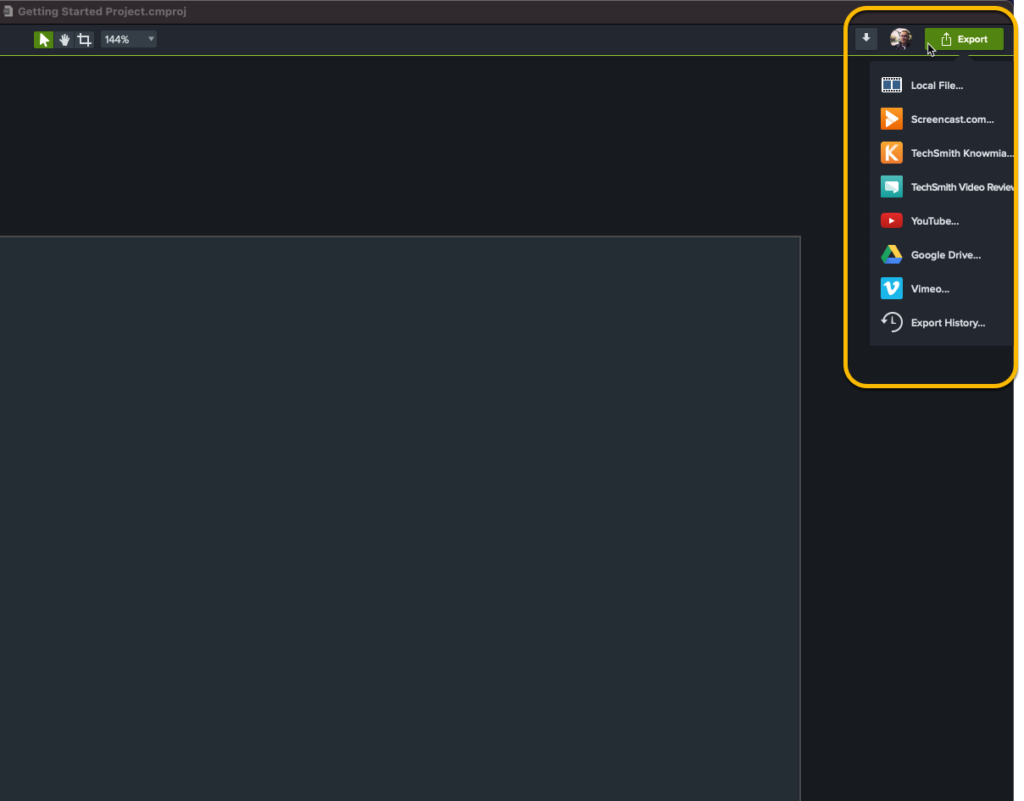
Once you finish editing your video, it’s time to share it with the world – or at least your students.
With Camtasia you can save your file locally or to a network drive. Alternatively, you can share it to any of a number of popular destinations such as YouTube, Vimeo, Dropbox, Google Drive, and TechSmith’s Screencast® – to name a few!
Simply click Export and choose your destination. All you have to do now is share the link with your students or upload the file to your learning management system.
So there you have it, making educational videos really is as easy as ABC!
Tips to make educational videos more accessible
When recording videos for higher education or K-12, accessibility of the content for people with disabilities is essential to ensure that everyone can access and understand the content.
But here’s a little secret: Accessible content is actually better for everyone because many people have their own preferred ways of consuming visual content.
With that in mind, here are a few tips for ensuring your video content is accessible to all your students:
Add captions
Every educational video you make should include captions. Captions ensure that any words spoken, along with relevant sounds or sound effects, are displayed on the screen. This ensures that people who are deaf or hard of hearing can still follow along and learn from your content.
Without closed captions, your video won’t meet the necessary requirements for accessibility and you’ll risk excluding some of your viewers.
However, captions come with an added bonus, as they’re also great for anyone who can’t watch your video with the volume turned up, or if they’re watching in a noisy environment. On the other hand, some people just like reading along with videos as it helps ensure they won’t miss anything. Others might even find captions help them learn the correct spellings of complex words.
Pro tip: To be fully accessible, be sure to use closed captions rather than open captions to ensure students can turn them on or off as needed.
Quickly create educational videos!
Are you ready to make your own educational video content? Camtasia is the right tool for the job.
Make a video transcript
A video transcript is a text version of your video. They’re helpful for both people who are hard of hearing and those who are blind or visually impaired. For viewers with audio difficulties, they can read the transcript directly, while those who have visual impairments can use a screen reader to access the content.
Remember, if you recorded your voice over in Audiate, you can export your captions and transcript directly from your recording, which will save you — and your students — a lot of time.
Create an audio description
An audio description is a narrative track added to your video that describes important visual details for people who are blind or visually impaired. Audio descriptions are usually added during natural pauses in dialogue or voice over to avoid distracting from other important audio details.
Creating videos with accessibility in mind can help ensure that important visual elements of the video are described verbally in the audio track itself, which will eliminate the need to add audio descriptions.
For instance, if your video is just you speaking into your webcam, you probably don’t need an audio description. However, if your video contains complex visuals, an audio description may be necessary to provide additional context and ensure that all viewers can fully understand the content.
Share