
6 min reading time
How to Publish SCORM Content with Elucidat

Every training pro needs a great authoring tool to create engaging courses. Thankfully, there are now quite a few options for you to choose from. Along with the two most famous tools, Storyline and Captivate, there are challengers that are building momentum. Elucidat is one of these.
Like LearnUpon, Elucidat is cloud-based. This means there’s no need to worry about any downloads or updates. It opens the door to easier collaboration with colleagues too as multiple authors can operate in one account.
Elucidat is easy to use and, in our experience, allows for the rapid creation of course content. It creates HTML5 based courses and you can export in the most prominent eLearning standards like SCORM and xAPI. This ensures that it can tackle modern training challenges.
In this post, we’ll show you how to create a SCORM course with Elucidat. This should also give you a little insight into why we love it.
A fast and easy authoring process
As mentioned previously, Elucidat is designed to be easy to use. It walks you through the opening stages of the process! As soon as you log in you are corralled through these steps:
- Choose how you want to build your course
- Pick your brand style
- Start building
This fast tracks you through the mundane set up stages, and if you use lots of different eLearning tools on a day to day basis – you don’t have to remember workflows!
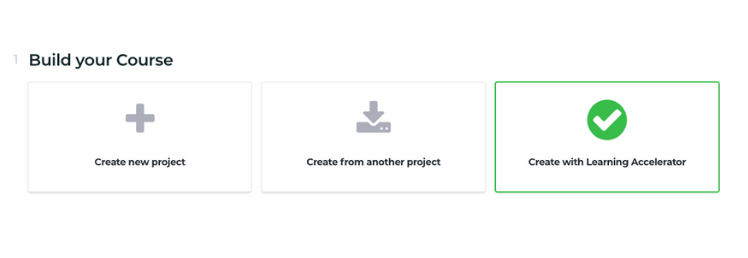
Choose how to build your course
Elucidat makes it easy for anyone, regardless of experience, to produce eLearning. You can build out a project from scratch, start from an existing project or use their unique Learning Accelerator tool.
Learning Accelerator contains an ever-growing library of eLearning blueprints; which offer the convenience of a template and so much more. Each Learning Accelerator blueprint comes with a pre-built course structure, downloadable storyboard, interactive live example, plus in-line learning design advice baked in. All you need to do is add your content – being guided every step of the way. Get a recommendation based on your goals and audience, or use filters to browse all the blueprints and find the best fit for your project.
Pick your brand style
Next, you choose to use either one of Elucidat’s pre-baked styles, or create your own.
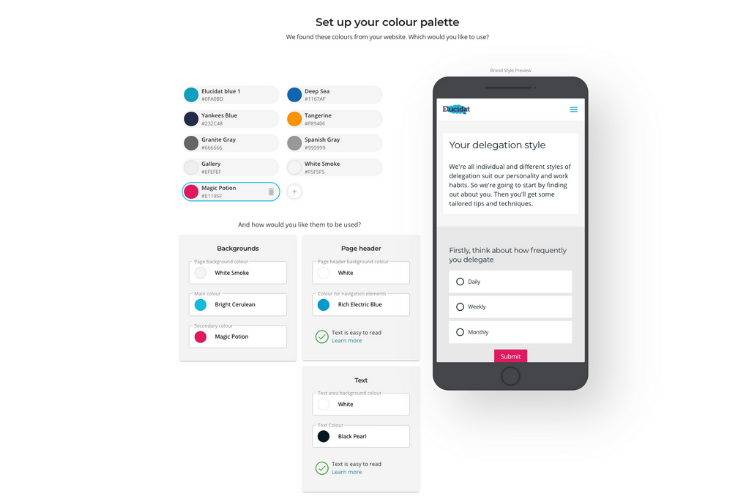
You can set up your own style using the Brand Import, which cleverly pulls the styles from your company website, or manually set up your styles using the simple wizard. Your style will be saved for you and your team to use again anytime, keeping your course branding consistent. Note* When you do need to tweak the styling, simply choose the ‘styles’ option in the ‘Projects’ ribbon menu.
Build your project
Depending on how you chose to build your project, the next step differs.
- If you are starting a new project from scratch – the next step is to build out your course structure
Maybe you want to include a presentation style page, or perhaps a page focusing on a video? Not only are there options for these and more, there are even sub-choices so you can drill down to exactly the type of content you want.
- If you’re creating from another project – you’re guided through choosing the course to copy. You then have the option to tweak or change the page structure and types if you want to, before you start editing. Oh, and if you picked a different style then it will apply than across all pages for you.
- If you’re using Learning Accelerator – you’ll have the option of getting a recommendation based on your goals or choosing from the library of blueprints. Once you’ve chosen your blueprint Elucidat will do the heavy lifting – applying your style and building out all the pages ready for you to add your content.
Maybe you want to include a presentation style page, or perhaps a page focusing on a video? Not only are there options for these and many more. There are even sub-choices so you can drill down to exactly the type of content you want. Once you’re happy with the basic structure of the pages you have mapped out click ‘Build it’. Predictably, your course is then built!
Authoring
Once your course structure is built, you have lots of flexibility to make more detailed changes. Progress page by page, add in your content, and modify settings.
Each page acts as a skeleton on which you hang your text and multimedia. For example, if you choose a presentation style page you’ll be prompted to add in your image and your text in the appropriate area.
Note* If you’re a more advanced user you can explore the ‘layout designer’ to customize each page’s layout more fully.
Page Scoring & Completion
You can use the Page Settings to ensure that learners complete certain actions on a page, for example answering a question or completing any non-scored interactivity.
Once you have built the page, click into the page settings for pages that have elements to set up the ‘Scoring & Completion’ tab based on the page content.
There is one dropdown named “This page is completed by” that you should pay particular attention to. For pages with an exam or survey, set this to either ‘User submitting a score’ or ‘User submitting a CORRECT score’.
For pages with non-assessment based interactivity, the second option in the dropdown, ‘User opening ALL PARTS of the page’ is usually best. This will include pages with hotspots or videos.
You can also use the page settings to ensure that learners cannot move on until they have completed the page.
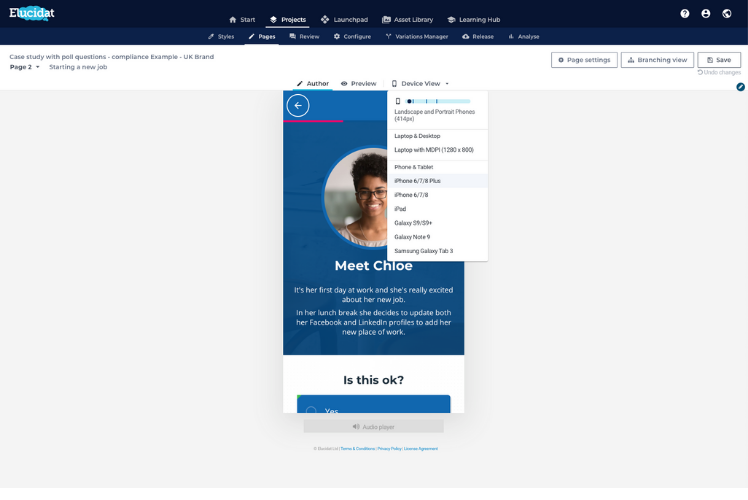
View mode
The view mode in the ribbon is your friend. It makes designing responsive courses a breeze. You can see, in real-time, how your course design responds to various sizes of device. This helps you spot issues fast and make changes on the fly. Our advice: use this mode frequently.
Project Configuration
In the center of the menu under ‘Projects’, you’ll see a three cog icon with the text: ‘Configure’. This is where you set up the overall course settings. This is crucial. The most important settings relating to communication between the SCORM course and your LMS are here.
Scoring
Here you can set up a pass mark for your course. This is sent to the LMS when the learner finishes the course and it’s the measurement that dictates whether a learner passes or fails.
You can also set the number of pages the learner should complete for the whole course to be marked as Complete. This can be a better option for courses where you are not using assessments.
Learner Tracking
The tracking mode is the eLearning standard that the course will be published in. For LearnUpon users, set this to SCORM 1.2 (or xAPI).
The option below that called ‘Mark completed courses as:’ is very important too. Depending on your preference set it to one of the two options; Passed or Completed. Passed is usually the one to go for if there is an assessment in your course like an exam.
![]()
Making a Release
Once your content is completed and your settings are locked in its time to get your Zip folder.
To ‘export’ your course you have to create a ‘release’. You can find this option in the ribbon menu at the top of your screen nesting under ‘Projects’. Click on ‘+ Add a Release’ and a dialogue box will appear.
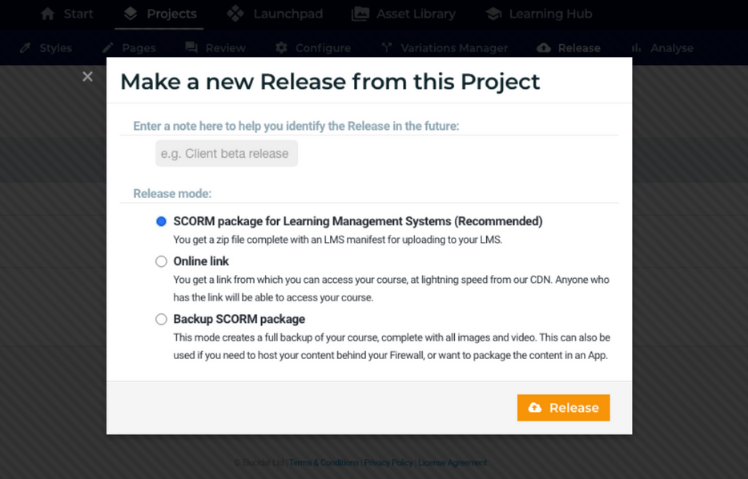
You are given multiple ‘release mode’ options to choose from. Choose the first one ‘SCORM package for Learning Management Systems’ so that the end product is a Zip folder that you can upload to your LMS.
When you hit the ‘Release’ button on the left-hand side you’ll see a success message. Your release is queued and will be emailed to you as soon as it’s ready.
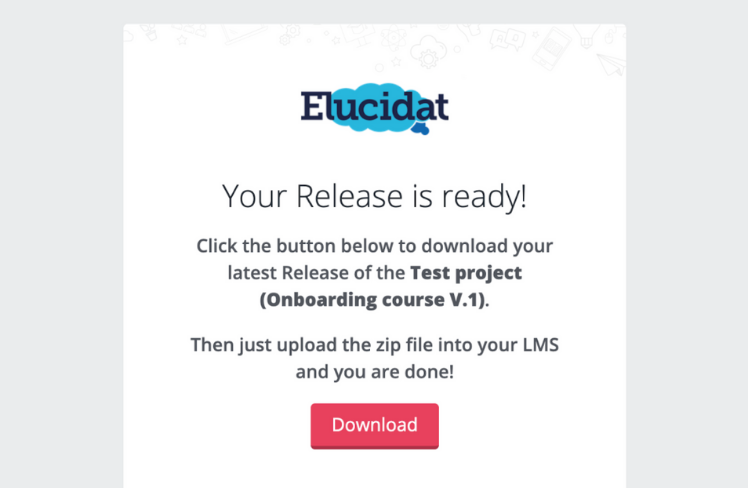
You can then download the zip file from the Project.
Uploading to LearnUpon
With your SCORM zip now downloaded you can upload it to an LMS like LearnUpon to deliver it to your learners and track their progress. Simply add a SCORM module to a course and then upload *your zipped file*.
If you need to make a change to the course (from a dreaded typo to a bigger update) then the rapid-release feature in Elucidat is a big time saver. You don’t need to re-upload the SCORM file to your LMS – simply click on the rapid release icon and the updates will be sent straight across.