When Microsoft brought out 3D models support in PowerPoint, we were all a bit excited. From first experiments rotating objects with Morph to ambitious plans to recreate Star Wars in our favourite presentation software, we were determined to push boundaries. However, there are only so many times you can play around with the animated 3D T-Rex to make it look like he’s about to eat your audience. (I know, I’ve tried). There usually comes a point where you want to create your own 3D models in PowerPoint to add that little pinch of excitement to your presentation. If you don’t know where to begin, fear not. We have just the guide for you!
We decided to start with a cube. It’s easy to achieve, but we can guarantee it will raise your status amongst your friends and colleagues. (If they’re not that impressed, we recommend better friends. No one needs that kind of negativity in their life.) To see what you’ll be able to achieve once you’ve read this article, have a quick look at the video below.
Ready to give a go? Perfect.
For this tutorial, you’ll need two different pieces of software. The first one is PowerPoint, which you should already have. The second is a free Windows app called 3D Builder. You can get it from the Windows Store.
Step 1: Create your cube’s faces
Open PowerPoint and create a new presentation. Add a blank slide.
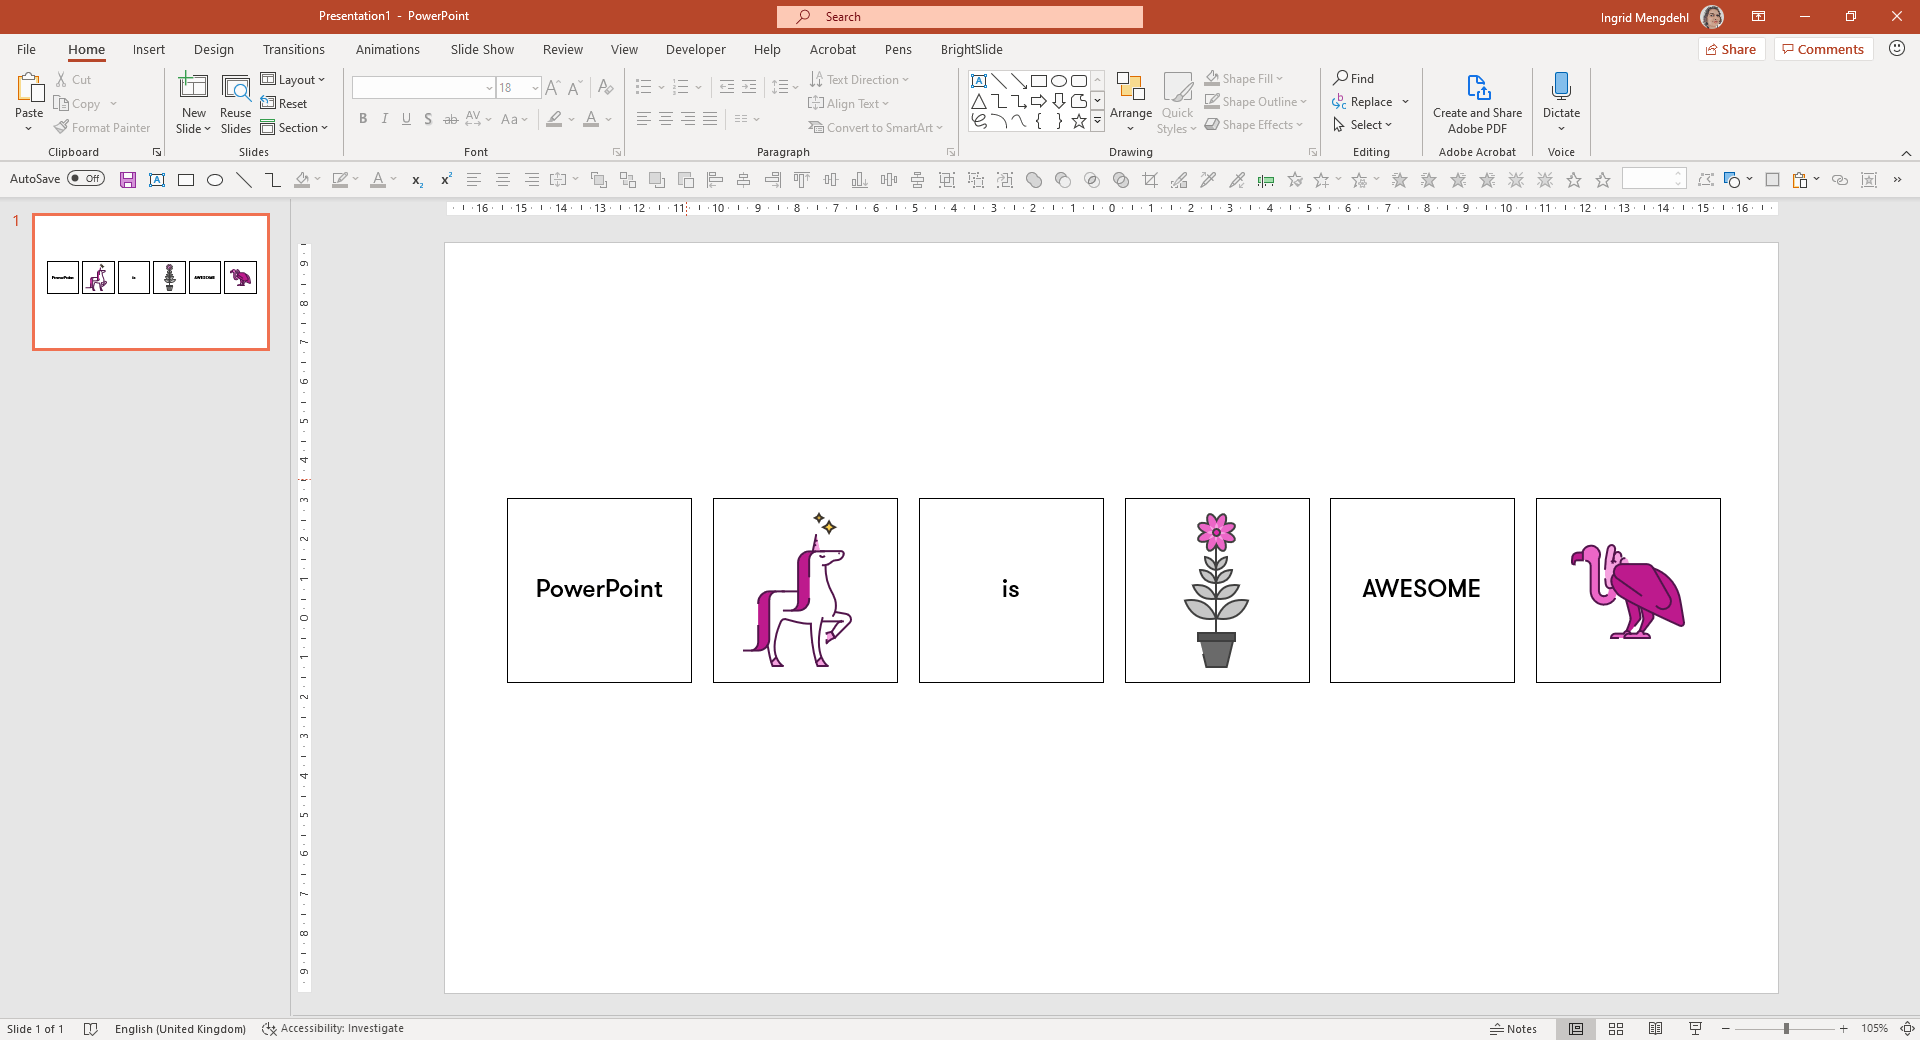
Insert six squares. Make sure the squares are the same size using BrightSlide’s Match Size tool. BrightSlide is our brilliant, free PowerPoint design and productivity add-in with lots of helpful tools perfect for PowerPoint people! You can download BrightSlide here.
You can style your squares however you want to (colour fill, transparent, with or without outlines,…). Add text or pictures inside. We used a mix of illustrations and text.
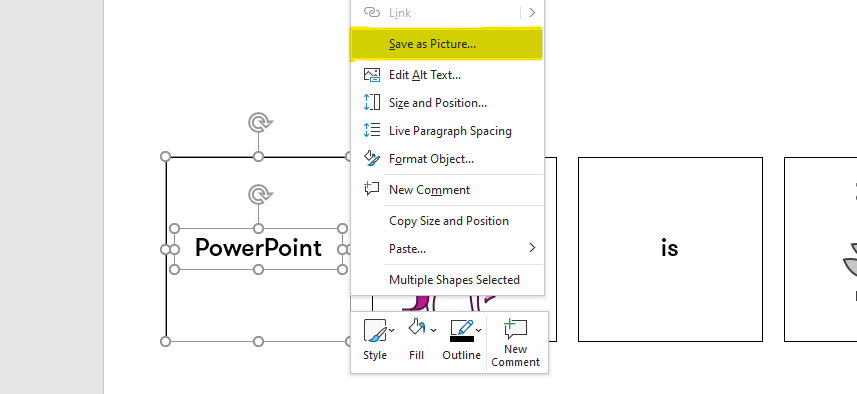
Once you’re happy with how your squares look, save them individually as pictures. Select one square (and all its content), right-click, and select Save as Picture.
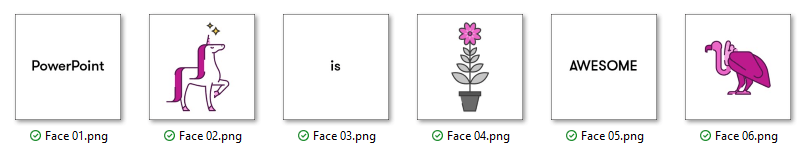
Select the destination and save as PNG. You should end up with six pictures like this:
Step 2: Create your 3D cube
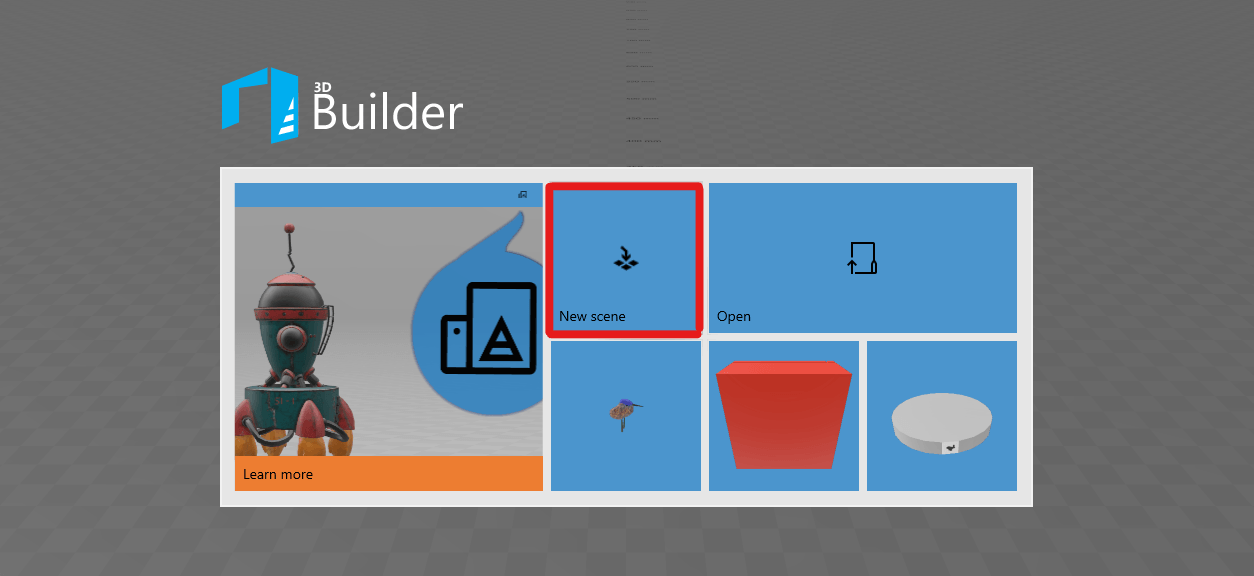
Here comes the exciting bit. Once you’ve installed the 3D Builder, open it. On the welcome screen, click on New Scene.
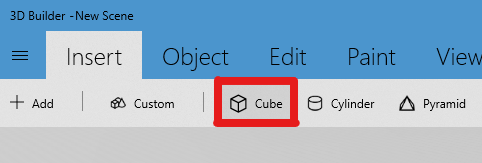
Once the scene is created, go to the top-left and click on Insert > Cube. Congratulations! You now have a 3D model of a cube.
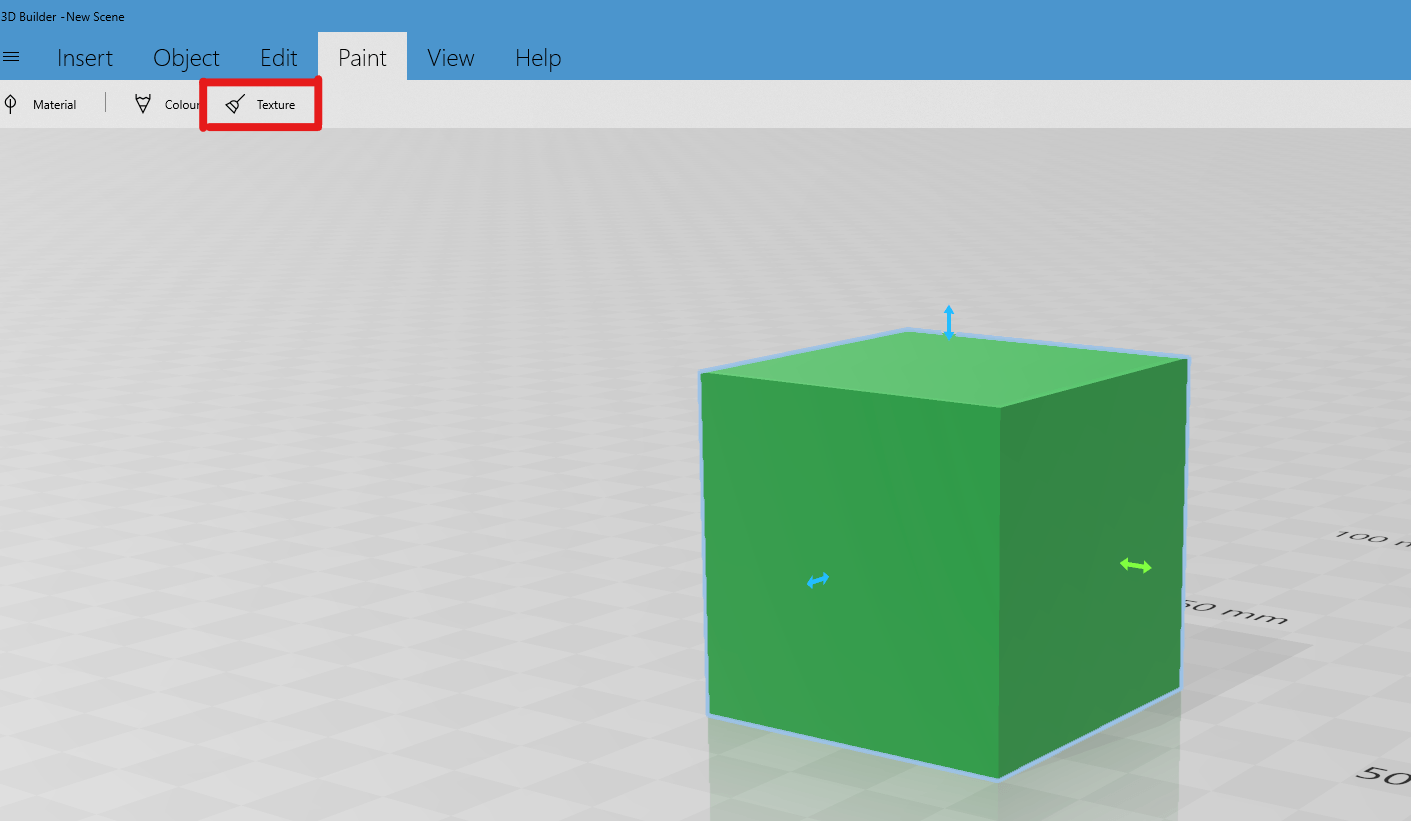
The next step is to add the designed faces you’ve already made. To do that, make sure your cube is selected, then go to Paint > Texture.
This will open the painting options. From there, click on Selected > Load. It will open a browsing window and you can navigate to the folder where you saved the faces. Select the first one.
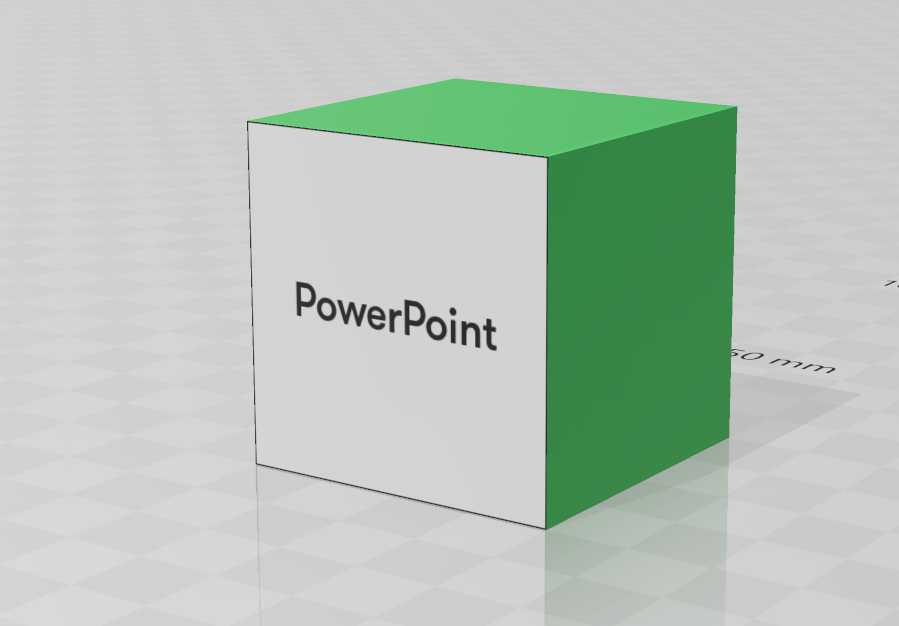
If you now hover over the cube, your cursor will change to a little airbrush icon. Click on one face to apply it. It should now look like this (though, obviously, with your design instead):
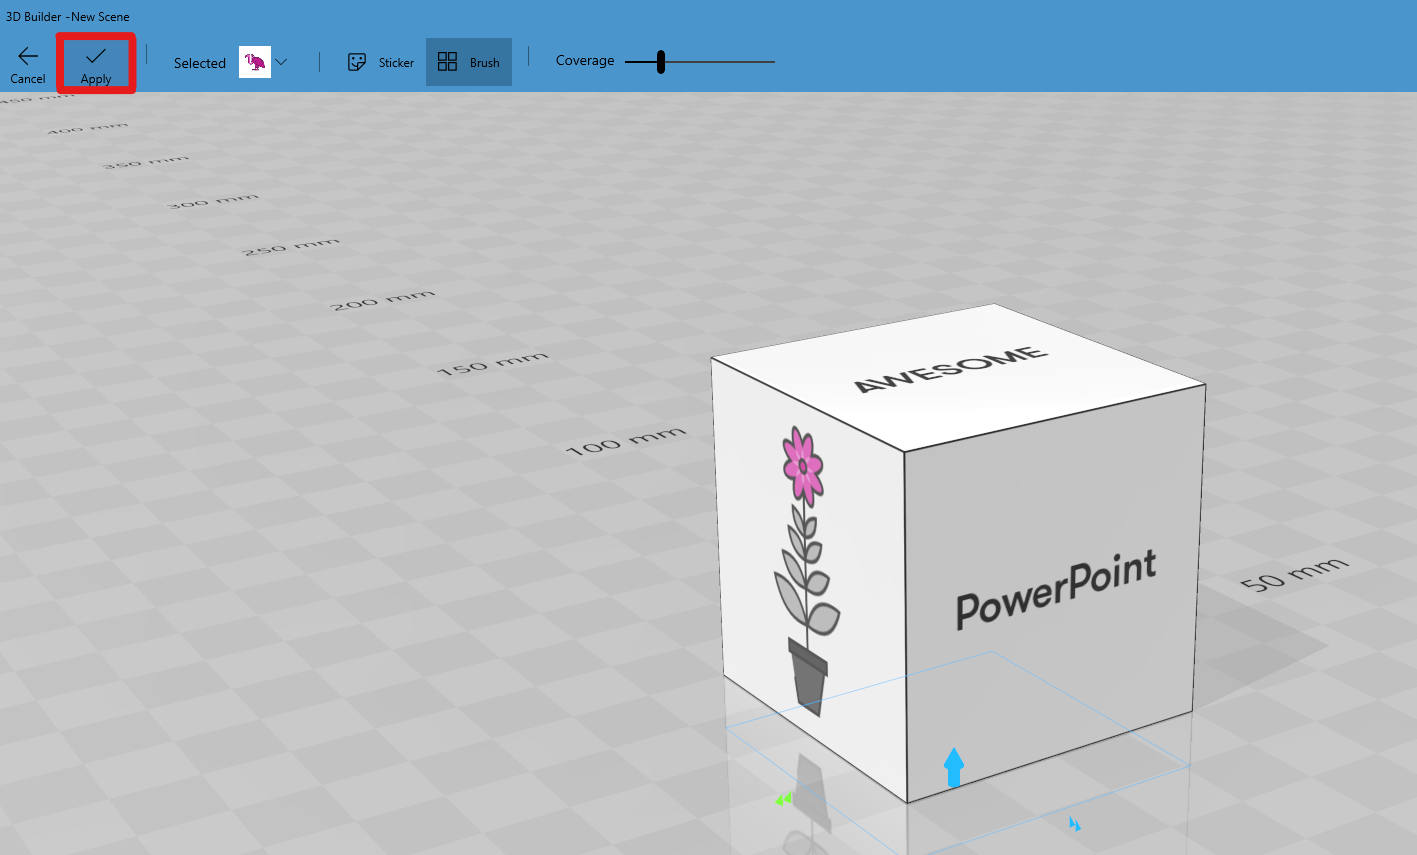
Click in the grey area to rotate around the cube and repeat this process for each face. Remember, you’ll have to load the new surface every time. Once you’re happy with it, click the Apply button in the top left.
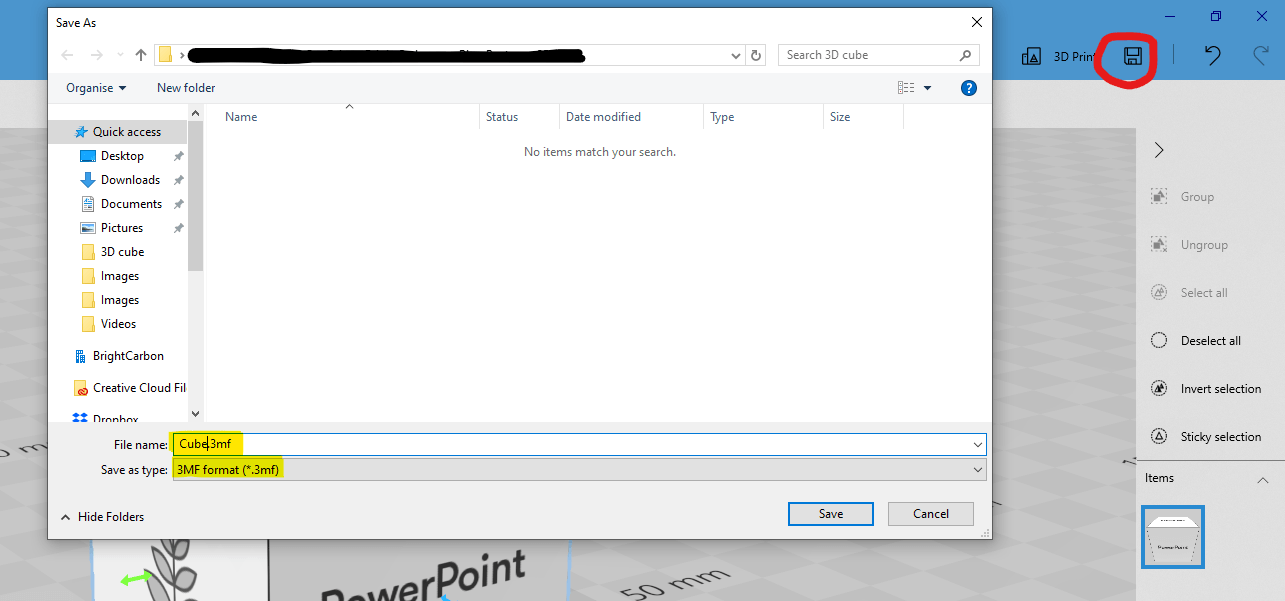
That’s it! Your model is ready. You just need to save it. Click on the Save icon in the top-right corner and select the destination folder. Make sure it is saved as a .3mf file.
There we go. Just one final step left before you create literal magic.
Step 3: Importing and animating 3D models in PowerPoint
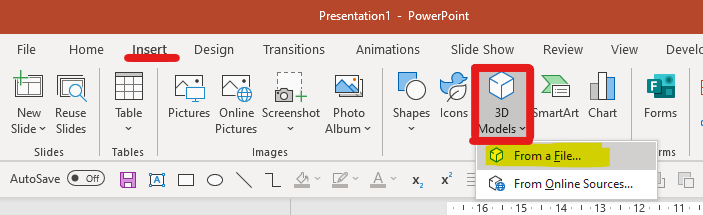
Go back to PowerPoint. Either create a new file or use the one in which you created the faces. Go to the Insert tab, then 3D Models > From a File…
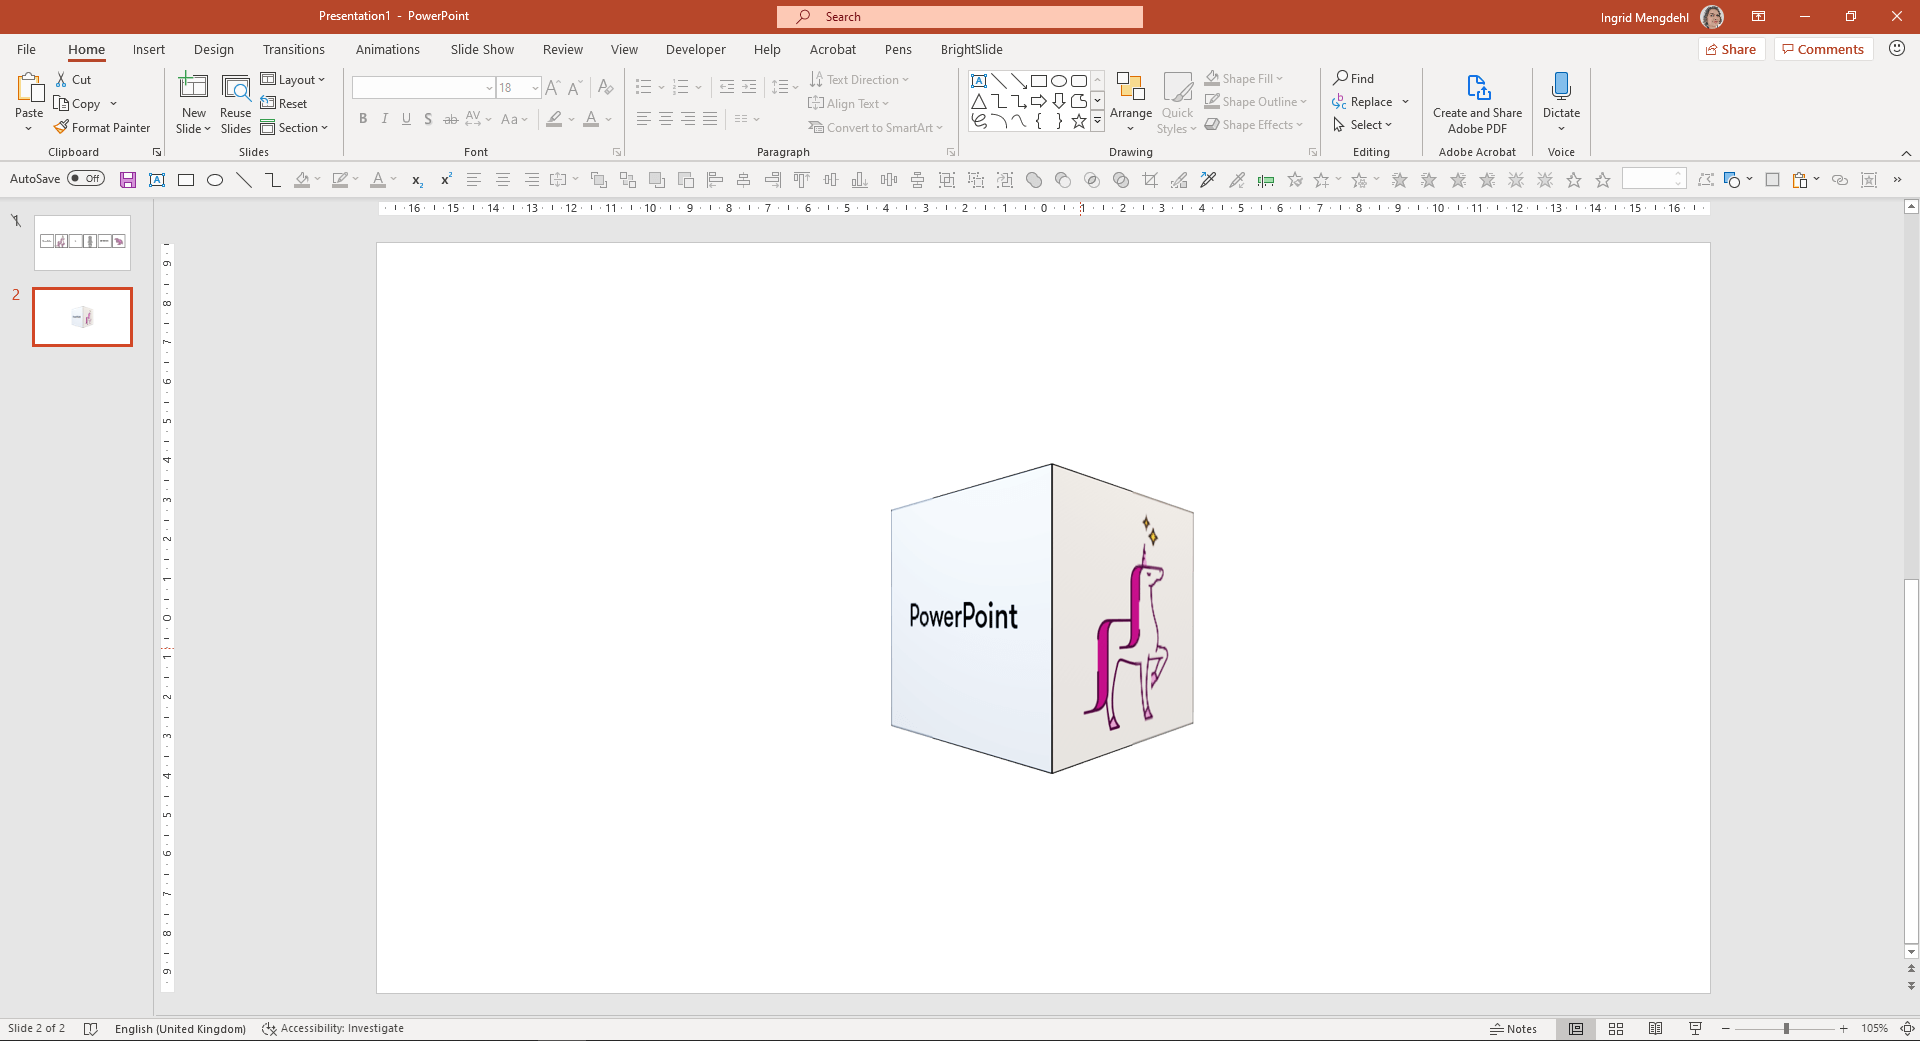
Find your cube and insert it. This will place your 3D cube on the slide. Arrange it however you want for its starting position:
Once you’re happy, select the slide in the panel on the left and hit Ctrl+D (or right-click and Duplicate Slide). On the new slide, move the model so that it shows a different face. Repeat this process however many times you need.
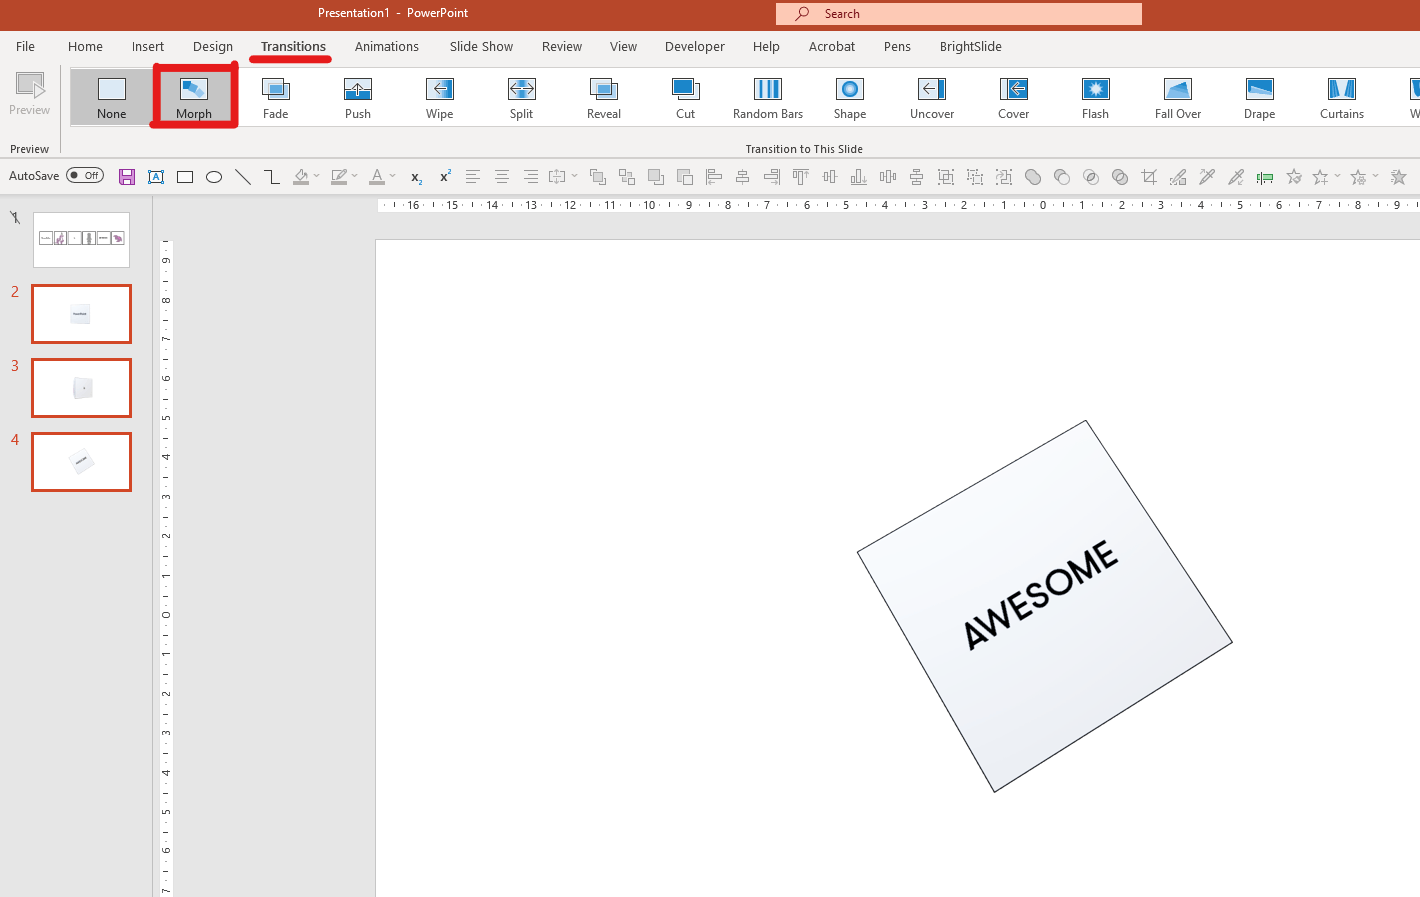
When this is done, select all slides showing the cube, then go to the Transitions tab and select Morph in the drop down menu.
That’s it! You’re done. Hit F5 or go into Show Mode, and watch your 3D model rotating around with each click. You can also go back and forth using the Left and Right arrows on your keyboard.
This technique can be applied to more complex elements, so feel free to have a play around with 3D Builder. It’s probably the least intimidating 3D software out there and is a great starting point (not to mention, free!). To give you an idea of what’s possible, here’s an animated zoetrope that was built in the same way as the cube:
Want to have a play with the cube we created? You can download it here.
If you make a 3D model in PowerPoint that you’re really proud of, let us know on Twitter or by email at info@brightcarbon.com! We love seeing what other people get up to in PowerPoint.
Although it has been possible for a long time, using vector files in PowerPoint has recently become significantly easier. Whether you want to copy something from Illustrator or add a swanky SVG element to your slide, it’s all possible and we’re here to share our secret tips with you...
At BrightCarbon, we animate a lot in PowerPoint. Sometimes, it’s things as simple as a “Fade In” or “Zoom Out”. The rest of the time, it’s more complicated stuff that makes us look a bit like magicians. As we like to share the magic, here are a couple of tips that might make it easier for you when working with complicated animation sequences...
"PowerPoint found an error that it can't correct. You should save presentations, quit, and then restart PowerPoint." Except, well, you can’t save, because that’s when the error appears. And nobody likes to lose work...
This was great…is there anyway to access the 3d ms models and save them directly to my hard drive to use the models in non microsoft programs? ty also can you make available the zoetrope model file?
Glad to hear you liked it! For saving models, the best way to do that would be to go through 3D builder (New Scene > Insert > Add). From there you can get any 3D model available through Microsoft, then, once it’s loaded in your scene, you can save it wherever you want as a .3mf file.
As for the zoetrope file, we’d rather not share it externally. However, you can use the tutorial above to create your very own (in 3D Builder, go to Insert > Custom > Cylinder, and then you can customise it really easily). Let us know if you have anymore questions!
We were notified on Friday that we’ve been successful in our renewal bid. They were particularly complementary about our presentation and claimed it was one of the best they’ve had.


Hi
This is amazing ! thanks for sharing.
However I’m looking for a tuto that will allow me to make turn an excel graphic like in this video
https://www.youtube.com/watch?v=XZHDhmM6KTc at 00:32
If you can help me it will be great
Thanks a lot in advance
This is beautiful
This was great…is there anyway to access the 3d ms models and save them directly to my hard drive to use the models in non microsoft programs? ty also can you make available the zoetrope model file?
Hi Mark,
Glad to hear you liked it! For saving models, the best way to do that would be to go through 3D builder (New Scene > Insert > Add). From there you can get any 3D model available through Microsoft, then, once it’s loaded in your scene, you can save it wherever you want as a .3mf file.
As for the zoetrope file, we’d rather not share it externally. However, you can use the tutorial above to create your very own (in 3D Builder, go to Insert > Custom > Cylinder, and then you can customise it really easily). Let us know if you have anymore questions!
Excellent. No puffery; just facts and encouragement. Thanks
Thank you ! It helped me a lot.
Many thanks for the simple and straight forward explanation on this topic.
Really help me in my current project.
Nice, thank you!
Thank you, great way to explain the process, easily.
Really helpful