How To Automatically Send Emails When Your Lessons Become Available
One potential downside to offering online courses is that learners can often feel like they are alone in their learning. This is why it is important to continually communicate with them as they progress though a course.
There are multiple ways to do this, but one of the easiest methods is to send emails for important reminders and encouragement.
Using LearnDash, this can be accomplished quite easily, and unlike other learning management systems you aren’t confined to an email service that is built into the LMS. This is important because native email systems are lack-luster when you compare them to services that are built specifically for this purpose.
Programs such as AWeber, MailChimp, and Constant Contact have millions of dollars in development backing their platforms. Their feature sets are going to be far more extensive (and useful) for your online courses.
With this in mind, let’s look at one way you could leverage a powerful email tool like MailChimp to send emails in a LearnDash created course.
Sending Emails When Lessons Become Available
One useful feature in LearnDash is the ability to drip-feed your lessons.
For example, you can create a course and make the first few lessons available right after enrollment. You can then schedule the remaining lessons to become available after a certain amount of time goes by, or on a specific date.
Using the LearnDash Zapier integration, you can configure emails to be sent to your learners when these scheduled lessons are available for them to view.
People are busy, so an email reminder is a great way to keep them on track with the course.
Step 1 – Create your course
Before you can configure your email list, you need to have your course complete 🙂 . During this process, make note of which lessons you are drip-feeding to your learners and at what time. As a reminder, you can schedule when a lessons is viewable during lesson creation from the Lesson Options field:
[frame type=”paper-stack”]

[/frame]
Remember that you can drip-feed your lessons in two ways using LearnDash: By time (shown above), or by a specific date.
Step 2 – Create a mailing list for your course
Assuming you already have a free mailchimp account, the first thing you have to do is create a new list for your course.
[frame type=”paper-stack”]
[/frame]
For a complete video on creating a list, see this tutorial created by MailChimp.
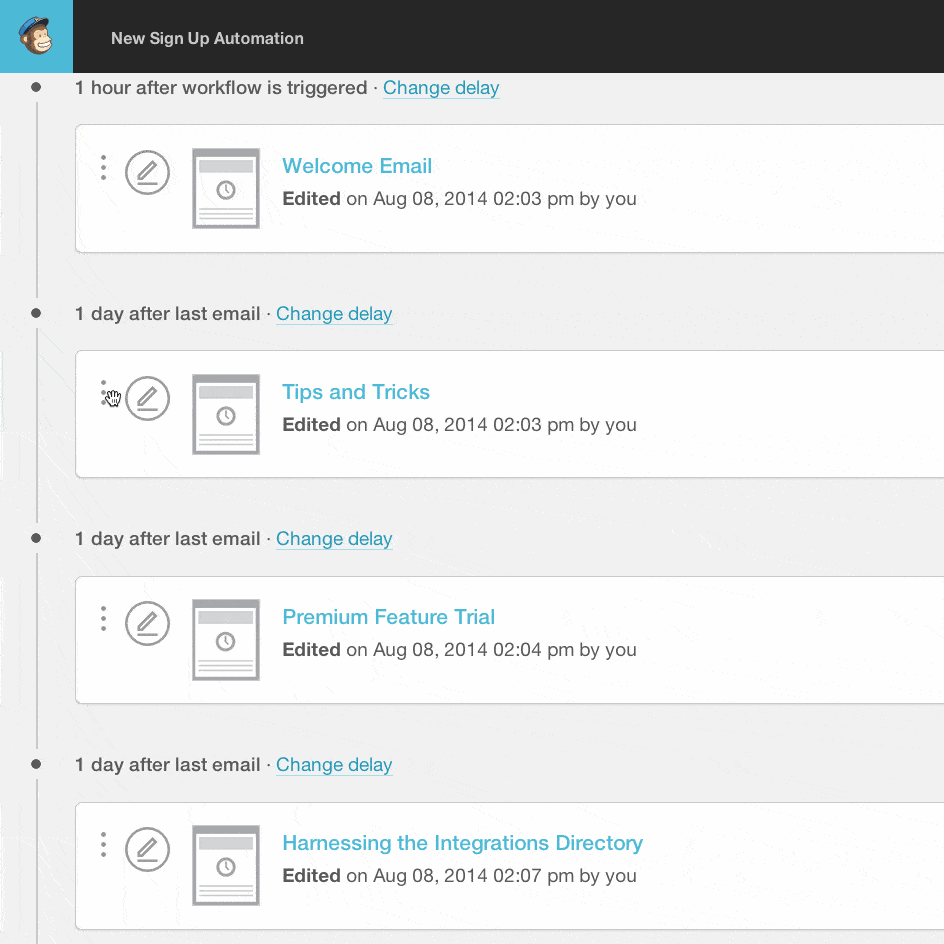
Step 3 – Set up drip-sequence emails
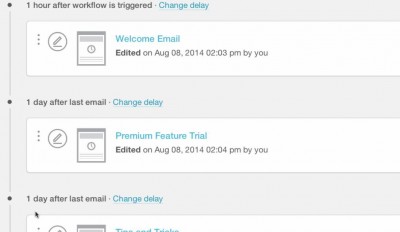
In MailChimp, you have the option to configure an autoresponder. Here you create unique messages to go out “x days” after someone is added to the list. You should configure these messages so that they match-up to the drip-sequence you defined for your lessons (in Step 1).
 (Taken from MailChimp.com)
 (Taken from MailChimp.com)
Step 4 – Connect your LearnDash course to MailChimp list
The final step in this process is to connect your LearnDash course to your MailChimp list. Specifically, you want to add a user to your new list as soon as they enroll into the course.
To make this happen, you can use the free LearnDash Zapier integration. We even include instructions on the support site that explains exactly how to set this up with MailChimp.
That’s It!
Your course will now send email notifications as your learner progresses through the course!
This is just one example of ways you can use emails to enhance the user experience for your LMS.
For example, you can also send notifications when a learner completes their first lesson (great for encouragement), as well as when they finish the entire course (fantastic for cross-promotion).
LearnDash enables you to leverage robust 3rd party services such as MailChimp to create a truly professional course offering. If you have questions on other ways you can connect LearnDash to 3rd party platforms, don’t hesitate to contact us!

Justin Ferriman
@LearnDashLMS