Does staring at a blank project in your authoring tool give you design paralysis? Do you struggle with how to give life to your content so it’s not just a rectangle with some text on it?
This webinar is for you.
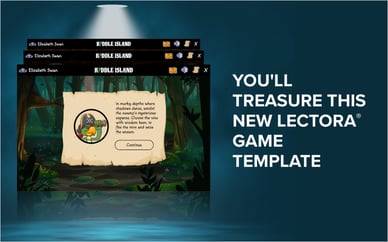
We broke down the design elements of our popular Course Starter eLearning templates and gave some insight into what makes each design work.
Our course starter templates are designed to be easy to modify, whether you’re a beginner or advanced user of your authoring tool. In this webinar, we showed the designs in Lectora®, but the concepts and strategies can be used with any authoring tool.
First, Alan showed an example of the style guides we create for each course. These documents outline the fonts, the colors (primary and accent), and any specific stylistic elements that will be repeated throughout the design.
Tip: Creating your style guide ahead of time gives you a great reference to ensure you’re making consistent decisions as you build your different slides.
To create your own template, start by creating a new blank project. In the View tab, turn on show grids. Now you can create guides to help you align your design elements and text boxes.
Next, start creating your header bars and other design elements.
One cool new feature in the latest version of Lectora is the background texture feature.
Using this feature, you can apply a pattern or texture to any object fill.
- Go the Style tab.
- Select Fill Style, then Texture.
- Choose from a variety of textures to apply to your object.
This is a great way to add some subtle interest to a slide background without being too distracting.
Watch the webinar recording now to see Alan create a course template from scratch.
Sign up for a free trial of the eLearning Brothers Authoring Suites to get access to Lectora 19, plus all our eLearning templates and assets.