4 min reading time
How to use Screen Capture in Your eLearning (And the Best Tools to do it)
Looking for ways to enhance your training content? Screen capture is a pretty great option! We see lots of trainers using it in their eLearning, we even use it ourselves! It adds engaging images to your courses and is a perfect way to explain topics. Today, we’re going to cover how to snap great screenshots and video for your eLearning content. And the screen capture tools that will help you along the way.
Why use screen capture for your eLearning?
1. Explain subjects step by step
If you’re walking your audience step by step through a task, then screen capture is ideal. You can show exactly what actions your learners need to take to complete the task. For example, with product or service training, you can show each key action your employee, customer or partner needs to take. They can easily follow along and learn how to effectively use your product.
2. Illustrate subjects quickly
“A picture is worth a thousand words” – when explaining complex or long-winded topics, it can be challenging to be concise and keep your learners engaged. However, if possible, well-used screen capture can offer instant clarity in a much more compressed way. It cuts down on time spent on training so your learners and you don’t have to struggle through a huge amount of text to get the answer to their question.
3. Increases engagement and information retention
We’ve written before about the benefit of using images and video in your eLearning content. Known to boost engagement and information retention, screen capture is a simple way to add images and videos that do just that.
4. Stretch your resources
No design team, lacking in design skills, tight deadline? Screen capture is a perfect way to make great eLearning courses with limited resources. As they’re quick to make and don’t need extraneous design, you can add them to your content very easily.
Screen capture tools for your eLearning content
With so many screen capture tools available – free and paid – we’ve made a list of some of the most popular available. There are tools already on your Mac or PC (here are a couple of guides – Screenshot on Mac and Snipping tool on Windows). But if you want something more robust, we’re sure you’ll find one on our list that will work for you.
1. The Evernote Web Clipper
Made by the popular productivity tool, the Evernote Web Clipper is really handy for screenshots. It’s a free Chrome extension and works well if you want to snap images in your browser. You also have the option to add annotations and instructions to your screenshots.
2. TinyTake
TinyTake is a powerful screen capture and recording tool. Effortless to use, you can add elements and annotations to the images you’ve captured. It offers a great online gallery and simple sharing options so it’s great for keeping track of your files. You can start with the basic plan which is free and depending on your needs or usage, they provide a number of different pricing plans.
3. Snagit and Camtasia
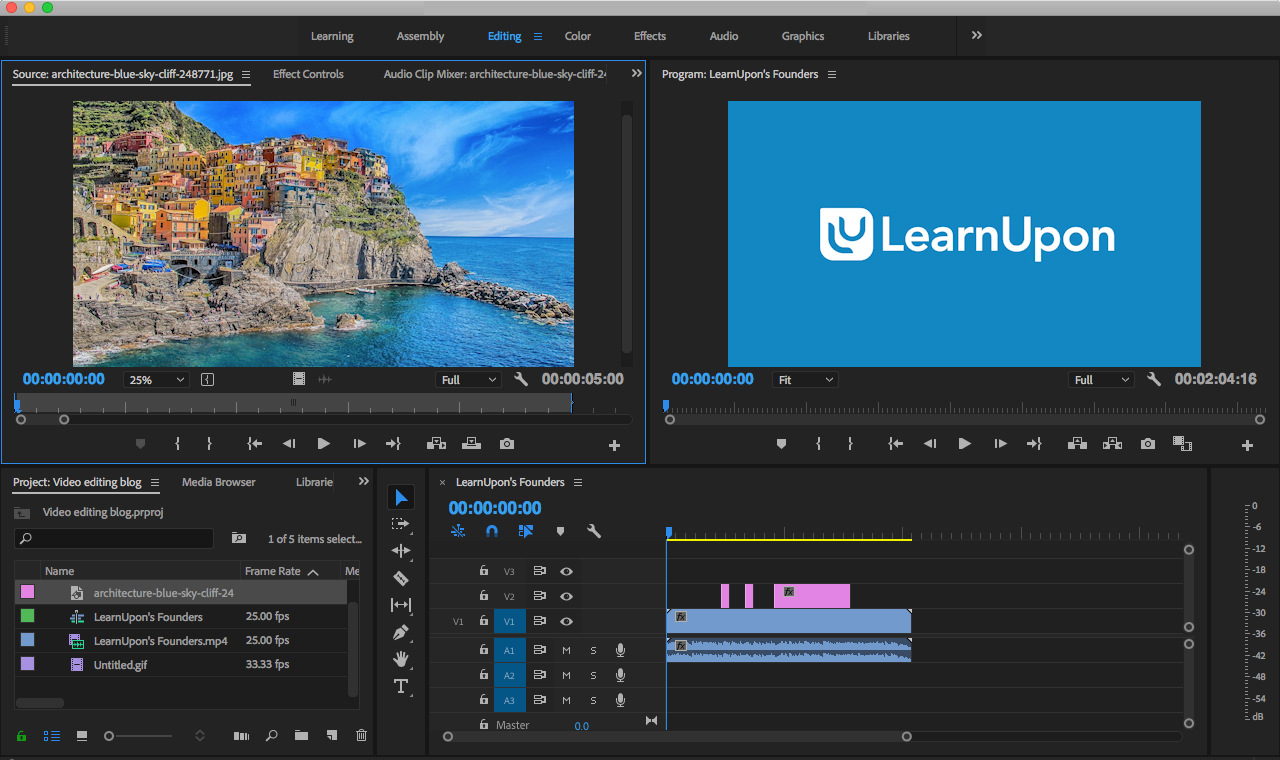
Get together or download separately, Snagit and Camtasia are two top tools from TechSmith. Snagit is a hassle-free option for capturing your screen and editing your images.  Camtasia offers another dimension as it enables you to add animations, audio, music, captions and more to your screen recordings.
4. Screencastify
Another Chrome extension, Screencastify is a really nice, light screen recorder tailor-made for learning content. You can create high-quality videos, add audio and cool editing flourishes. Sharing and storing are really simple too!
5. Screen-o-matic
With lots of features aimed at learning and development, Screen-o-matic is a top choice for screen capture. There are strong editing functions, easy to use audio options, script tools and much more. It’s also collaborative so you can get your whole team involved.
Our tips for A+ screen capturing
Ensure your screen captures are the most effective they can be with our helpful tips.
Clarity is key
Although it’s quick and easy to do, screen capture isn’t an excuse to use sub-par images in your eLearning content. Your images and video still need to be the best quality possible so that your learners get the most out of your content. So when using screen capture, don’t just screen grab and go! Make it clear, make it visually pleasing and you’ll have a lot more success.
Be mindful of your screen
When screen grabbing or filming, it’s smart to be conscious of what’s happening on screen. Simple things like erratic mouse movements or desktop notifications can be distracting and cause your learner to become confused. Also, beware of oversharing! Make sure to close any private tabs and documents before you start to screen capture and edit out any information you don’t want to be shared.
Edit
Many of the screen capture tools we recommend above have top-notch editing features available. Use them. Cut out unnecessary elements that distract your learners and add annotations to make your screen capture as transparent and understandable as possible. You can also record audio and put it over your screen capture video if you want.
Relevance is key
Screen capture is an easy option to add media to your courses, but that doesn’t mean you should go wild and use it everywhere. Stick to placing it where it’s needed and is relevant. That way it will have the most positive impact on your learners.
Build your eLearning toolkit
Screen capture is easy, it’s quick and it adds context to your eLearning. Let us know how you use screen capture in your training. Or share your preferred tools. We’d like to hear your recommendations!


