Best Video Equipment for Recording Your LearnDash Online Course
Creating a course can feel intimidating especially if this is your first attempt. What can make this task even more overwhelming is choosing the right equipment to record your online course videos.
You’ve probably spent hours watching “how-to” Youtube videos, browsing Amazon for the right tech, and budgeting your money so you can afford to make your course look as professional as possible.
You should know that it doesn’t take a lot of equipment or money to record content for your online course. You may already have exactly what you need to create clean, crisp, and professional online course videos.
Here are our recommendations for the best video equipment for recording an online course.
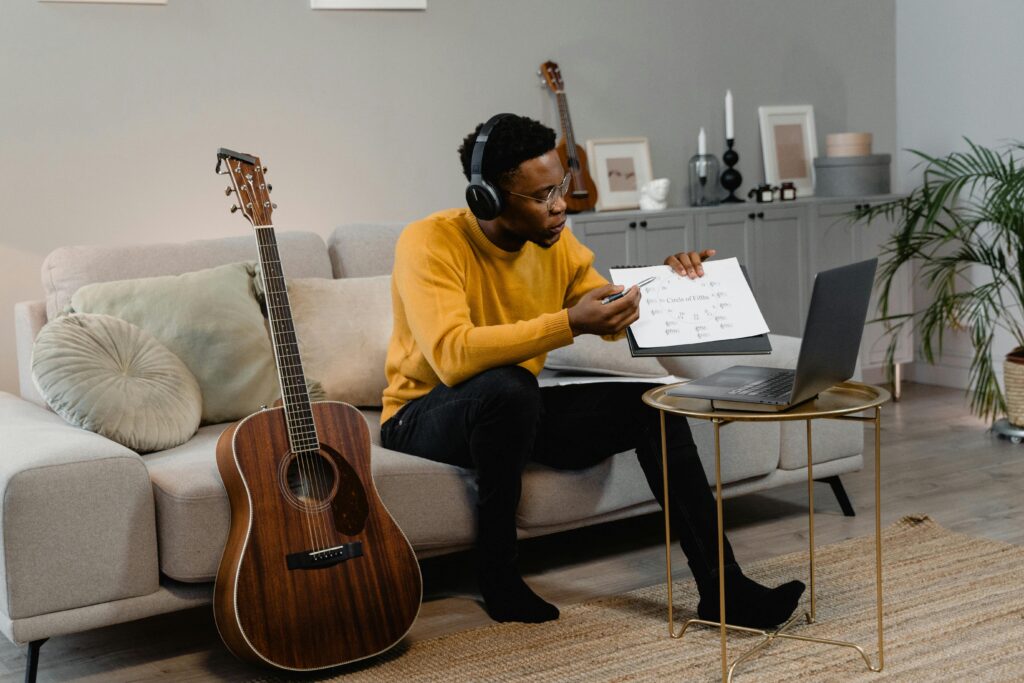
Create clear visuals with a smartphone or camera
How your videos look has a major impact on how the information you provide is received by your audience. But that doesn’t mean you need to purchase an expensive DSLR camera because most smartphones can shoot in 4K.
Smartphones have a limit on storage space which is a downside to using them instead of a camera. Keeping your videos 10 minutes or less than using your smartphone could be a cost-efficient way of recording your content.
For videos over 10 minutes, we recommend splurging a bit on a quality camera. You can record a few hours of content without needing to free up storage space.
Bonus: To improve viewer engagement, try using both a smartphone and a camera to capture different angles.
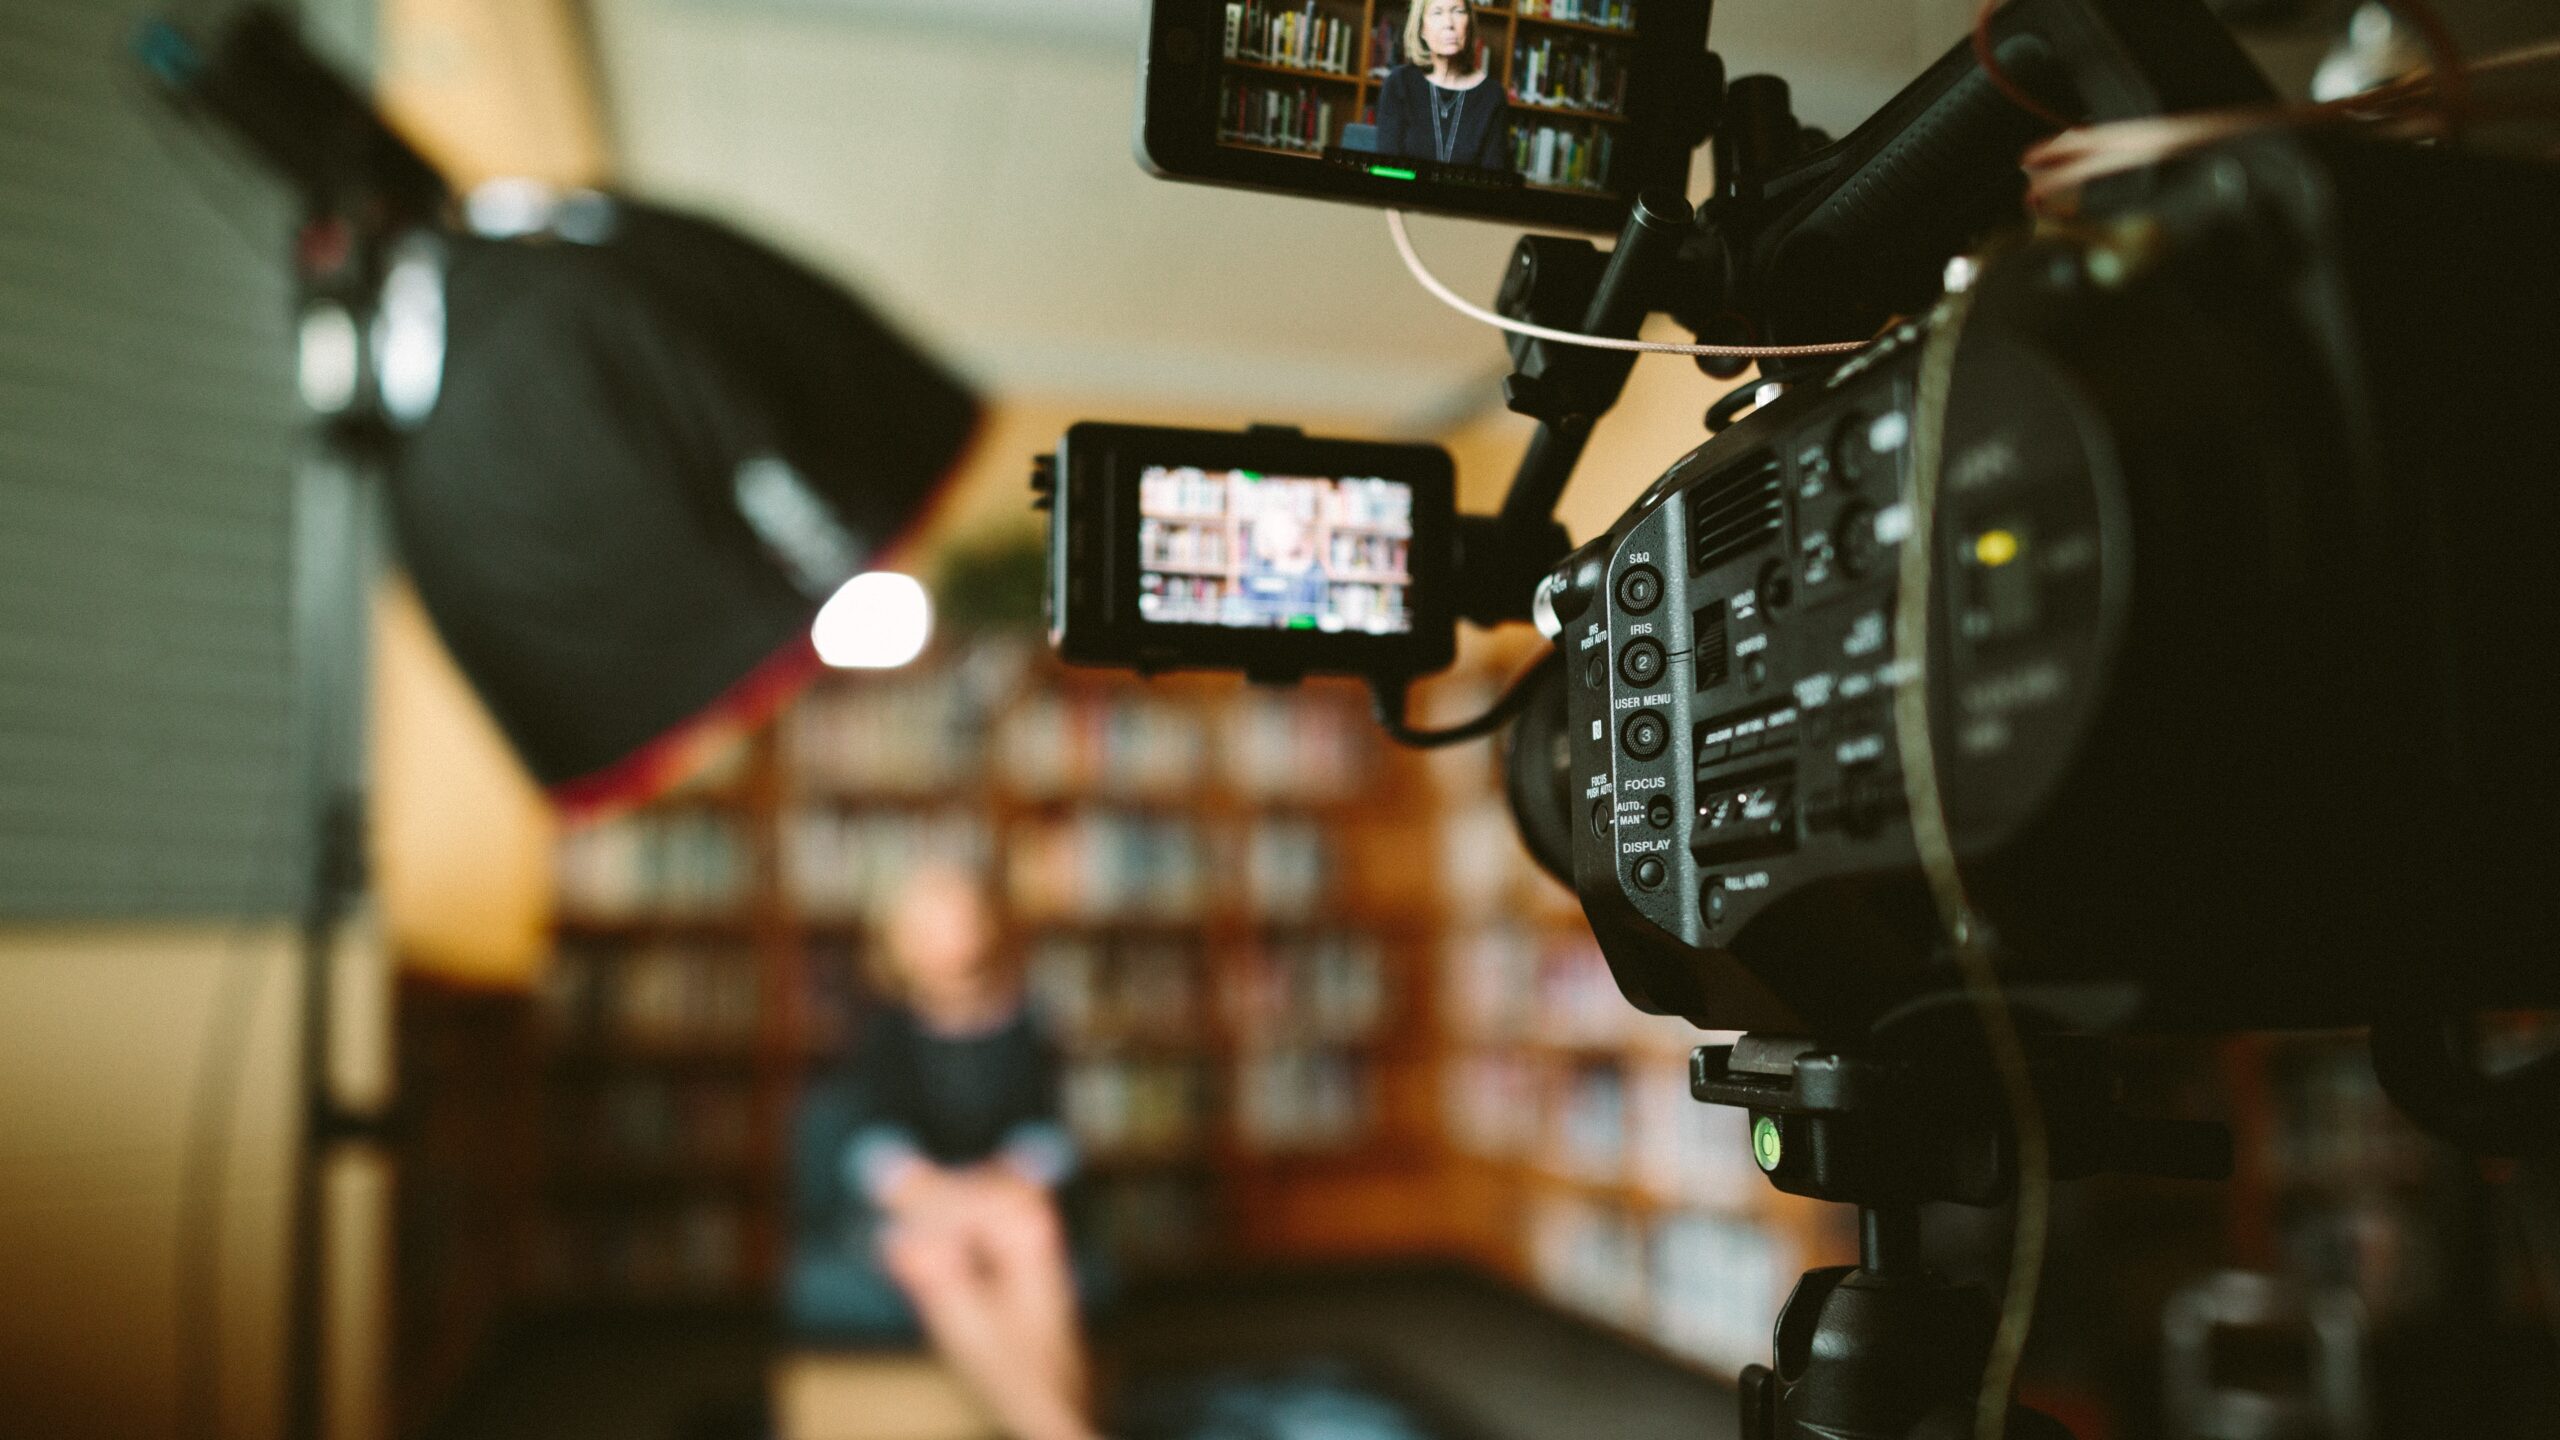
Reduce shaky videos with a tripod or stabilizer
No matter what type of course you’re creating, you’ll want to make sure your camera stays still and in focus. Low quality or poorly recorded videos can give your viewers a bad viewing experience and even lower course completion rates.
Tripods are best for videos that are shot in one location that doesn’t require any variation in movement. A stabilizer is best for content recorded on the go, like athletic training courses.
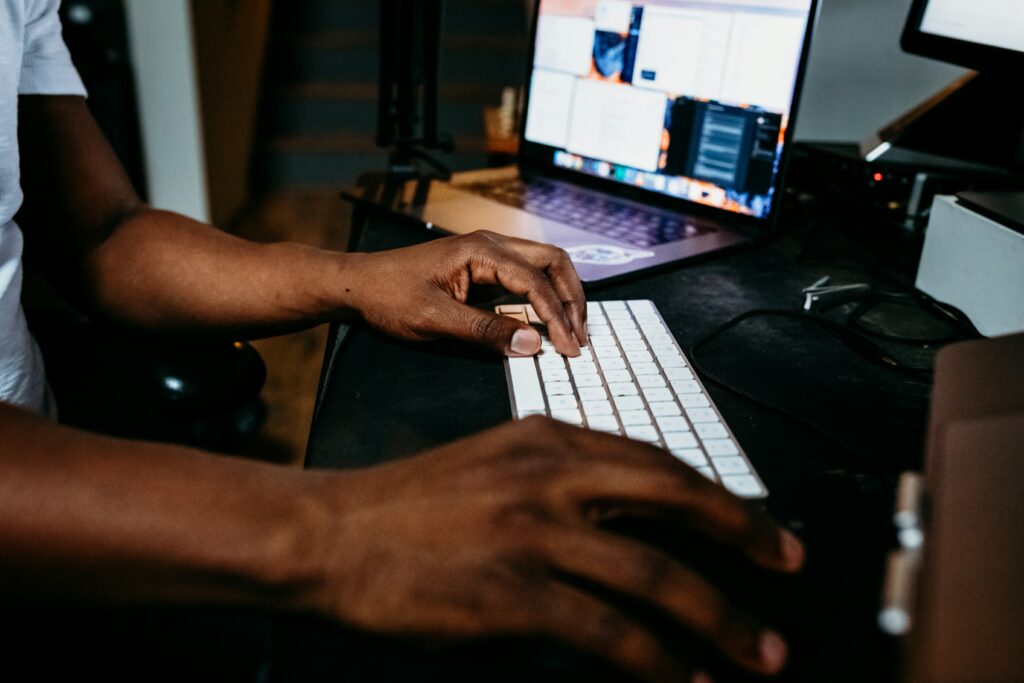
Get crisp audio with a mic and pop filters
Audio matters a lot when it comes to courses. For your course to be effective, your viewers need audio that is clear and free of any background noise or audio flaws.
To make sure your volume levels are consistent, use an external microphone instead of the one that’s built into your camera or phone. This is achieved by using an external mic. Additionally, this will help you record the audio separately from the video to make editing less tedious and confusing.
Sometimes when you’re recording, the mic will pick up extra air or noises from your mouth when you’re speaking. Using a pop filter can help reduce any unwanted air or noise.
Stay on track with a teleprompter app
During recording, it’s hard to stay on topic and reading your video script from paper can be distracting to you and your viewers. A helpful hack is to use a teleprompter.
Don’t worry, you won’t have to go out and buy a real one. You can use the Teleprompter Premium + app that’s available on most devices. All you have to do is upload your script.
Create seamless final videos with video editing software
The editing process will be different for everyone. To save time you can hire a video editor. But if you’re looking for a budget-friendly option, DIYing will be your best bet.
One of the best video editing software on the market is Adobe’s Premiere Elements. It’s under $100 and super easy to use. If you need extra help you can always turn to Youtube. There are a plethora of Youtube videos that will walk you through the basics of video editing.
Even if this is your first rodeo with creating a course, LearnDash is always here to help you every step of the way.
Get started here.

LearnDash Collaborator
@LearnDashLMS