When you’re an eLearning designer/developer, you're always looking for a balance between aesthetics and functionality. You know that there is a fine line between less is more and that sometimes we must sacrifice design for content. But how can we optimize our time and processes in the graphic development of our projects?
Easy! By using our new UI Kits, packed full graphic elements that will save you time and look great in your courses.
If you’re not yet familiar with Lectora themes, the addition of the UI Kits is the best time to start using them. Not only are these kits perfectly coordinated in terms of style, but alternative graphic objects are also provided, to create courses and eLearning Templates with a 100 percent original style.
What Is a UI Kit?
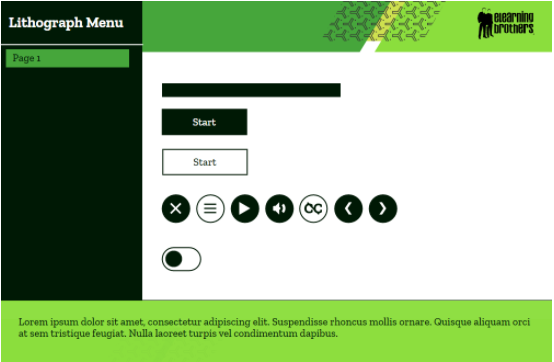
UI kits are basically a collection of graphical resources such as buttons, switches, progress bars, and customized menus that will help you navigate, play, and improve the interaction of your course. In addition, they’re fully customizable to fit your company's graphic identity.
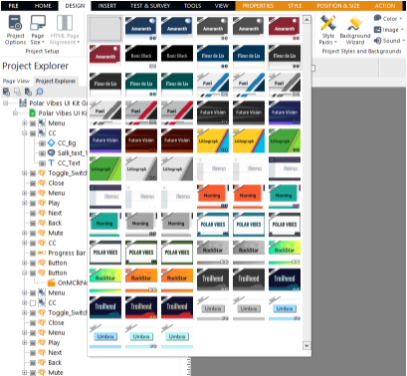
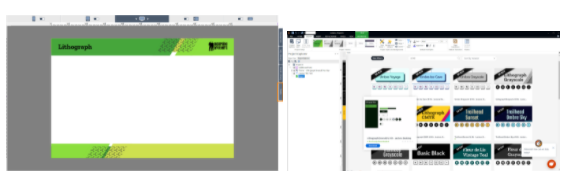
To download the UI Kits simply go to the sidebar tools tab in Lectora 21 and select the UI Kit you want to use in your course. You'll notice that they match and complement Lectora's current themes and Style Packs. You can customize them your way and save them as library objects (awo), so you can use them in your other courses via the Resources sidebar.
We have also included preconfigured menus to automatically populate with information from your table of contents. These menus are fully editable and are very easy to work with.
Additionally, you'll find a customizable CC dropdown that we will soon modify to include CSS style guide editing.
Overlooked Items
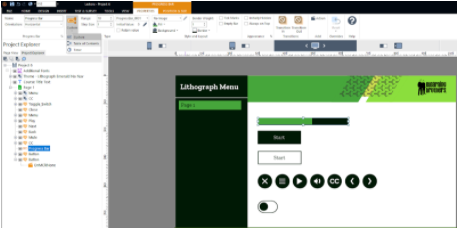
One of the components in Lectora that is easy to take for granted is the progress bar object. Lectora provides us with a powerful progress indicator, which we can easily edit and incorporate into our courses without any programming knowledge.

Simply cut and paste the progress bar from your UI Kit and place it on the page you want. If you want to edit its color, border, and range simply select the progress bar in your Project Explorer and go to the properties tab. A pro tip to get the most out of your progress bar is to change the type from Custom to Table of Contents. This way every time you access a new chapter or page of your course, the bar will advance according to your current progress.
For a review of adding custom actions to your progress indicator, check out this knowledge base article.
This is just the first part of a series of new GUI elements we are developing for all Lectora developers and designers. We hope to have your feedback so we can expand and adapt your ideas in future versions.
Don't have Lectora yet? Sign up for a free trial today.

Visit our eLearning Templates page to learn more about our rapid eLearning templates for all authoring tools.