


More and more of us are using visuals to communicate messages and transfer knowledge because it tends to have a big impact on our audiences. One useful type of visual communication is video. Videos are easy to customize, and are a great way to quickly display your personal brand. Let’s take a look at what video bumpers are and how to add them to your videos.
What are video Bumpers?
Video bumpers are short (usually 10 seconds or less) video clips that typically show the brand or company that your video represents. Video bumpers can be included at the start, middle, or end of your content.
For example, if you are a marketing consultant, then you might have a bumper clip that introduces your name with graphics and music playing in the background.
Here is an example of a Video Bumper.
Now that we’ve looked at an example, how do you create on of your own? Let’s find out.
How to Create A Video Bumper
Step 1: Develop Your Concept
What do you want your bumper to communicate about your brand? Should it have music? How long do you want your bumper to be? These are some of the questions you should ask yourself before you get started to make your bumpers be more successful.
Step 2: Choose Your Content
Most video bumpers are made up of three elements: your logo or brand symbol, a graphics animation of that logo, and an audio track in the background. If you decide to include audio, you’ll want to make sure you use a song or sound effects that you fits the tone of your video, and that you are licensed to use.
If you want to save yourself some time, there are websites that offer animations that are ready to use in your video bumpers.
Step 3: Add Your Bumper to Your Videos.
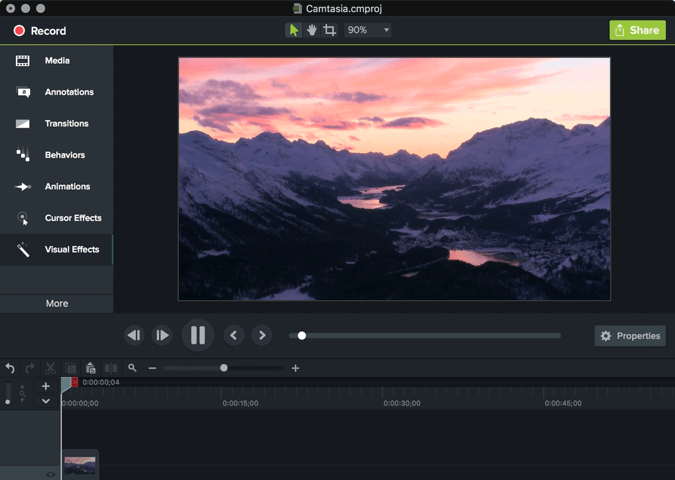
Whether you’re using Camtasia or another editor, video editing software is going to be the easiest way to include bumpers to individual videos. Sometimes you can create bumpers and have hosting sites add them to your videos for you.
However, this usually only happens when your videos are hosted on those sites. If you are using video editing software to a add your bumper, you’ll want to make your bumper videos first then attach the finished bumper clip to your video.
Step 4: Share Your Videos
Once you’ve successfully added your bumper to your video, share it to hosting sites such as Screencast.com, YouTube, Wistia or others. It might also be a good idea to create more than one version of your video bumper. This would help to even further develop your brand, and could also be used to separate groups of videos. Finally, you can choose whether or not you want to replace the videos you have uploaded with the ones that include bumpers.
Step 5: Store your Bumpers
You’ll want to store your video bumper clips on your device or on a networked hard drive. This makes them easy to re-use or attach to other videos in the future.
That’s all there is to it.
Step six is to celebrate because you’ve just created a bumper for your video. Not only are video bumpers important for your personal brand, but they can help viewers know that they are in the right place and viewing the video they intend to view.
Have some other suggestions on how to use Video Bumpers? We’d love to talk with you on Facebook or Twitter – or in the comments section below!
