HIGHLIGHT
HIGHLIGHTED
+1
October 23, 2018
I’ve reset my preferences. Where are my custom workspaces? Mac


3
2
Summary
Saving your custom workspaces before you clear your preferences is easy if you know where to find them in your Mac.

Clearing your preferences is one of the first steps you can take if Captivate starts acting wonky or produces unexpected results.
Examples of weird behavior can be as general as the program is being sluggish or as specific as Effects drop off your Property Inspector.
I’ve made it part of my normal routine to clear the cache and delete preferences after 40 hours of onscreen work. This helps avoid the “stress factor” later on. It’s like going to the dentist regularly. It may not be fun at the time, but you may avoid major dental work later on.
Head’s up! After clearing your preferences, Cp will launch like it is the first time you’ve ever opened it. You’ll get the intro video and none of your projects will show up in Recent. You’ll also have to check Enable custom workspaces and shut down/reopen Captivate to have that preference stick.
This workflow assumes you have already enabled custom workspaces in your Global Preferences –> General Settings

Where are custom workspaces saved in my Mac by default?
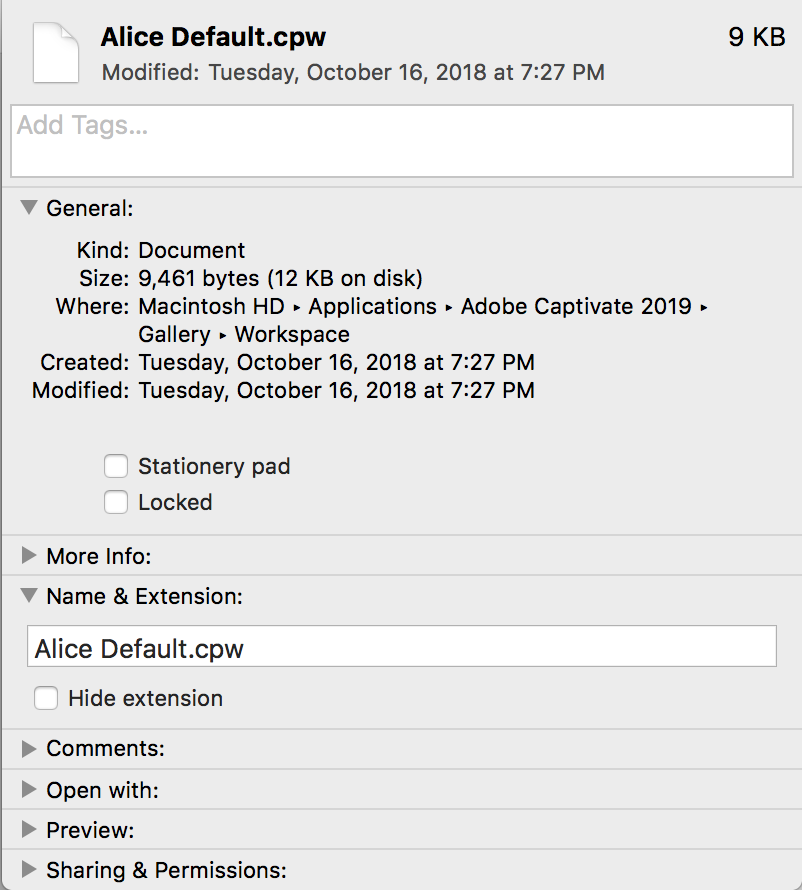
Step 1: Locate your custom workspaces. Captivate saves them at Finder –> Applications–> Adobe Captivate 2019 –> Gallery –> Workspace
Here’s mine (You’ll also find the backups here. Their extension is .cpw s
s
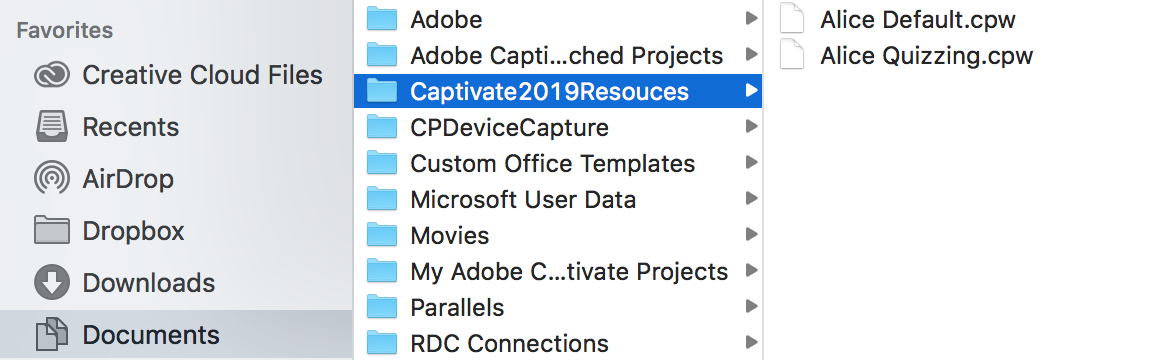
Step 2: Save your custom workspaces outside of the Captivate files. I save them in a folder in my Documents named Captivate2019Resources. You can also keep tips and tricks and links to useful webinars there as a 1-stop resource. You can save the workspaces in a folder anywhere that makes sense to you and where you can easily find it after you delete your preferences.
This is how I save mine.
Step 3: Now, it’s o.k. to go ahead and clean your preferences by following Finder –> Applications –> Adobe Captivate 2019 –> utils –> CleanPreferencesMac. Your Mac will open up a console window in your dock and will run the program automatically.
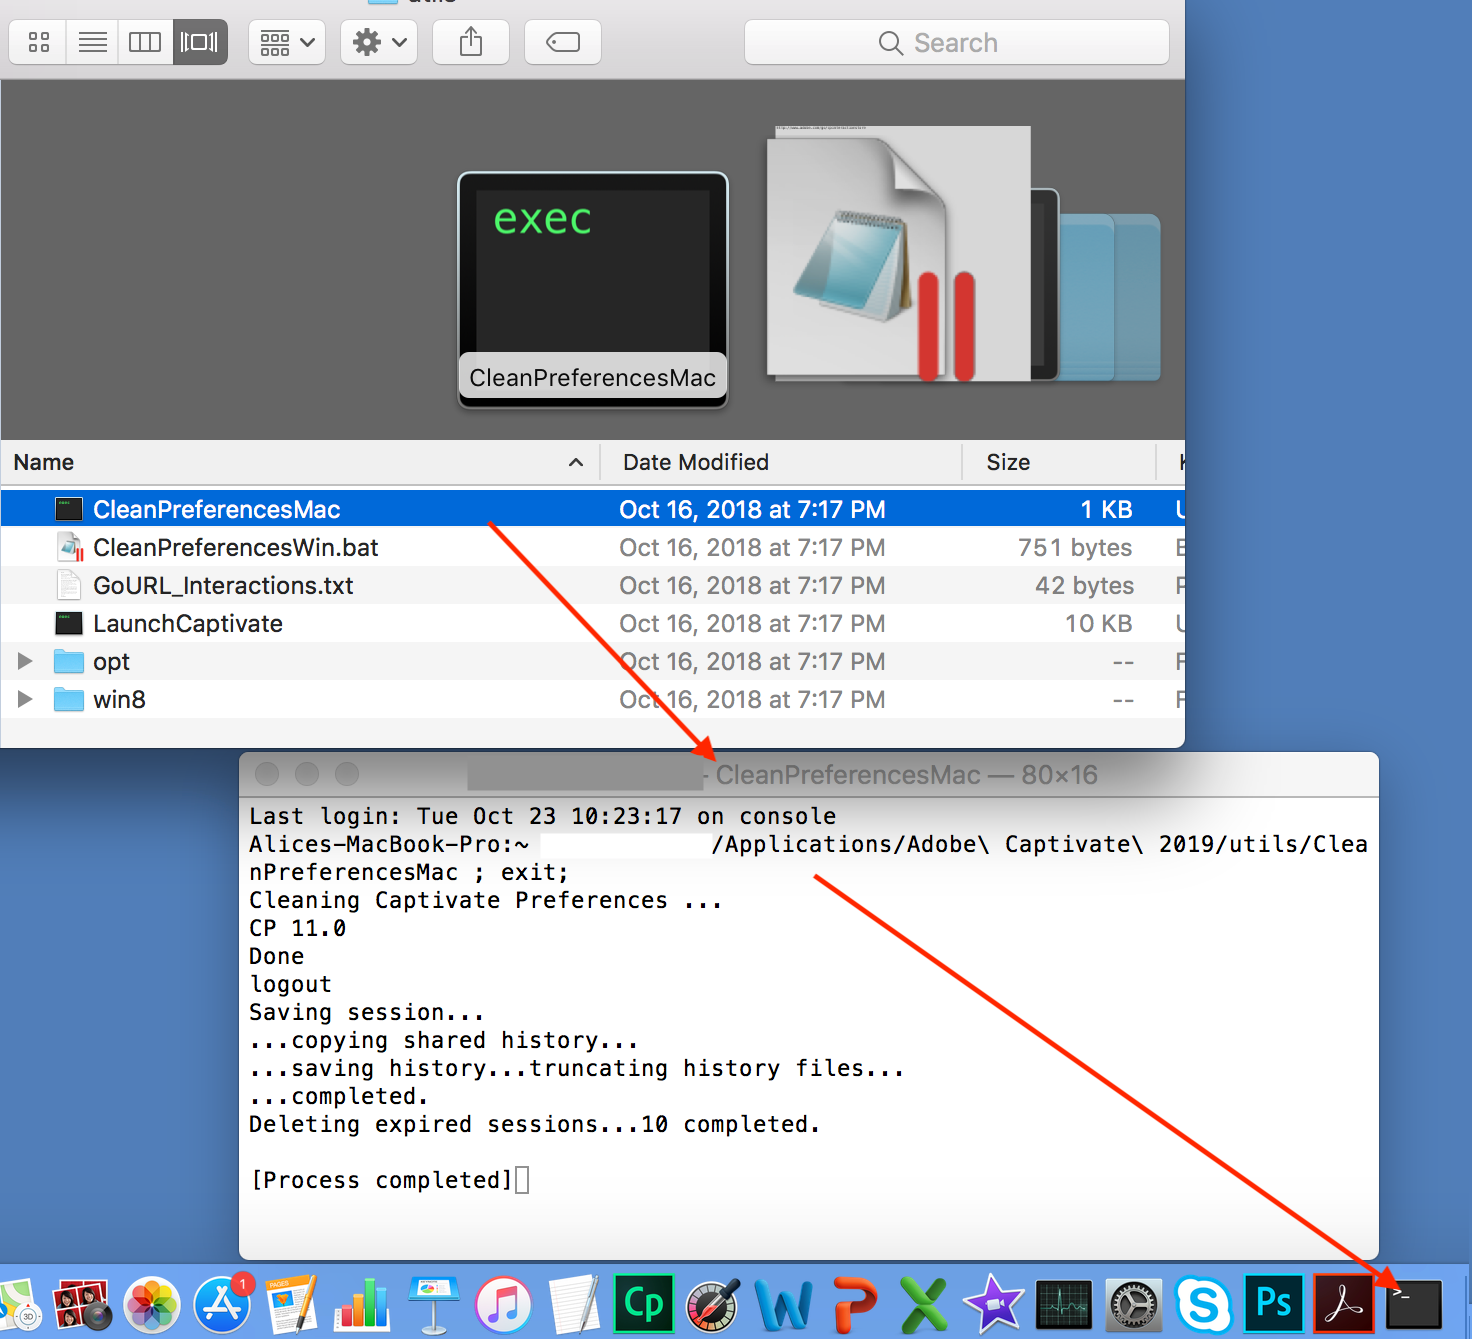
Copy and paste your custom workspaces from the place you saved them to Finder –> Applications–> Adobe Captivate 2019 –> Gallery –> Workspace. You may have to shut down and reopen Captivate for the change to take place.
That’s it. Saving your custom workspaces is a timesaver. Once you’ve created a workspace you like, you can re-use it after you clean your preferences.
2 Comments
2018-10-24 15:09:11
2018-10-24 15:09:11
Great info. Thanks for this.
Like
2018-10-24 08:56:50
2018-10-24 08:56:50
Thanks for this article.
Windows users, you can find the workflow to recover custom workspaces (expert UI) and other custom items after Cleaning Preferences in this article, which is still valid for the most recent versions of Captivate:
http://blog.lilybiri.com/cativate-8-dot-0-1-install-keep-your-customisation
Like
(1)
Add Comment
You must be logged in to post a comment.


Adobe Captivate

Adobe Events
I’ve reset my preferences. Where are my custom workspaces? Mac
