6 Elements of an Outstanding Tutorial Video
Build interest and improve learning through effective video tutorials.
A good tutorial video is a key element to many online courses. When done right, they create an easy-to-follow guide toward accomplishing a task. And, with the use of screen capture software, tutorial videos are often a much better guide than screen shots and text for learners who need to learn how to do something on a computer.
However, despite the casual production value of many tutorial videos, creating one that’s good enough to use in your online course still requires careful planning. Here are the key elements you will need to create a tutorial video that is truly outstanding.
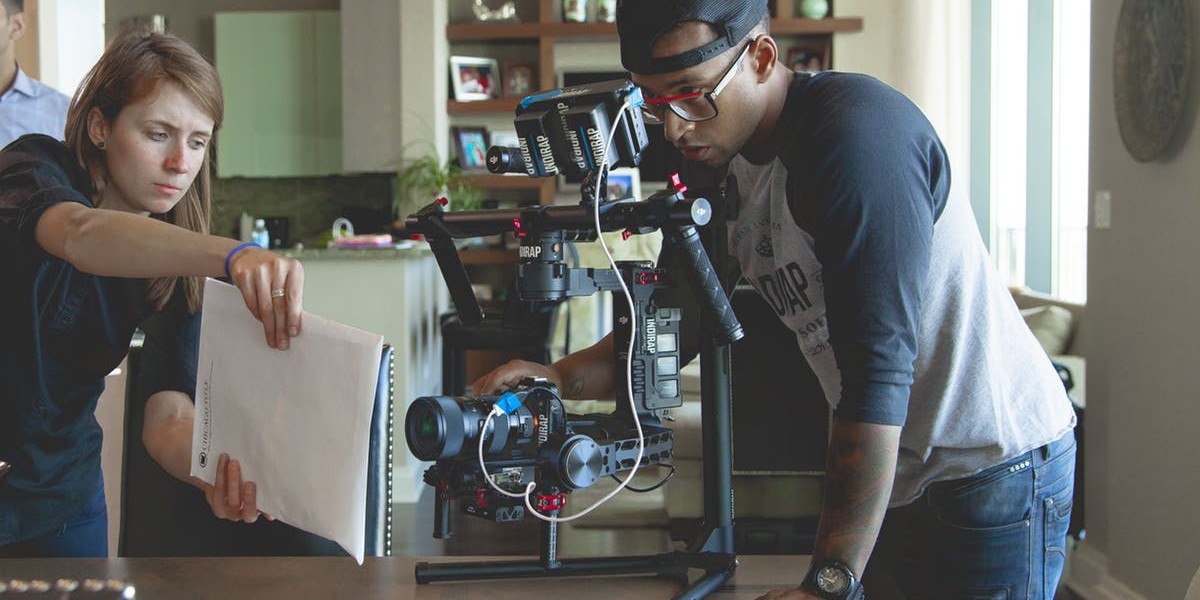
1. Be professional.
You don’t have to have pristine production quality on your tutorial videos, but they must meet a basic standard of professionalism. If you film in a room, make sure it’s clean. If you’re doing a screen capture of your desktop, make your digital workspace look neat. Close tabs and windows you’re not using, and organize files on your desktop into folders. (If you don’t have time to sort them out, create a folder with an innocuous name and dump all your desktop files in there to sort through later.)
From a technical standpoint, you don’t need a lot of equipment. But if you’re filming, invest in some softbox lighting kits and a lapel mic. If you’re only recording your voice, buy a simple podcast microphone.
2. Use (and rehearse) your script.
If you’ve ever watched a tutorial video that relied on text to convey information like intertitles in a silent film instead of narration, you know how dull these can be. A human voice helps learners pay attention to the content, remember what they learned, and feel connected to the material. But that doesn’t mean you can just start speaking into a microphone and expect everything to go smoothly.
Take some time before you hit the record button to plan your script. This will help make sure you don’t accidentally skip a step along the way, and it will reduce awkward pauses and stuttering that you will have to edit out later.
That said, you don’t need to write out every word. If that helps you—go for it. Otherwise, treat it as you would a live presentation: work through your notes, organize an outline, and practice delivery. When you feel confident with your lesson, start recording.
3. Control your pacing.
Tutorial videos often suffer from a Goldilocks problem: too fast and the learner can’t keep up, too slow and the learner gets bored. Knowing how quickly to go through information can be challenging, which is why it is essential to match your script to the action on-screen.
When you write your script, it can help to go through the process you’re describing a few times to make sure you don’t miss any steps. Doing so will also help you judge how much time a demonstration will take.
For instance, if your users will have to go through a complex menu sequence to find the right controls, make sure you slow down and walk them through it the first time. On the other hand, if you’re showing something repetitive that will take a while to complete, go ahead and edit some of that out later in your video.
4. Be succinct, but also be thorough.
These aren’t contradictory ideals. Basically, you want to cover all the relevant points your learners will need, but you want to do so without wasting their time. It’s fine to take a little time to embellish a point so long as it’s adding context for the viewer. But it’s not OK to ramble on about irrelevant details, or to waste time searching for materials that should already be on hand.
Think of it like a cooking show: the chef doesn’t waste time chopping vegetables on-screen, unless it’s to demonstrate a certain cutting technique. If the added detail has purpose, leave it in. Otherwise, have your vegetables chopped and ready to go.
5. Do use steps.
There’s a reason why most of us intuitively break instructions into steps: it’s easier to remember, and it prevents us from losing our place. Your tutorials should be structured the same way.
These also provide excellent introduction and recap material for your visitors. You can begin your video with an overview of the steps you will take, and finish it by reviewing what you just did. This will highlight for your learners the key information they need to complete the task.
Wondering how many steps to include? I once saw a guide to getting published that began: “Step 1: Write a book.” Obviously, this isn’t very helpful, unless you’re speaking to an audience that presumably already knows how to write a book. So, start by gauging your audience’s knowledge level, then only include steps that your learners won’t know or that can’t be missed.
6. Be generous with your visuals.
“Show, don’t tell” is a mantra that is especially relevant to online tutorials. The key benefit of using video in the first place is that it allows you to show things that are complicated to describe with just text. The more you can show by video, the more helpful your video will be to learners.
That said, not everything in your tutorial has to be film. Infographics and other visuals can also help illustrate your points and provide valuable instructional material for your learners.
A good tutorial video can bring your online course to life.
There’s nothing like a compelling tutorial video to inspire your learners to start getting some hands-on experience. In fact, the final element of a good tutorial is a call-to-action that urges your learners to go try it out for themselves.
If you’re considering making a tutorial video yourself, there’s no better time to get started. Even if you only get as far as sketching out the first steps of a storyboard, you’ll have a better idea of what you need to make the video work.
Try making a short video to start, and use it to introduce your course. Share it on social media, and give your learners a taste of what’s to come in your course. The response can help guide your future tutorial videos, and you’ll learn a lot on the way.

LearnDash Collaborator
@LearnDashLMS