
How To Update Explainer Videos In No Time
Content marketing takes considerable planning and a great measure of creativity, time, and effort. It involves the constant creation of quality material to keep your target audience engaged. So, if you produce great content make sure that you do not only use it once but post it again, after making a few tweaks to it! Let’s consider how you can effortlessly update explainer videos in no time!
Go to MY VIDEOS and find the video that you want to edit. Then click on the little pencil to start editing your video. Next, choose the VISUALIZE option at the top of the screen.
Editing Text
You will see the different scenes of your video, with text and images, as you previously created it. First, focus on the text: read it anew and make the necessary changes to update the script. (You will find the EDIT TEXT function in the bottom right corner of the textbox.)
Perhaps you want to omit some text: simply delete the unwanted parts in the textbox. Or, add more text. If you want to include a substantial length of text, you have the option of adding an entire new scene by clicking on the plus icon below a preceding scene. In addition, you can also delete entire scenes – click on the bin above the unwanted canvas.
Selecting Images

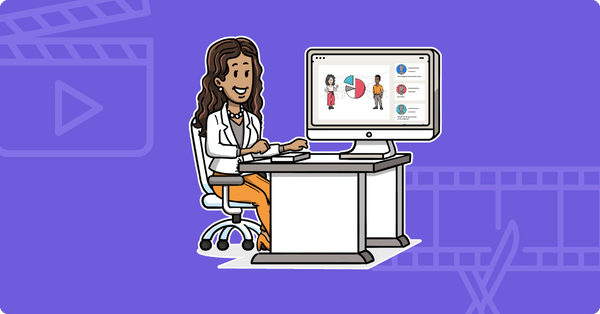
If you want to replace illustrations or use additional illustrations, simply click on the corresponding keyword in the textbox below the canvas. The explainer engine will suggest suitable images. Alternatively, use the search field to find additional selections of images. If you need a character, make use of the character suggestions. simpleshow video maker is a versatile video creation tool that allows considerable flexibility: apart from the explainer engine’s suggested image selection, you can upload your own images or add text instead of an illustration!
A maximum of seven illustrations per scene gives the most effective explanation result. The explainer engine will warn you when this maximum has been reached. To delete images, select them and click on the little bin at the top right of the screen.
Editing Images
You may want to rearrange the images in each scene on the video canvases when you update explainer videos. simpleshow video maker allows you to activate a grid view to help you to find the best positioning. Perhaps change the size of some of the illustrations, rotate them, or mirror them.
● To change the size of an image, click on the image and slide /drag the corners out (to enlarge the image) or in (to reduce the image).
● To rotate an image, to the left or to the right, use the function that appears at the top of an image – it is a grey dot and curved arrow.
● To flip an illustration in order to get a mirror image click on the illustration and then on the mirror icon. (It is the two triangles at the top right of the screen).
Customization
Maybe you feel that the voiceover or background music needs to be replaced with something more up to date or current. Again, simpleshow video maker makes it easy to put a personal touch on your video. You can choose one of the explainer engine’s automated voices, upload an audio file, or record your own voice. For example, choose a different background music track to give your video new sounds, or upload your own music file! Perhaps you have a new jingle that can be used as a form of sound branding as it plays in the background of your edited video! If needed, you can also adjust the volume of the sounds, the voice over, and the music of your simpleshow video.
You can even edit the hand animations to include various ethnic groups. You may want to consider doing so, especially if your target group is of a specific ethnic group – or perhaps your target group is multicultural, in which case you want to select a multicultural option.
Moreover, you have the possibility of adding a watermark to your video! Maybe the previous version of your video did not have a watermark and you now want to add one for branding purposes. Now is your chance to do just that in order to customize your video.
Fine Tuning
Another feature that you may want to include when you update explainer videos is subtitles. Subtitles provide the target audience with both audio and text and therefore help to ensure that your message can be heard (and/or read) by viewers, regardless of the circumstances.
In addition, you may want to make changes to the video speed for a better viewing experience. This can also very easily be done in the finalize stage of the video making process – choose the SPEED function on the right and adjust the speed settings as you desire.
Another way to update explainer videos is to change the color of the scribbles. You can find all these functions (i.e. video speed, adding a watermark, choosing scribble color and hand animations, plus the subtitles, volume, music, and voiceover functions) on the right of the screen.
Finally, click on “preview video” to check your freshly edited simpleshow video. If everything is alright click FINALIZE VIDEO and your explainer video will be generated. It will not take long. You do not even have to wait for the entire process to finish. You can close the window and continue with other activities. An email will be sent to you as soon as your simpleshow is ready to be downloaded. And that is how you can update explainer videos in no time!