Voice-over presentations offer a better learning experience because they are a more engaging way to learn.
Some students learn better through visual cues, while others learn by listening. However, adding voice-over narration to your presentations enables students to benefit from the best of both worlds. It allows adding important information and context to explain what’s on the slides – as if your students were attending a live lecture!
Now, you may assume adding voice-over to your presentations is complicated. However, it isn’t as tricky as you probably think! Once you have your slides ready, there are just a few extra steps you’ll need to take to add narration.
In this blog, we share four ways to do a voiceover presentation – voice-over Google Slides, PowerPoint, screen recording, and the Presentation lesson feature on Thinkific.
Before we get into the options, let’s quickly cover the only ground rule regarding recording voice-overs: Don’t sacrifice sound quality. Viewers are willing to put up with rough visuals but don’t forgive poor sound. Most computers have built-in microphones that sort of get the job done, but we recommend headphones or a USB Microphone to improve the quality of your voiceover.
Related: How To Set Up A DIY Home Video Recording Studio For Cheap
Now, let’s get into your voice-over options. Toward the end of the article, you will also find five tips for adding a good voice-over. If you’d like to sit back and learn, check out this video we created on how to easily add voiceover to your slides:
4 ways to do voice-over presentations
There are two main routes you can take to record a voiceover for your presentations:
You may want to use PowerPoint or Google Slides to add voiceover to each slide that plays as students make their way through the presentation. PowerPoint has recording functionality built-in, but with Google Slides, some extra steps are involved with recording your audio, then uploading it to Google Drive before you can embed it on each slide.
Alternatively, you may want to ditch the slides and create a screen recording of the presentation. To do this, you can use any screen recording software as you talk through the slides and turn your presentation into a video lesson. And if you’re a Thinkific user, you can create voiceover slides with the Presentation lesson feature.
Use this list to skip to your preferred voice-over narration method:
- How to do a voice-over on Google Slides
- How to do a voice-over on PowerPoint (Microsoft Office)
- How to do a voice-over screen recording
- How to do voice-over slides with Thinkific
Option 1: How to do a voice-over on Google Slides
Google Slides doesn’t have built-in functionality to record your slides, but you can still accomplish the same with it with an extra step. You can add voiceover to Google Slides by uploading an audio file saved in Google Drive to each slide.
For this option, all you need is Google Slides and a computer with a microphone.
Let’s go through the steps-
Step 1: Create your audio files for each slide and upload them to Google Drive.

Tip: Organize your files with a naming convention. You’ll need to locate these files in the next step. To keep them organized, following a naming convention for your audio files, including Course, Lesson, and Slide numbers, helps.
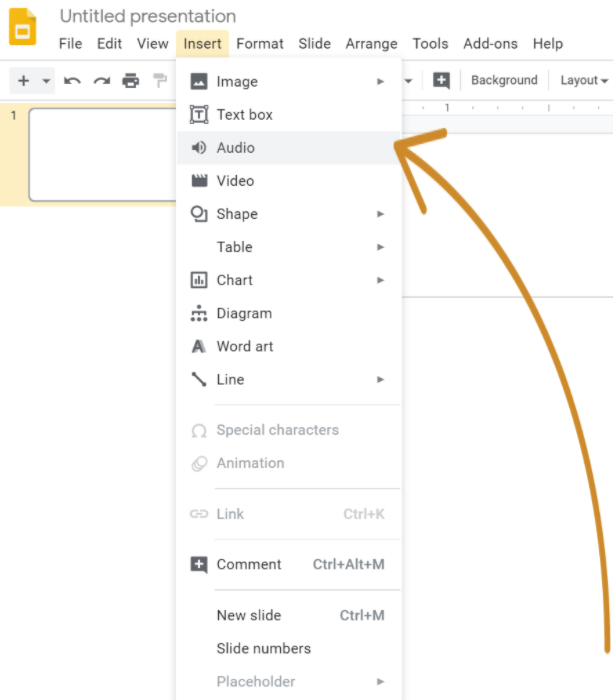
Step 2: Insert audio to your slide, and configure play settings
Next, you can insert audio from your drive into each slide individually.
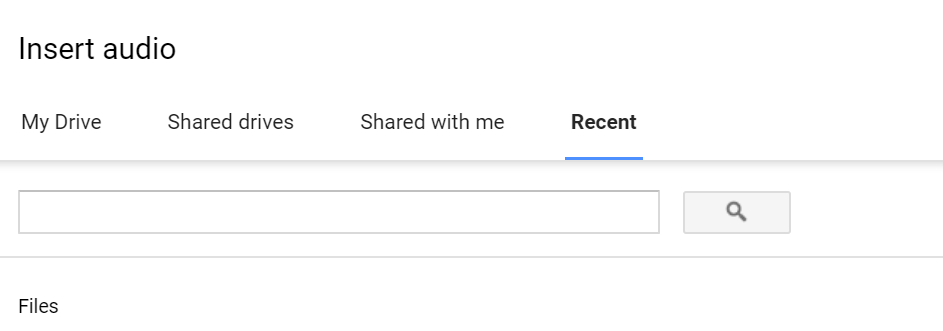
The files you uploaded should be in the Recent tab, but you can also search for the file manually.
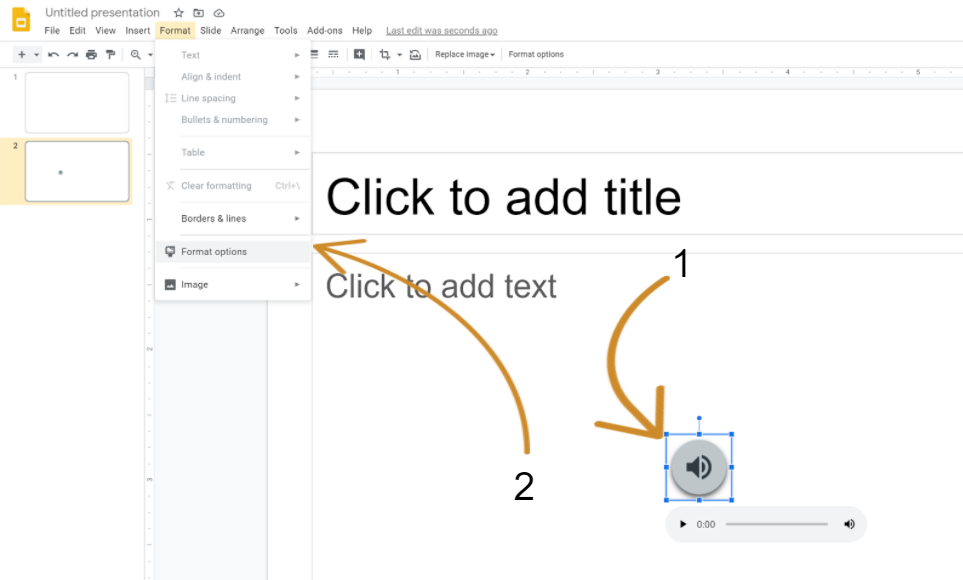
Step 3: Configure your audio settings
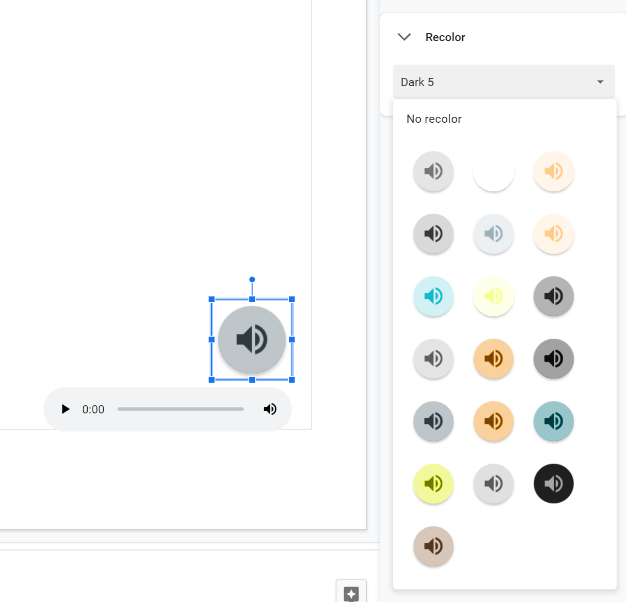
Google Slides gives you the option to specify how the voiceover should act. To open the Format options menu, you can click on the speaker icon, then go to Format options under the Format menu.
Voice-over formatting options for Google Slides:
- Autoplay- You can choose if you want the audio to play automatically or manually when a student clicks the slide.
- Loop- You can define if you want the recording to stop or repeat once it gets to the end.
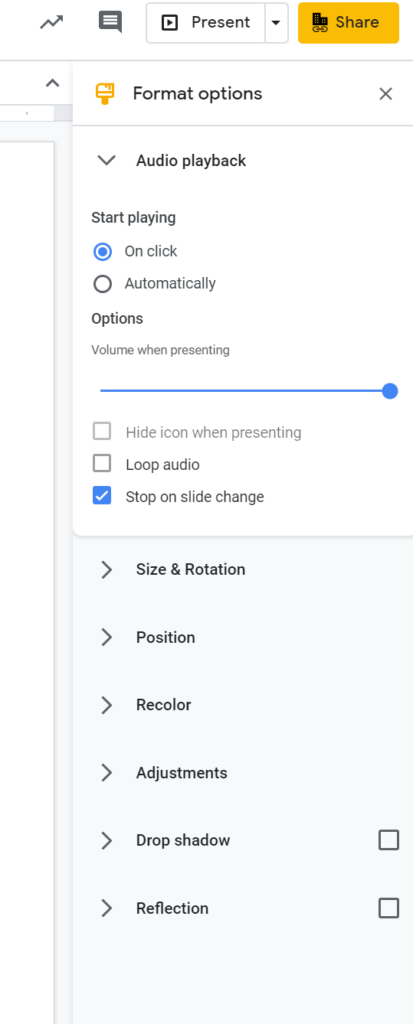
- Button size and colour– You can resize the button by dragging the corner and changing the colour using the “Recolor” option.
An online course or membership site can be a wildly successful way to monetize content.
Need help figuring out where to start? Get free training and start building for free!
Option 2: how to do a voice-over on PowerPoint
Microsoft Powerpoint has a feature that many average users don’t know about, which allows you to add voice-over narration to your PowerPoint. For this option, all you’ll need is Microsoft PowerPoint and a computer with a microphone.
On Windows computers:
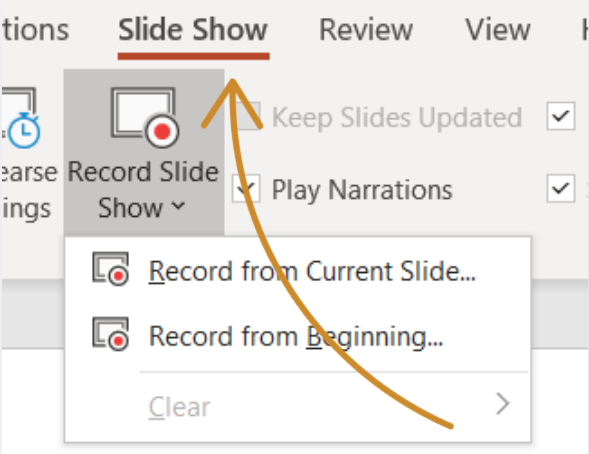
Step 1 – In the top menu, go to Slideshow >> Record Slideshow.
You have the option to record from the beginning of the presentation or from the current slide you’re on.
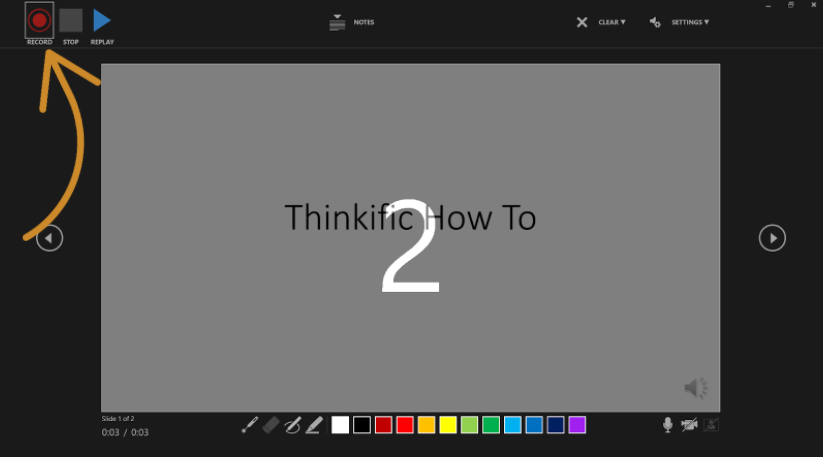
Step 2- Start recording
Once you select which recording you’d like to go ahead with, you’ll be in full-screen mode with options to record, stop, and replay. Once you click record, there will be a countdown timer from 3.
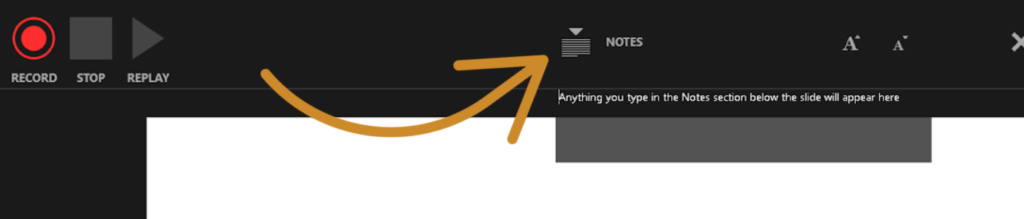
Anything you type in the notes section of the PowerPoint can be viewed by clicking on the notes button at the top.
The recording will stop automatically once you make it to the final slide. You can also pause, stop, or replay a recording at any time by pressing the pause button in the top left of your screen.

You can also record a video of yourself in the corner by selecting the video option in the bottom right corner.
Step 3 – Testing your narration
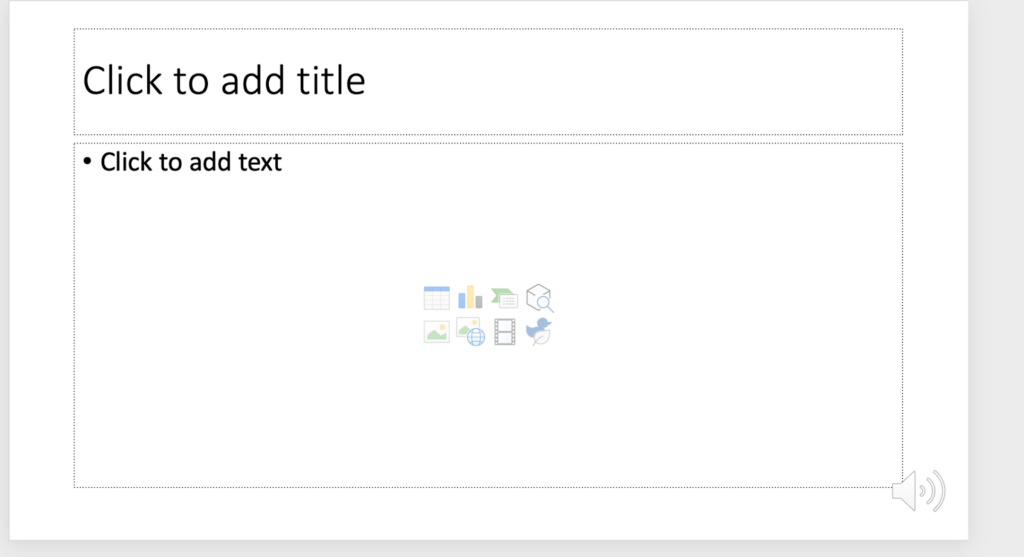
Once you’re finished, a speaker icon will appear at the bottom right corner of all the slides with recorded narration.
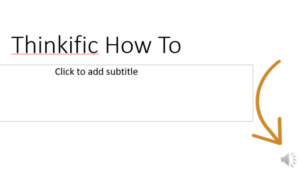
Just hover over the speaker icon to play, skip to time, or adjust the volume to play the narration.
On Mac Computers
Step 1 – Click on Slide Show.
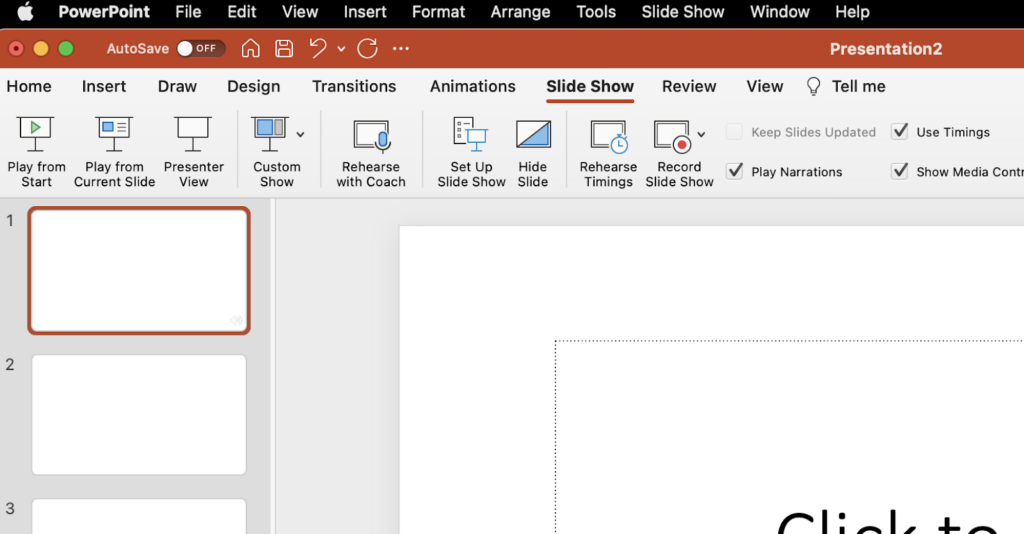
In the top menu, click Slide Show and choose the slide you want to start working on. Unlike on Windows, you will have to select the slide you want to work on manually. If it is the first slide you wish to choose, do so.
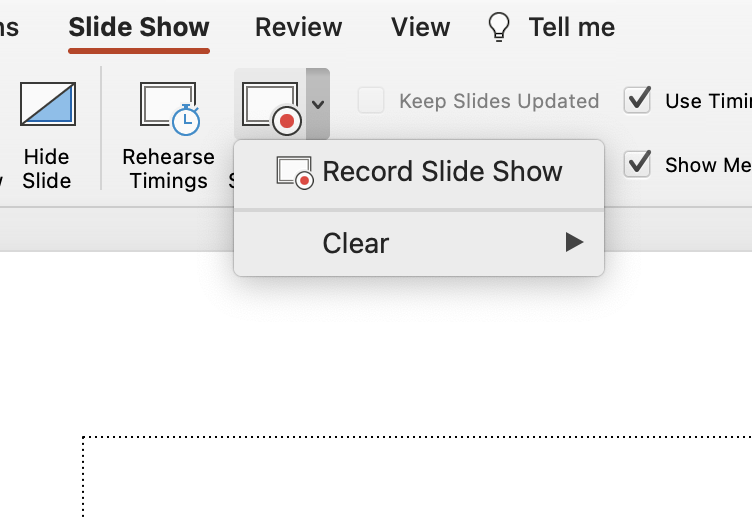
Step 2 – Click on Record Slide Show
Step 3 – Choose the input method
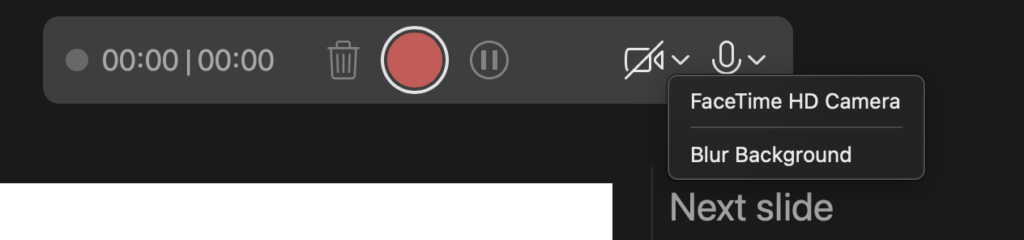
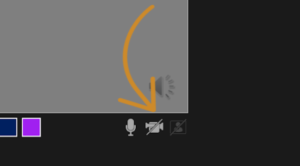
On the top of the screen, you can turn off the camera, if you wish to, or turn it on.
The next button helps you choose the voice input, whether your Mac’s in-built mic or an external device.
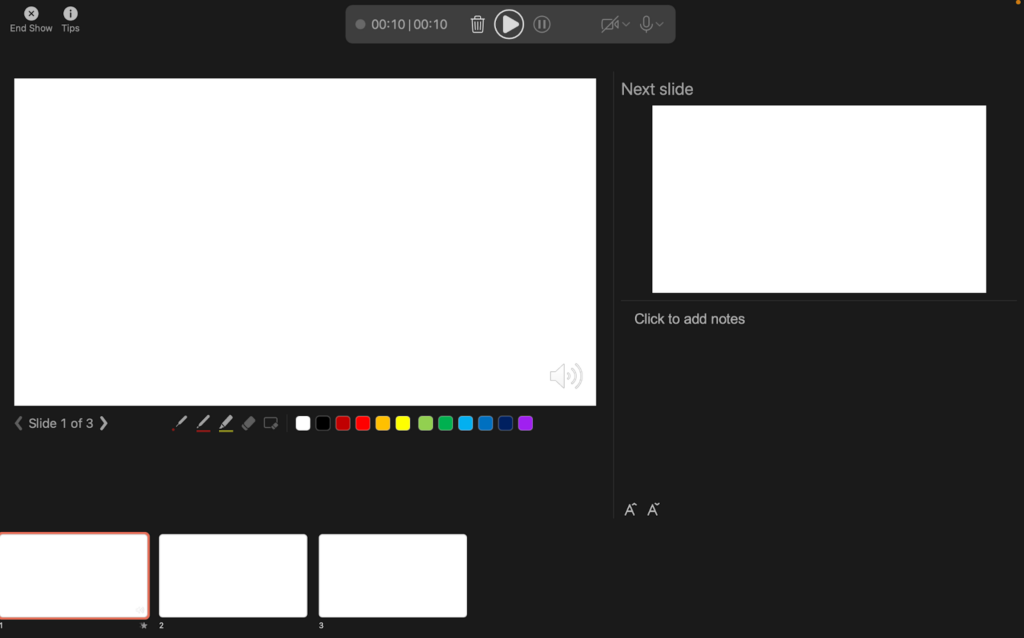
Step 4 – Add a voice-over to slides

As with the Windows version, add voice-over to the slides one by one, and add notes if you wish.
Step 5 – Complete recording
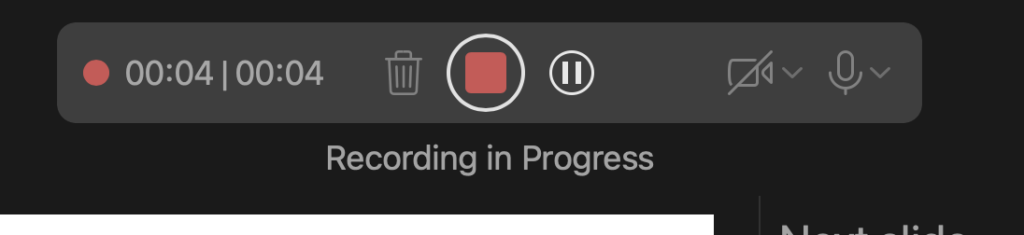

Once done, click on the large red button to start recording. Once your voice-over is complete, click the same button to stop recording. Again, add notes if you wish to. Then, move to the next slide.
Step 6 – Click on tips for more controls
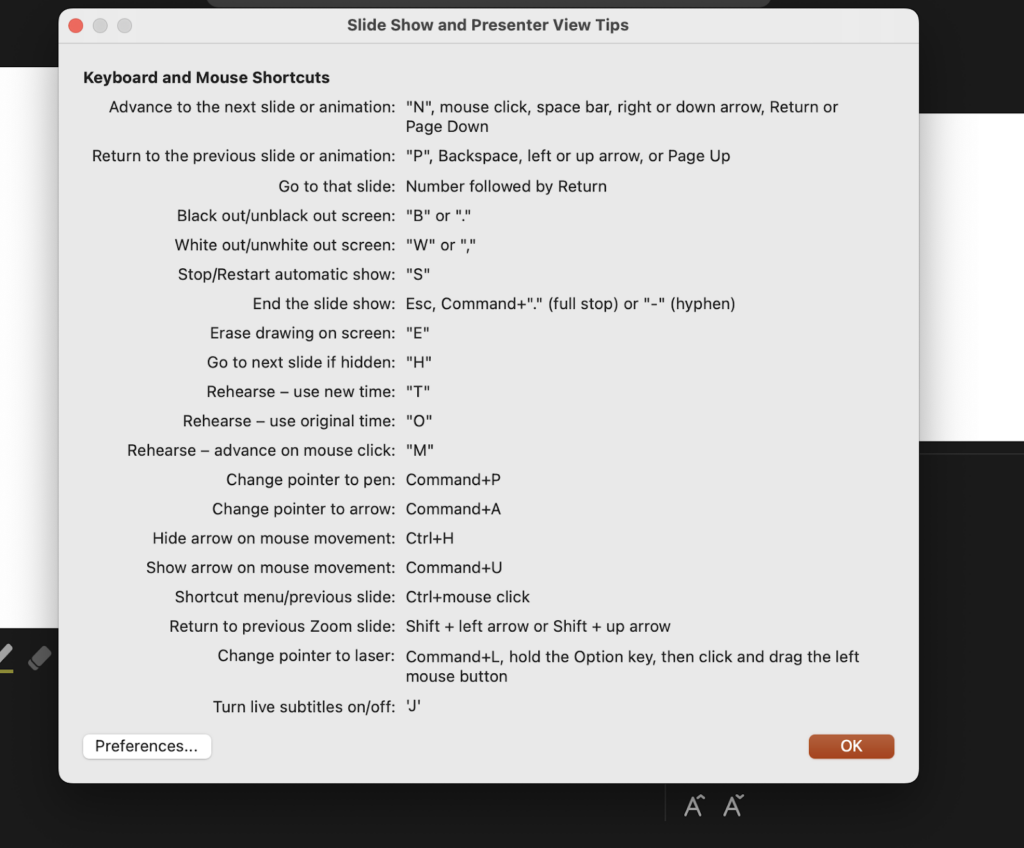
Click on Tips for several functions and shortcuts you can use on your Macbook to control your voice-over recordings. The Mac version of the PowerPoint tool is much easier to use.
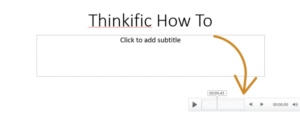
Step 7 – Verify your voice-over for accuracy
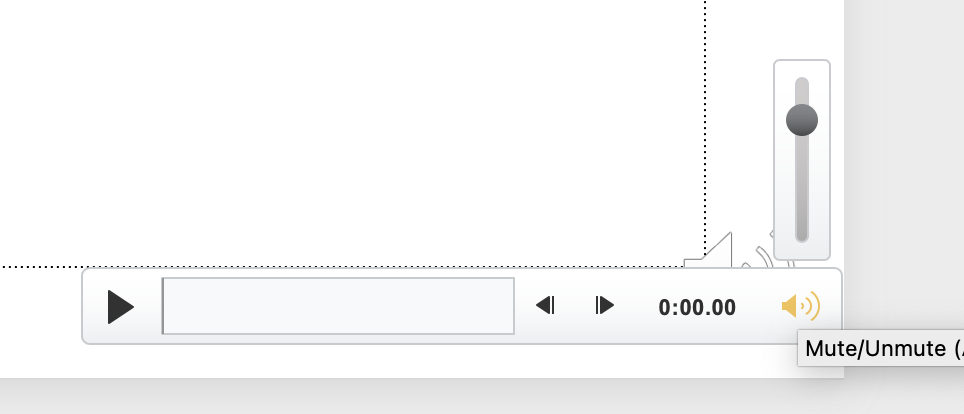
After your voice-over is complete, return to your presentation, and make sure that your voice-over is accurate by clicking on the white “Play” icon at the bottom of each slide.
Option 3: how to do a voice-over with screen recording
The last option involves recording your screen and audio as you discuss the presentation.
Check out our guide: How To Record Your Screen On Any Device.
We’ll show you free options and two paid options with advanced editing features:
Hit the record button on the video conferencing software
The easiest and cheapest option for screen recording without additional software is to join a Google Meet or a Zoom call by yourself, share your screen, and press the recording button.
This may be easy for a simple presentation but may prove frustrating for a longer presentation – the inability to edit means you’ve got one shot to make it through your presentation without any mistakes.
Use your computer’s built-in screen recorder
On Windows 10, just click Windows + G at the same time to open the Game Bar, and press “Start Recording”.
If you’re on a Mac, you can make a video recording of the entire screen or just a portion of it.
Shift-Command(⌘)-5 will display on-screen controls for recording the entire screen.
Two paid screen recording options
If you want the ability to edit and customize your video and access more editing options, you’ll need to invest in some software like Screenflow or Camtasia.
Here are our two favorite options, depending on whether you’re on a Mac or Windows System:
| Screenflow | Price: Starting at $129 Operating System: Mac |
| Camtasia | Price: Starting at $249 US Operating System: Windows and Mac |
Screenflow
Screenflow is a software program for video editing and screencasting for Apple users and is one of the best options for screen capture. This software functions well as a video editor for novice editors, but it lacks the deep customization and functions of a more advanced editor like Adobe Premiere Pro.
| Pros | Cons |
|
|
Download free trial of Screenflow
Camtasia
Camtasia is an all-in-one screen recorder and video editor that works on both Windows and Mac. It is one of the most widely used systems for screen recording and video editing. It is popular for its user-friendly interface and simple video editing.
| Pros | Cons |
|
|
Option 4: how to do voice-over presentations with Thinkific
If you have created a presentation on an external platform like Keynote, PowerPoint or Google Slides, you can use a Presentation lesson to display it within your Thinkific course!
This function enables you to record audio while speaking to specific slides. You also have the option to upload a recording for each slide.
This is a great way to create a customized experience for your students right within Thinkific.
To create a Presentation lesson, you will need to upload a PDF file. Each page in your PDF will be converted to images that will be displayed as slides within your Presentation lesson for students to navigate through.
If you have created a presentation in an external platform like PowerPoint you can simply export it from that platform as a PDF to later upload to Thinkific!
Here are the steps to create a Presentation lesson with voice-over on Thinkific.
With that, let’s explore what it takes to ensure a good voiceover.
Follow these five tips for adding a good voiceover
- Invest in a good microphone – Most cell phones and computers come with built-in microphones. These may not provide the professional-grade audio quality necessary to create compelling online lessons. Therefore, you must invest in a professional microphone that eliminates noise and disturbances. As we mentioned earlier, the most important rule is to ensure that your audio quality is high.
- Use a teleprompter – Although you may speak out your presentation and elaborate on the impromptu bullet points, you could make mistakes. These mistakes may make you seem like a novice. A teleprompter can help you read out your sentences in front of the webcam or the mic without making any errors. The result is – top-notch quality presentations with voiceovers.
- Clear your throat – Most people do not realize the importance of a good quality voice. In fact, voice-over artists are hired simply because of their excellent voices! While you do not need to hire professional voice-over artists, you can ensure that you sound your best by gargling your throat and clearing it before you begin to record. In other words, avoid recording your voiceover if you have a sore throat or when your voice sounds hoarse. Keep a jug of water ready next to you to keep sounding fresh.
- Sound confident – Confidence doesn’t come with good quality microphones and teleprompters alone. Practice talking in front of a mirror, which will help ensure that you sound and look great.
In fact, dressing professionally just before you record your voice-over may also have psychological benefits – you could feel more professional and thus sound more professional and confident. - Edit audio if necessary – Despite all the care taken, you may make mistakes during voice-over recording. Listen to your slides repeatedly and make changes until you are completely satisfied with how you sound. Although there are audio editing tools out there, they may not be necessary for simple presentations such as the ones required for online lessons.
Wrap up
Whichever method you choose, turning a regular presentation into an engaging voice-over is sure to improve the quality of your presentation.
But here’s a thought: Why not monetize your presentations with an online course?
Sign up with us for free and try it out (we dare you).
Not ready to take the leap, but still interested in improving the quality of your production? Check out one of these related guides:
- How to Create Video For Your Online Coaching Course
- How to Improve the Video Production Quality for Your Online Course
- Best Equipment & Software For Creating Online Courses
- 4 Elements of Effective Video Content for Online Courses
This guide on voiceovers was published in August 2020 and was updated in October 2022.