It’s easy to feel overburdened trying to wrap your head around a huge amount of new information. It’s much more effective to break down learning materials into chunks, consumable segments. This approach is called microlearning. It provides learners with the flexibility to learn at their own pace and grasp essential information in short periods. Let’s dive deep into how you can start using microlearning to your advantage.
Microlearning is a learning approach that focuses on small doses of training material that learners can comprehend quickly. When designing microlearning content, break down each topic into small key parts of segments. Express each part succinctly. Learners won’t be as likely to engage with your content if it’s all text. Incorporate various media types such as text, video, audio, graphics, animations, and diagrams. Add quiz and other interactions to keep your audience engaged and search for more useful nuggets of instructional content.
To create content using Microlearning Editor:
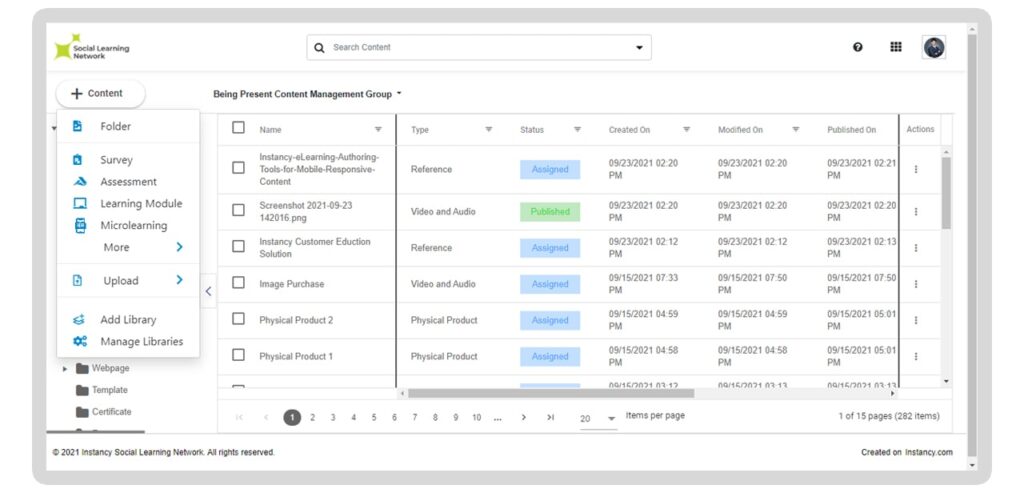
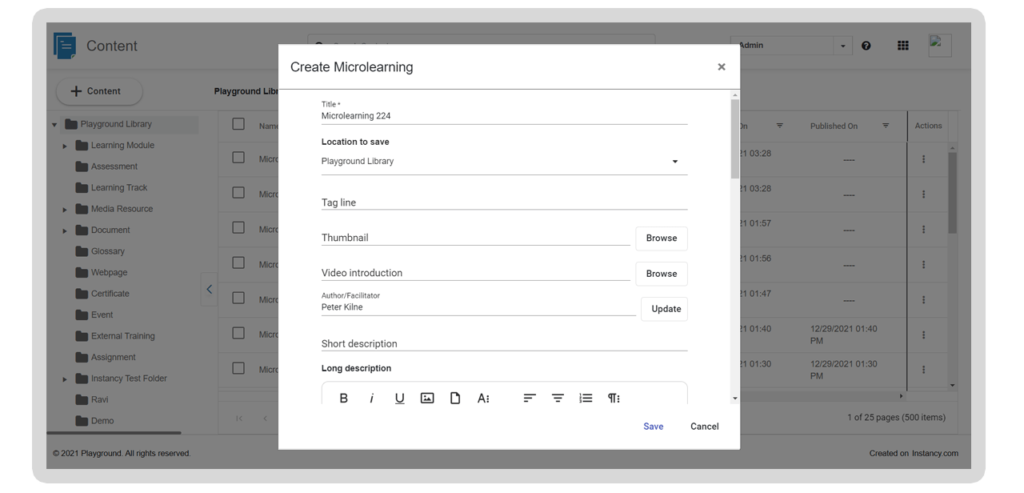
Login as an Author and click on Add Content>Microlearning Editor button in the Content App.
Enter all the Metadata Details for the microlearning content item and click Save. You are now in the Microlearning Editor. You’re presented with a mobile phone size canvas; start adding pages or frames and add multimedia elements using the left panel. As shown below, you can add/delete pages, add/delete topics, text and multimedia elements, etc.
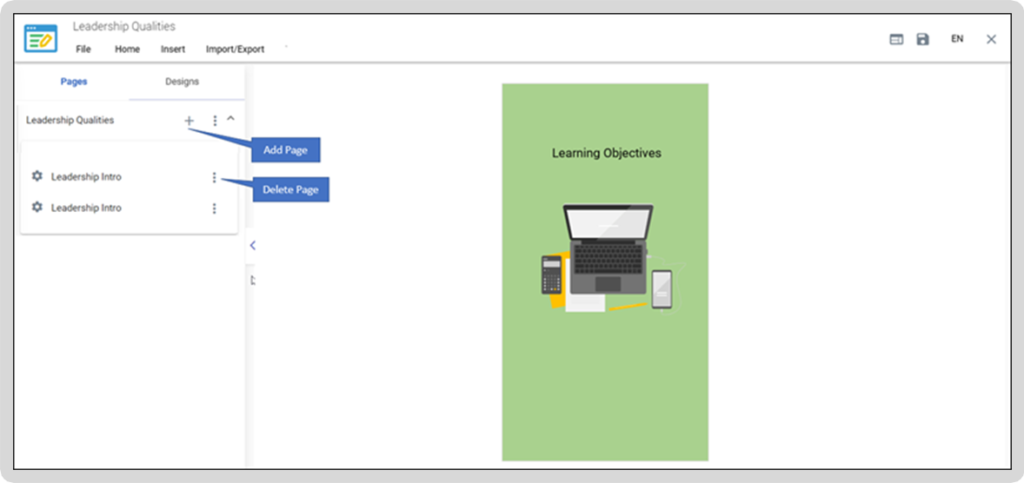
Add Pages and Topics – Topics and Pages are hierarchical organizational components of a microlearning course. Topics are the top-level organization structure for your course. Pages are the next level down from topics. A course can have many topics and each opic can have multiple pages. Elements like text, multimedia, and widgets can be added to the Pages.
- Expand a Topic and add a Page. Give a Title or the name to a Page.
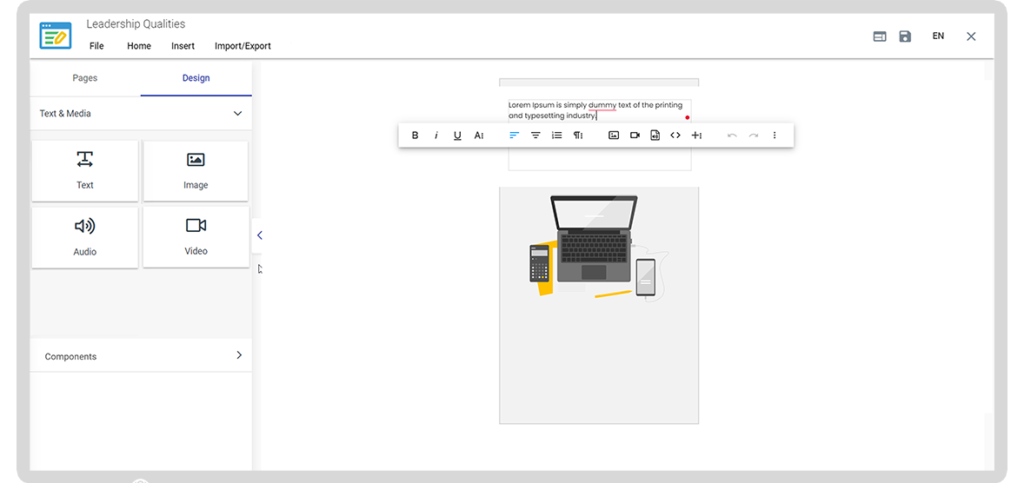
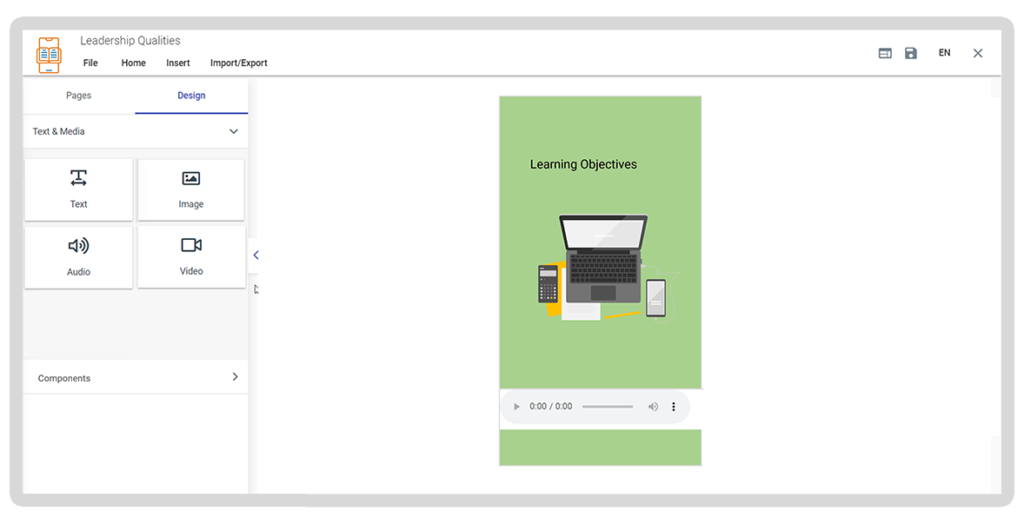
- Add Text Elements – Select the Designtab and expand the Text and Media Drag and Drop the Text element onto the right pane. As shown below, you can copy and paste text here and customize the text properties.
Add Images from the image gallery – Visual cues can help learners remember information. Pictures also help explain or highlight a learning topic in a simple way. Plus, images can be used to make your content look visually appealing, helping to engage your learners more.
- Add a new page and select the Design tab and expand the Media Drag and Dropthe Image element onto the right pane.
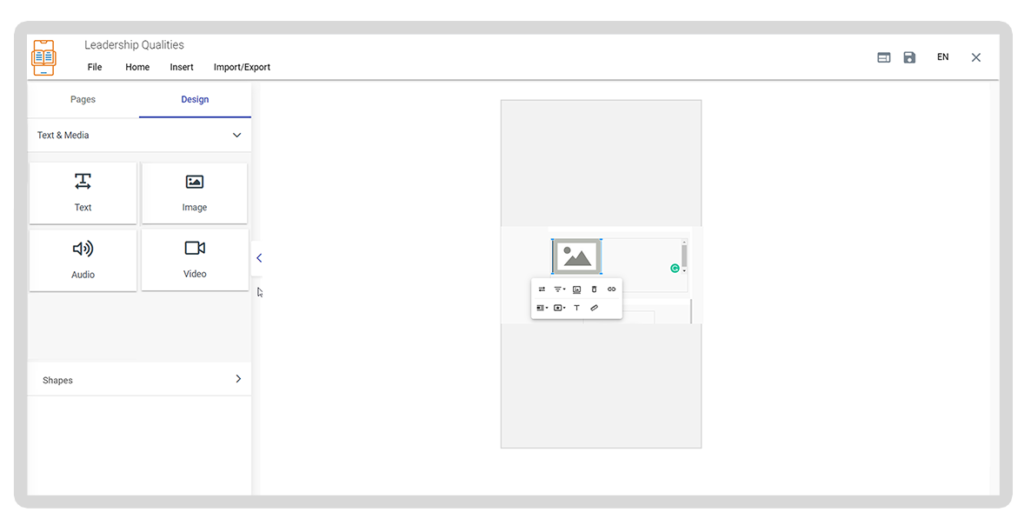
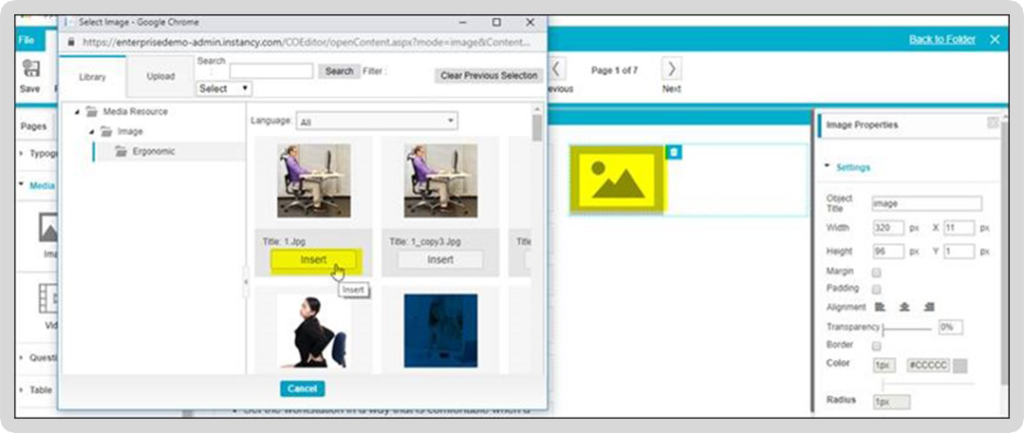
- Double click on the Image component to open the image library and click on the Insertbutton to add the image to the Page.
- Library: The library shows the uploaded image files and clicks on the Insertbutton to add to the course.
- Upload: Click on the Uploadtab to upload image files in the local directory to the system and add them to the course.
Add Multimedia Elements like Audio Files – Audio files can be added to the learning materials, thus making your training material engaging for your learners. Select the Design tab and drag and drop the audio component for the left pane.
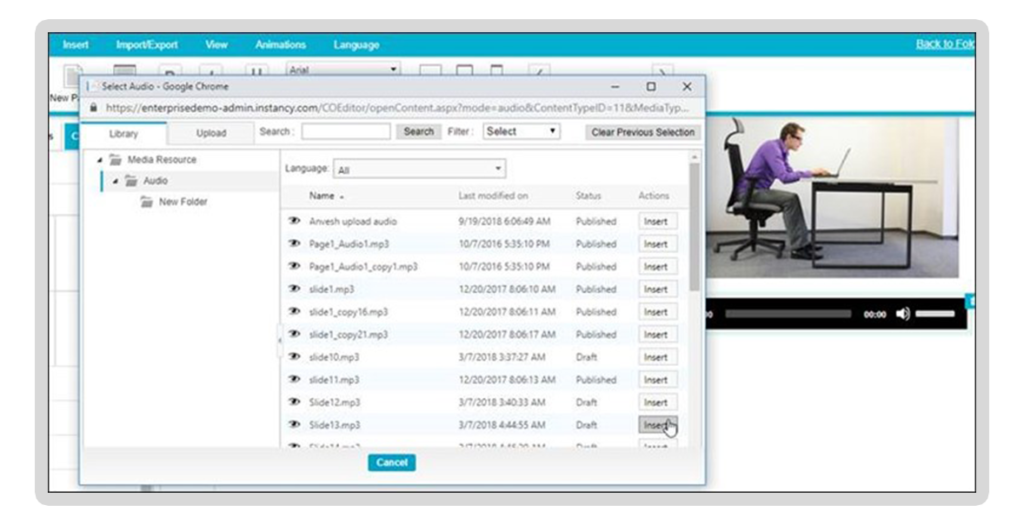
Double click on the audio component; the Media Library pop-up window opens.
Library: The library shows the audio files that are already uploaded files and click on the Insert button to add to the course.
Upload: Click on the Upload tab to upload audio files in the local directory to the system and add them to the course.
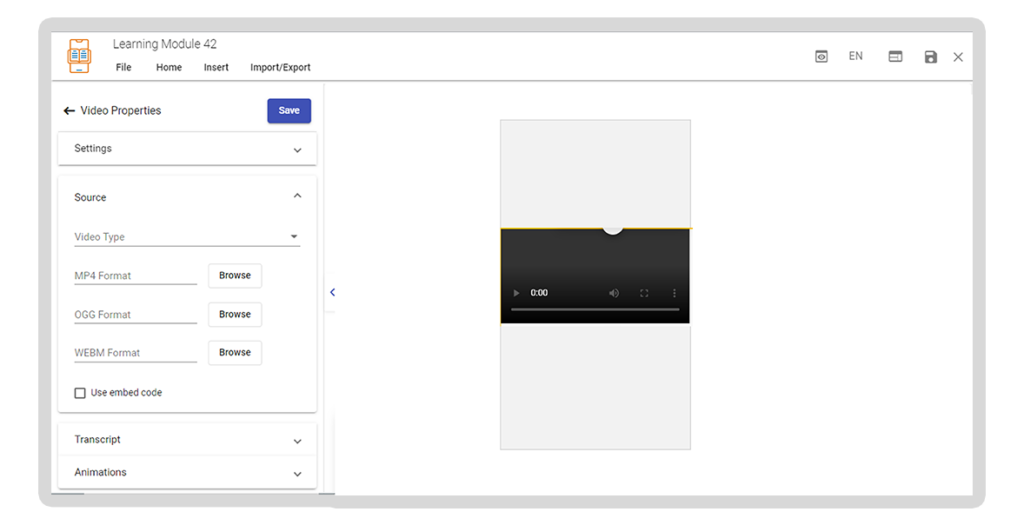
Add Video to a Page – Add a new page to the content item, select the Components tab, and expand the Media Drag and Drop the video element onto the right pane.
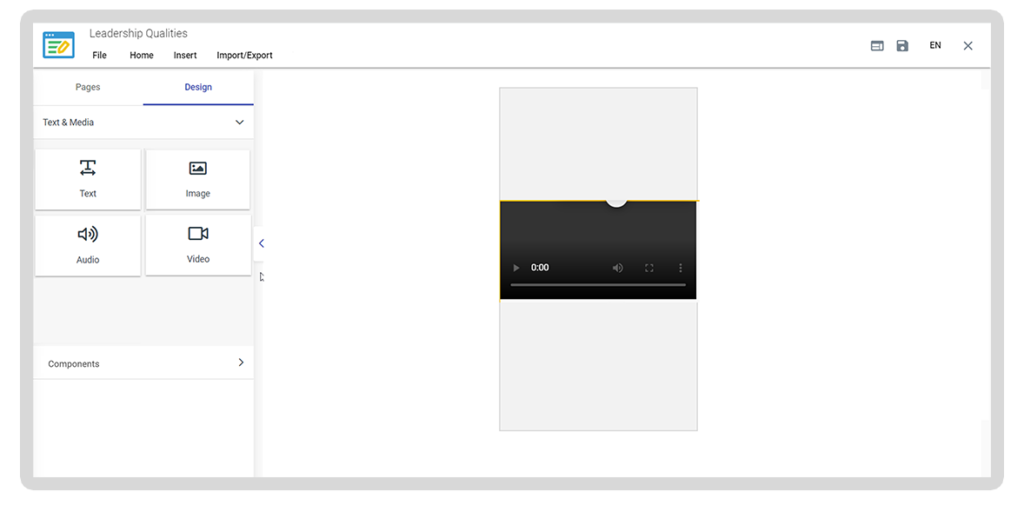
Select the video component and go to the Settings>Source Action Enable the Use embed codecheck box. Copy the Embed video code and paste it into the text box and click on the Update button.
Add HTML Blocks – HTML blocks are ready-made content layouts that make content development faster.
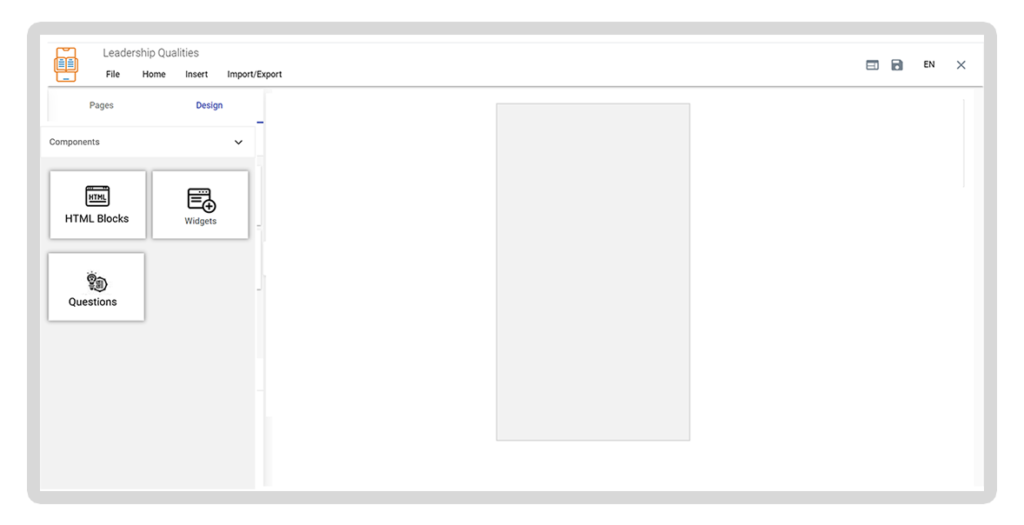
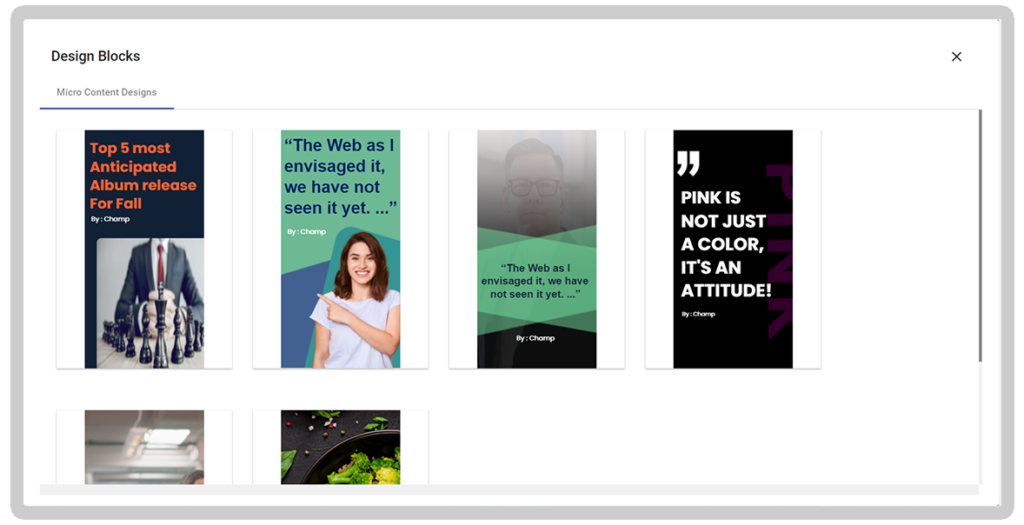
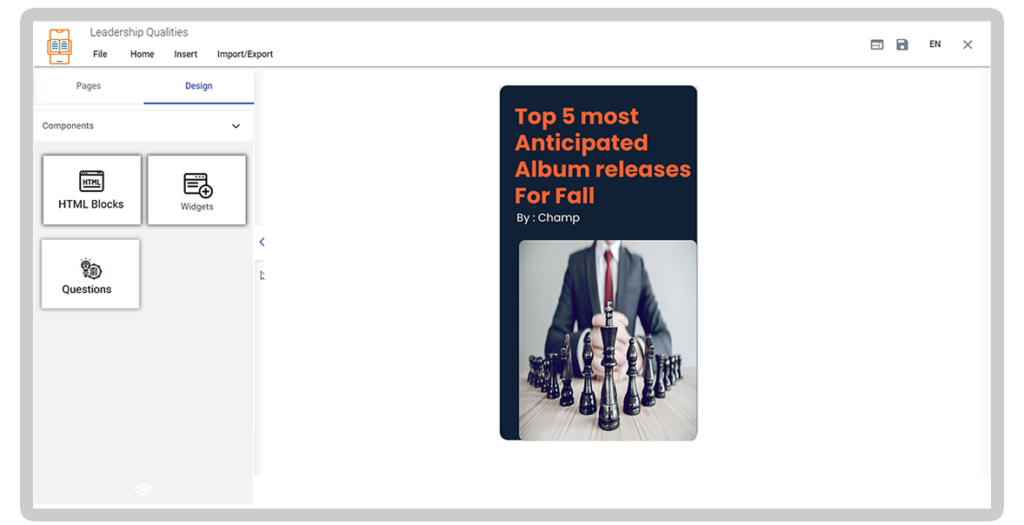
- Select the Designtab and drag and drop the HTML Blocks component onto the right pane; it opens a pop-up window with a gallery of HTML Blocks. Select any HTML Block design and customize the content by adding the text and multimedia elements.
Please select a suitable block from the HTML blocks available and upload it.
Add the HTML Block and start adding the questions.
Import PPT – To begin with, PowerPoint file is all you need to gather the learning content for your microlearning course. If you already have a PowerPoint presentation, you can directly convert it into a microlearning course by importing it into the microlearning editor and converting the slides into microlearning pages.
Click on the Import and Export tab. Click on the Import> MS PowerPoint from the menu options.
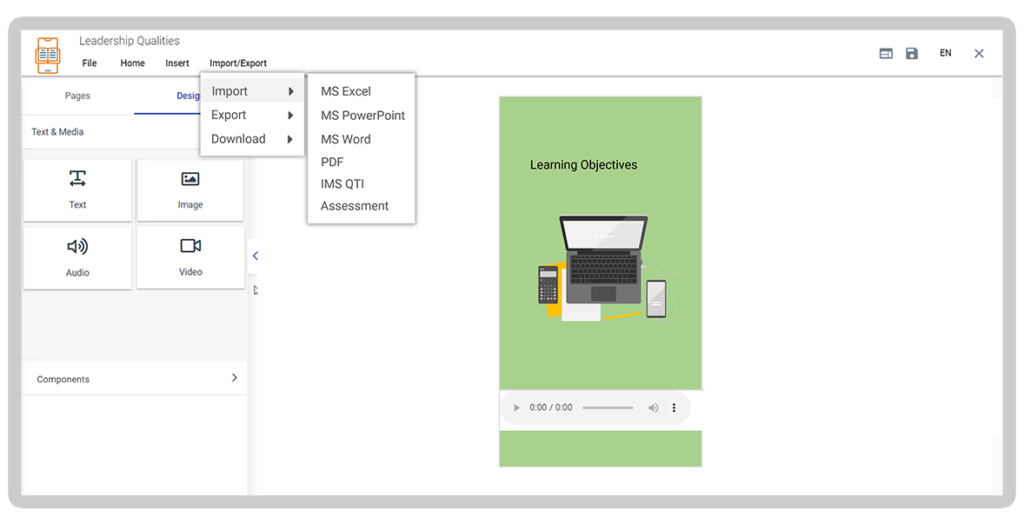
Select the Import file option, browse the local folder to select a PPT, and click Save to upload the PPT file.
Note: All the other details can be edited as per the requirement.
Import Word – We can create content using Word documents. Select the title and click on Import/Export Tab.
- Click on Import > MS Word.
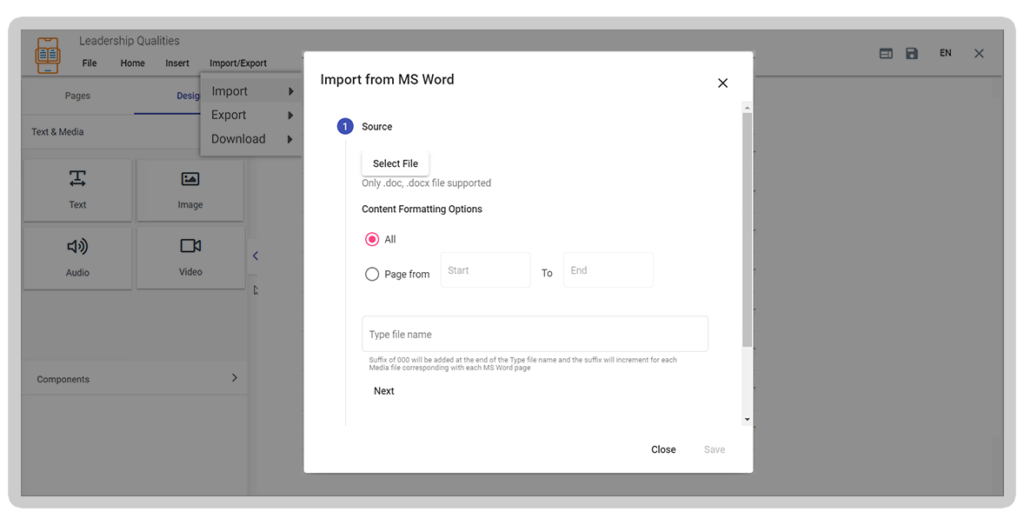
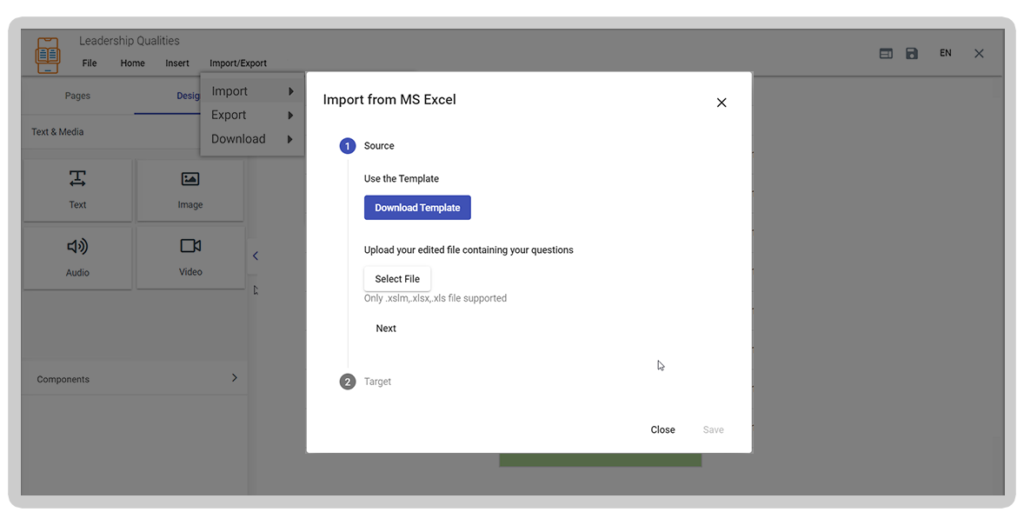
Download the Template from the Source tab; once you have uploaded the questions, upload the Template using the Upload option.
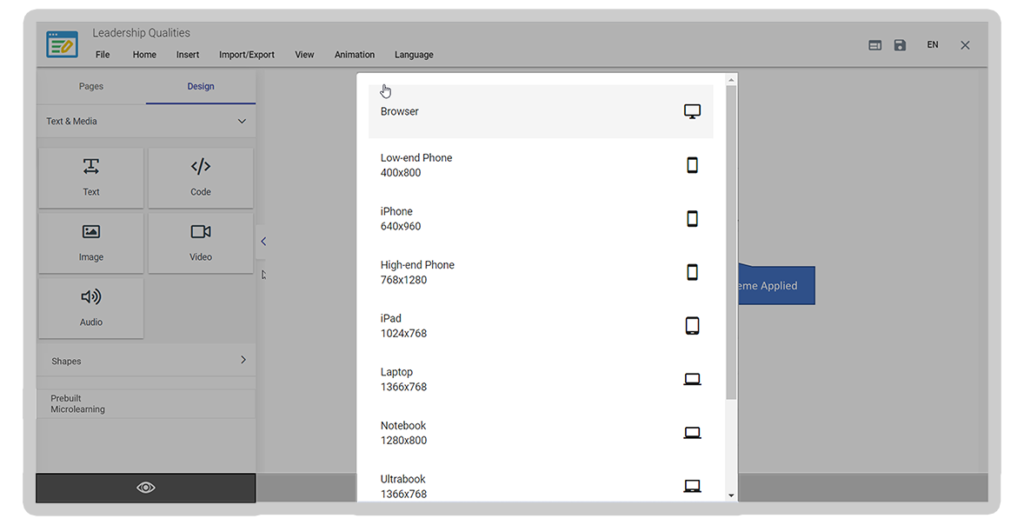
Once the content is ready, click on the Preview button and generate the preview in the browser, iPhone, iPad, etc., to see the learner view.
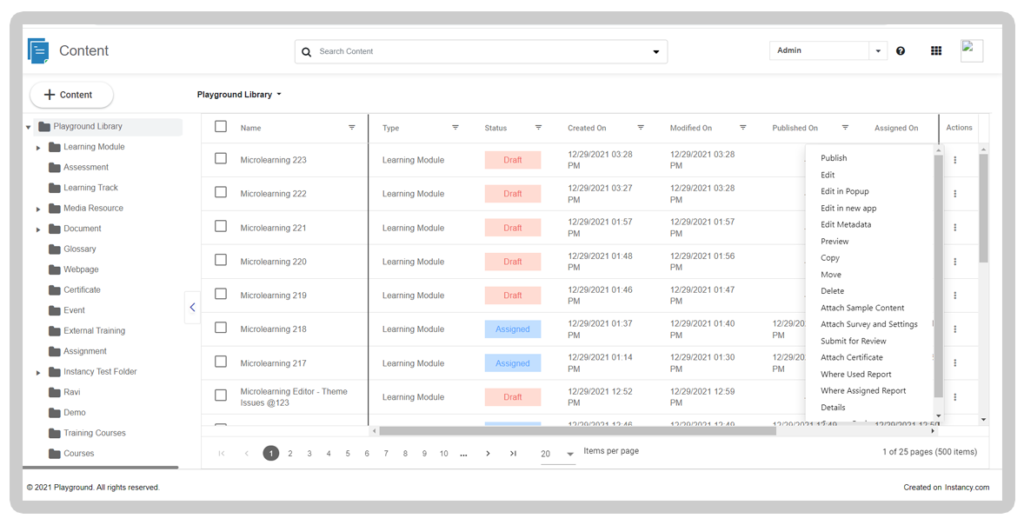
Now go back to the content management system and Publish the content item. And then it can be assigned to the Catalog.
Assign :
