If you’re planning to create a storyboard but don’t know where to start or feel overwhelmed by the process, don’t worry, I’ve got you covered. In this article, I’ve listed all the essentials you need to know. Here are the 5 key elements that every storyboard should include.
Storyboard Key Element #1: Visual Sketches or Thumbnails
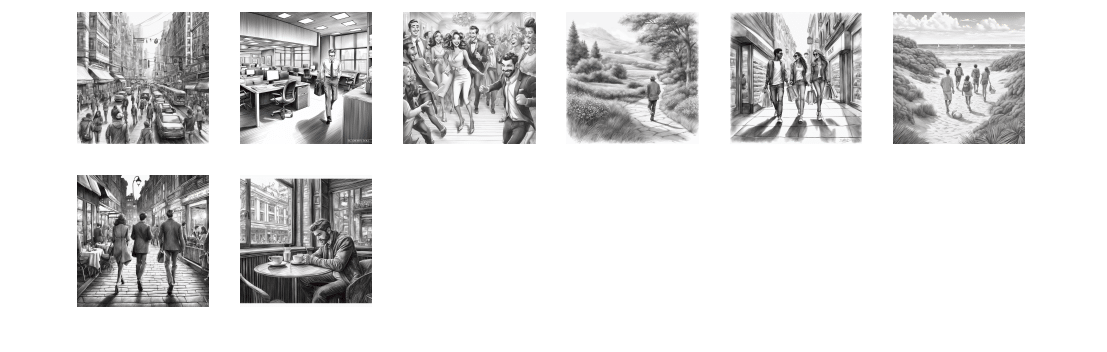
Visual sketches or thumbnails are the backbone of any storyboard. They’re like the rough drafts of each scene or shot, giving a sneak peek into what the final product will look like. But don’t worry, they don’t need to be Picasso-level masterpieces. In fact, the simpler, the better.
To create visual sketches, start by breaking down your story into key moments or scenes. Then, grab a pencil and some paper (or a tablet and stylus if you prefer digital drawing) and start sketching out each scene.
Tip: If you want a hassle-free approach, consider using AI to create your storyboards. With AI, you don’t have to draw — simply type out your scenes and let the technology generate the visuals for you.
Thumbnails are another handy tool in the storyboarder’s arsenal. These are like mini versions of the final storyboard, usually arranged in sequence on a single page or screen. Thumbnails help creators get a bird’s-eye view of the entire story, making it easier to spot any gaps or inconsistencies.
For instance, if you’re storyboarding a short film, you might create thumbnail sketches for each scene and arrange them in chronological order on a storyboard template. This allows you to quickly visualize the pacing and flow of the story, ensuring that each scene leads naturally to the next.
Overall, visual sketches and thumbnails are essential for turning abstract ideas into concrete visuals. They serve as a visual roadmap for the entire project, guiding everyone involved – from directors to animators to actors – in bringing the story to life. So don’t underestimate the power of a good sketch – it’s the first step on the journey from concept to creation.
Storyboard Key Element #2: Scene Descriptions or Shot Details
Alongside those sketches, creators jot down descriptions of each scene or shot. These descriptions provide the who, what, where, and when of the action. They help everyone involved understand what’s happening in each frame, from the characters’ expressions to the setting’s mood.
To craft effective scene descriptions, think about what needs to be communicated in each shot. Consider elements like character actions, dialogue, camera angles, and lighting. Then, use clear and concise language to convey these details in a way that’s easy to understand.
For example, let’s say you’re storyboarding a scene where a character is running through a dark alley at night. Your description might read: “Character runs through a dimly lit alley, breathless and panicked. Trash cans line the narrow path, casting long shadows. Behind them, distant sirens wail, adding to the sense of urgency.”
These scene descriptions not only set the stage for the action but also provide valuable context for the visual elements. They help directors and animators visualize the scene and plan their shots accordingly.
In addition to describing the action, scene descriptions can also include notes on camera movements and framing. For instance, you might specify that a certain shot should be a close-up to capture a character’s emotional reaction or a wide shot to establish the setting.
By including detailed scene descriptions in your storyboard, you ensure that everyone is on the same page and working towards a shared vision. So next time you’re sketching out a storyboard, don’t forget to add those scene descriptions – they’re the glue that holds the visual narrative together.
Storyboard Key Element #3: Dialogue or Script Excerpts
If there’s dialogue or a script, it gets added to the storyboard too. This helps creators visualize how the words will play out on screen. It’s like practicing lines before a big performance – except in this case, the performance is being drawn or filmed.
To incorporate dialogue into your storyboard, start by transcribing the script or writing out the dialogue for each scene. Then, add speech bubbles or text boxes to the appropriate panels, indicating who is speaking and what they’re saying.
For example, imagine you’re storyboarding a scene from a short film where two characters are having a heated argument. Your dialogue might read:
Character A: “I can’t believe you lied to me!”
Character B: “I didn’t lie, I just didn’t tell you the whole truth.”
Character A: “That’s the same thing!”
These dialogue snippets not only convey the words spoken by the characters but also the tone and emotion behind them. They help bring the scene to life on the page, giving readers a sense of how the conversation will unfold on screen.
In addition to dialogue, script excerpts can also include important stage directions or action beats. For instance, you might include notes on character movements, facial expressions, or dramatic pauses to enhance the storytelling.
By including dialogue or script excerpts in your storyboard, you ensure that the visual and verbal elements of your story are in sync. This helps streamline the production process and ensures that everyone – from actors to animators – understands the intended tone and pacing of each scene. So don’t be shy about adding those lines of dialogue to your storyboard – they’re an essential part of the storytelling process.
Storyboard Key Element #4: Annotations or Notes
Ever seen those little arrows or notes scribbled on storyboards? Those are annotations, and they’re super important. They might indicate camera angles, character movements, or special effects. Basically, anything that helps bring the storyboard to life.
To add annotations to your storyboard, simply use arrows, text labels, or symbols to indicate important details or instructions. These annotations provide additional context and guidance for interpreting the visuals, ensuring that everyone involved in the project is on the same page.
For example, suppose you’re storyboarding a scene where a character performs a complex martial arts move. You might include annotations like “Camera pans left to follow character’s movement” or “Slow-motion effect as character kicks.”
In addition to technical instructions, annotations can also include creative notes or reminders. For instance, you might jot down ideas for character motivations, thematic elements, or visual motifs that you want to incorporate into the scene.
By including annotations in your storyboard, you not only communicate your creative vision more effectively but also provide valuable guidance for the production team. These notes help directors, animators, and other collaborators understand your intentions and execute them accurately.
So don’t hesitate to annotate your storyboard with whatever details or instructions you think are necessary. Whether it’s a specific camera angle, a character’s emotional state, or a special effects cue, every annotation brings you one step closer to realizing your vision on screen.
Storyboard Key Element #5: Storyboard Sequence or Flow
Last but not least, everything in the storyboard needs to flow in a logical sequence. It’s like putting together a puzzle – each scene or shot fits together to tell the whole story. Without a good sequence, the story might feel choppy or confusing.
To ensure a smooth storyboard sequence, start by arranging your visual sketches or thumbnails in chronological order. This helps establish the timeline of the story and ensures that events unfold in a natural progression.
For example, if your storyboard follows a character’s journey from waking up in the morning to going to bed at night, make sure the scenes are arranged in the order they occur: waking up, getting dressed, eating breakfast, going to work, and so on.
In addition to chronological order, consider the pacing and rhythm of your storyboard. Are there moments of tension and release? Peaks and valleys in the action? By varying the pacing, you keep the audience engaged and interested in what happens next.
Another important aspect of the storyboard sequence is visual continuity. This means making sure that each shot flows smoothly into the next, both in terms of composition and content. Pay attention to factors like camera angles, character positioning, and background details to maintain continuity from one shot to the next.
By crafting a cohesive storyboard sequence, you create a roadmap for the visual narrative that guides the viewer from beginning to end. Each scene or shot builds upon the last, leading to a satisfying conclusion that feels both inevitable and surprising.
So take the time to carefully arrange your storyboard in a logical sequence, ensuring that every visual element contributes to the overall flow of the story. With a well-executed sequence, your storyboard will capture the audience’s imagination and leave them eager to see more.
Conclusion
Storyboarding might seem like a lot of work, but it’s totally worth it. By including these storyboard key elements – sketches, descriptions, dialogue, annotations, and a clear sequence – creators can bring their ideas to life in a way that’s easy for everyone to understand. So next time you’re planning a visual project, don’t forget to sketch out a storyboard first!
By prioritizing these 5 key elements in your storyboard, you set yourself up for success in bringing your creative vision to life. So grab your pencil and paper, or explore an AI storyboard generator, and start sketching your scenes – your next masterpiece awaits!
Related Articles: