The Top 4 Ways to Customize eLearning Courses with Adobe Captivate 2019
Are you looking to customize your eLearning courses to meet the unique requirements of your learners? Adobe Captivate 2019 can help you transform your eLearning courses into custom courses that are just right for your learners.

Let’s be honest. Customizing corporate eLearning courses to meet your learners’ unique requirements can be a challenge. The fundamental problem with pre-built training courses is that they’re almost completely based on standardized templates, which may not be suitable for your company’s learning requirements. This is where Adobe Captivate comes in! Adobe Captivate 2019 has several visually appealing, effortless themes to help you design custom eLearning courses. This saves you a lot of time when developing eLearning. Not only does it help reduce development time, but it also improves the appearance of your courses.
Here are the Top 4 Ways to Customize Your eLearning Courses
- Graphic User Interface (GUI) Customization
- Menu Customization
- Drag and Drop Customization
- Result Page Customization
Read on to find out more!
Adobe Captivate 2019 is one of the most powerful authoring tools in the market today. It creates high-quality, immersive eLearning courses by combining video, audio, text, and many engaging interactive features.
Let’s now look at what you can do to design custom eLearning courses using Adobe Captivate 2019.
A few Different Ways to Customize Your eLearning Courses
Graphic User Interface (GUI) Customization
The GUI or the graphic user interface of your eLearning courses is the first thing that grabs your learners’ attention. Adobe Captivate 2019 has designed its GUI for the most common use cases. It includes all the elements that you would need to create a basic course, including a progress bar and play and pause controls. Most authoring tools have built-in templates for their user interfaces. However, one size rarely ever fits all probable design purposes.
Key Considerations for High-Impact eLearning
Customizing the user interface, based on specific requirements, is crucial to achieve successful online learning experiences. Adobe Captivate 2019 allows you to customize every aspect of the user interface of your eLearning course based on your specific requirements. You can create fully customized CCs, Play, and Pause controls, and Replay buttons using JavaScript’s advanced actions provided with Adobe Captivate 2019. You can also place these buttons anywhere on the GUI.

Menu Customization
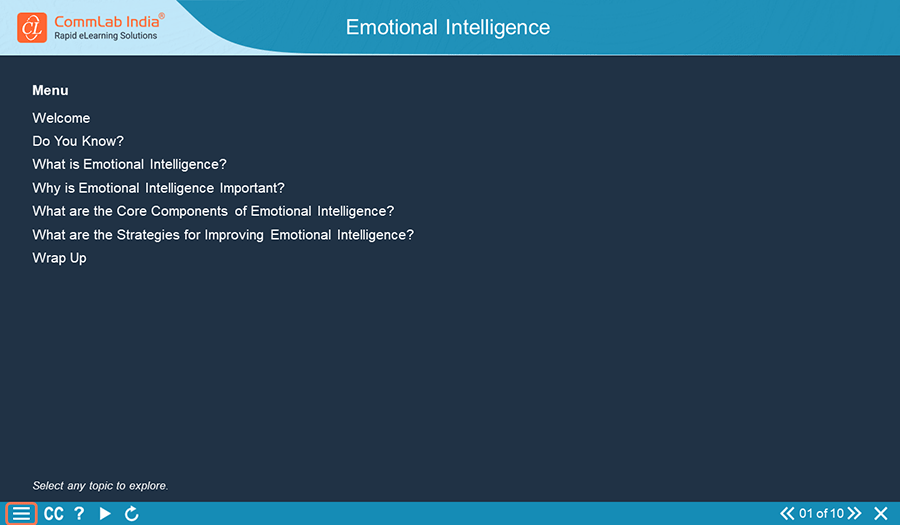
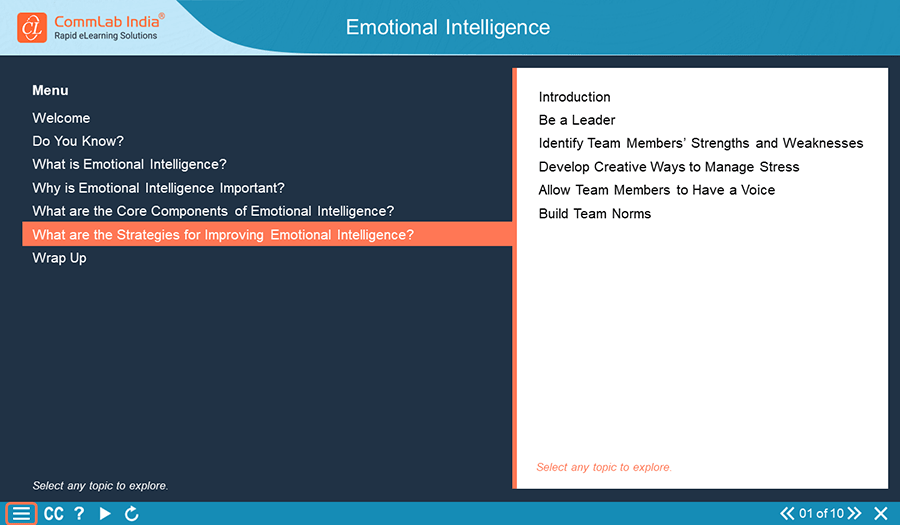
The menu allows you to list the units or topics of your eLearning course in one place that’s easy to access. You can add topics as headings and sub-headings that link to different slides in your course. The menu appears on the top of the slide, and it is accessible from multiple locations within the course. You can use the menu to jump to a particular unit or topic or play the entire course, from any slide.
Adobe Captivate lets you add a custom menu for your eLearning course. You can change the look and feel of the menu and place it wherever you want on the slide. You can also add the status of previously visited slides and the slide where the learner is at that present time. You can also add an unlimited number of topics and sub-topics for your menu. To summarize, you can customize all navigational and menu tracking capabilities using advanced actions.


Drag-and-Drop Customization
Drag-and-drop is an interactivity that is regularly used in eLearning courses. These interactions are a great way to assess knowledge. It allows the learner to drag one or more objects from one area and drop them in another target zone. This allows learners to explore their options, experiment with potential outcomes and learn at their own pace.
When people think of drag-and-drop interactions, they usually think of the following:
- Matching where learners match objects
- Identifying (Pick One) – where learners identify a single object from a group of objects
- Identifying (Pick Many) – where learners identify multiple objects from a group
- Sequencing – where learners arrange objects in order
It is a myth that Adobe Captivate doesn’t allow for the customization of drag-and-drop interaction. You can design highly customized and interactive drag-and-drop exercises by using advanced actions and JavaScript.
In Adobe Captive 2019, you can customize the drag-and-drop activity in a variety of ways. For instance, you can change the color of the object after the learner drops it in the right drop area. You can also provide custom feedback for dropped objects before submitting the answer. You can also create multiple objects for a single drop area. Similarly, you can design tick marks for objects after the learner drops them in the correct drop areas.
Result Page Customization
The result page is important as it acts as a feedback mechanism for learners. They can gain insight into how they’ve performed in the course and the areas they need to improve.
The result page displays the following information: learners’ score, the passing score, the number of correct and incorrectly answered questions, the number of attempts, and the buttons to click to retake the quiz and the course.
Adobe Captivate personalizes the result page by using user variables and advanced actions. By using JavaScript, you will be able to create a number of result pages, compute the results and send the final score to the LMS. What’s more, you can also add the final score on the result page of the course.
Parting Thoughts
Adobe Captivate 2019 is easy to use, but it’s not simplistic. It’s a powerful authoring tool, but it’s not too complex. It provides eLearning developers multiple ways to create engaging eLearning, with greater flexibility, and the ability to provide rapid roll-out of your customized courses. Adobe Captivate 2019 is a high-level solution that can add value to your organization. For more insights on different authoring tools, download our free eBook that’ll help you choose the right authoring tool to help you develop custom eLearning courses.
This blog is co-authored by Pratyusha Marreddy.


