


We’re always looking for shortcuts. If there’s a nicely designed template in PowerPoint, you can use its background in your Captivate Master Slide to create a stunning new theme.
- I like using the PowerPoint backgrounds in my Cp projects. I don’t need the PowerPoint master slides, just the background image. Importing that PowerPoint background into my Captivate master slide applies the background to my title, content, quizzing, and all the other slides in the master slide series.
There are a lot of nicely designed template backgrounds that come with PowerPoint. And, if you want to access more, you can download “thousands” from Microsoft directly within PowerPoint. They are sorted by categories such as Education and Business. Many are offered in a 16X9 format.
(I am using Office 365 for this demo.)
Here’s an example:

There are probably lots of ways to leverage the PowerPoint template backgrounds, but this is how I do it:
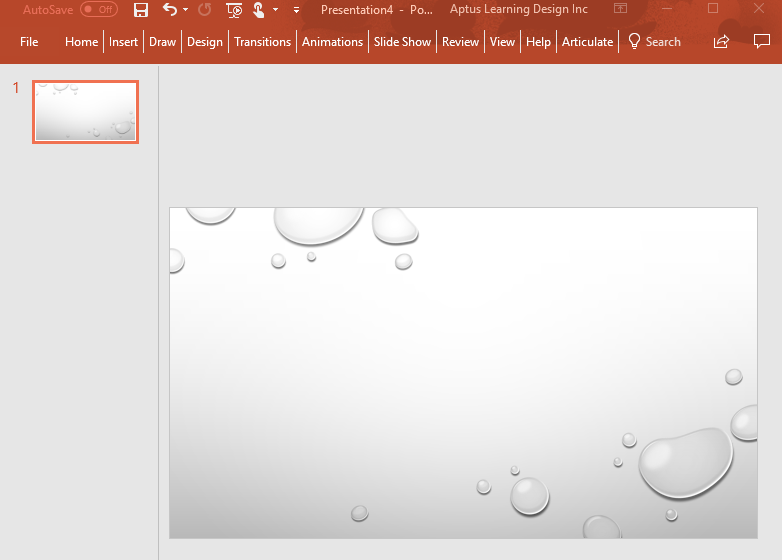
1. Living in Seattle, we have a natural tendency to be drawn to rain. This background, Droplet, ships with Powerpoint.
I selected it and removed the placeholders since Cp will add those placeholders for me in my master slides.
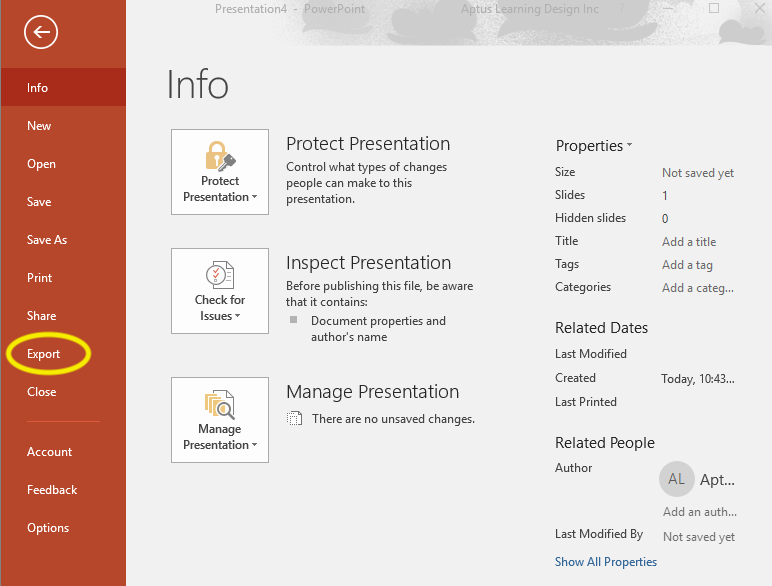
2. File (from the Menu Bar) –> Export
3. You’ll need to change your File Type if it defaults to “Create PDF/XPS”
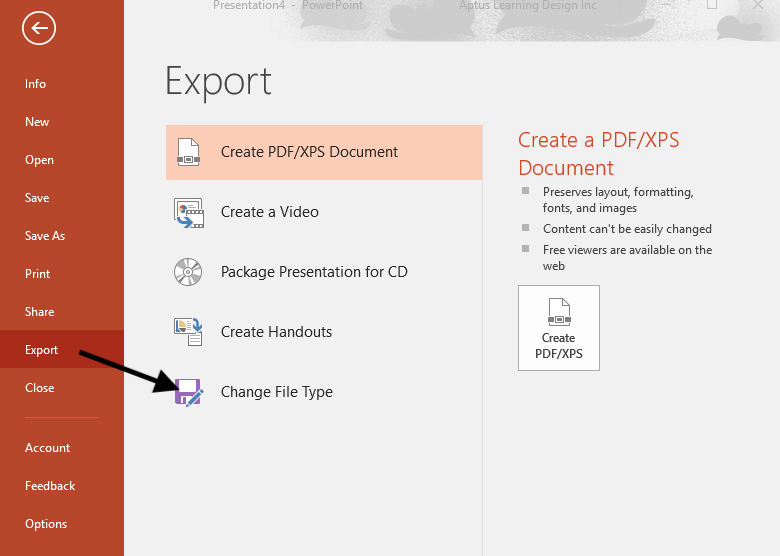
4. Since I am always looking for ways to keep my file size low, I select .jpg. But, if you prefer, you can save as a .png

5. PowerPoint will ask which slides you want to export. In this example, to keep it simple, I have only 1 slide. If you have more than 1 slide, PowerPoint will save each slide in your presentation as a separate file in the folder. Make sure to save the folder in a place you can easily find it.
6. You’ll now have a file with that background.
![]()
7. If you have Photoshop, I recommend using it for the next step. Although Cp can edit your image to fit your slide, I prefer Photoshop’s precision and editing options.
To size the background image, I created a 1024X627 landscape file (72 resolution) and placed my Droplet image. I had to make some adjustments, while maintaining the aspect ratio to get fit the image exactly into 1024X627. If I had wanted to, I could have adjusted the opacity, hue, or any of the many other tools in Photoshop. In this example, I like it just the way it is.

8. Now, open Captivate. (I am using Cp 2017 10.0.1.285)
Select the Style Tab –> Project Background –> Add Project Background, and Import the background .jpg slide you created in Step 5.
Make sure to save your Theme (You may want to make additional changes before you save it. There are lots of great tutorials about custom themes. But, for this example, I am saving it as-is)

9. And here it is!

I hope that you’ve learned something valuable today. Please reach out with comments and suggestions. Stay tuned for more Newbie tricks, tips, and hacks.
Thank you, so very helpful for someone new to Captivate!
Thank you for your blog posting! Your PowerPoint Captivate tips are very helpful for me PowerPoint is in my comfort zone. Marrying the two increases my comfort with Captivate.
You must be logged in to post a comment.


