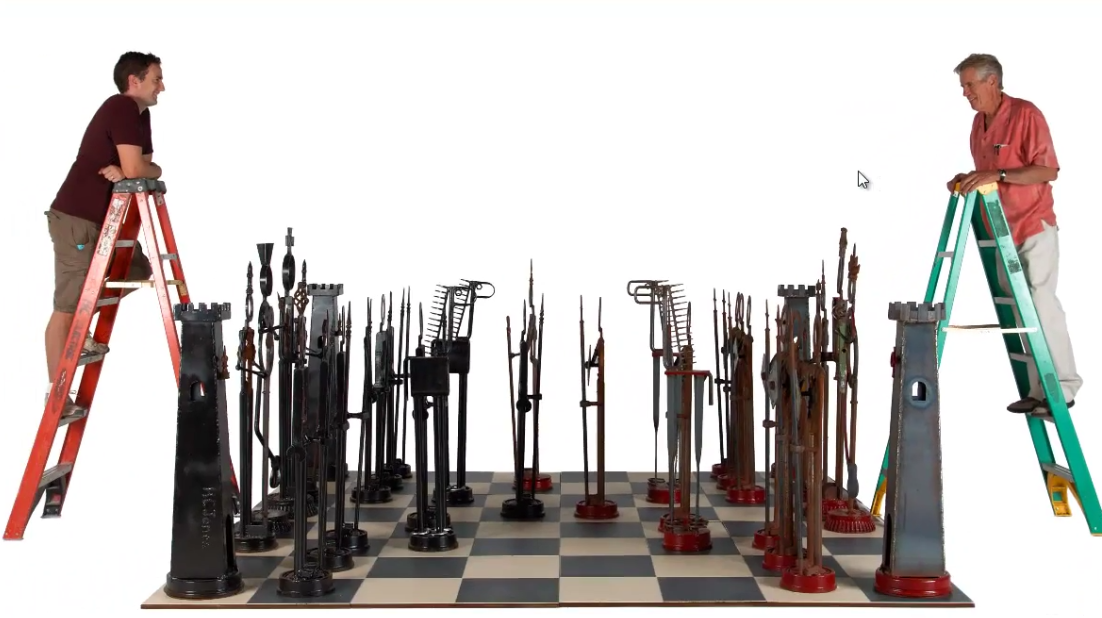
I recently created a photo slideshow (using PowerPoint) of my dad’s life-sized chess set sculpture that’s at Facebook (Go Dad!).
I found that PowerPoint was a surprisingly powerful slideshow creation tool.
And once I learned the basics, I was able to create my next slideshow in under 1 minute!
Below is what I learned, as well as some bonus lessons such as adding music, creating a custom title slide, saving the slideshow as YouTube video, and more.
Let’s go ahead and get started!
Video Tutorial
Here is a video that shows the entire process:
And if you want to watch the published version of the slideshow, you can watch it here:
Sculptures are by my dad, Hardy Jones, and sculpture photos in the source files are courtesy of my good friend Erin Bibeau.
Screenshot and Text Tutorial
The screenshot version of the lessons are below and are organized into these sections:
- Create slideshow in under 1 minute
- Create a custom title slide
- Add music
- Set slide transitions
- Improve image quality
- Scale images to the edge of the slides
- Add pan and zoom “Ken Burns” effect
- Create scrolling credits
- Save the PowerPoint slideshow as a video that you can upload to YouTube
Create a PowerPoint Slideshow in Under 1 Minute
To watch this section as a YouTube video, click here.
0. Start with a new presentation open in MS Powerpoint.

Note: I’m working in PowerPoint 2016, but the steps are similar for 2013 and 2011.
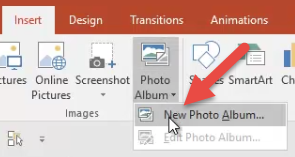
1. Insert a photo album to your presentation
Go to “Insert” → “Photo Album” → “New Photo Album”.
Click on “File Disk”.
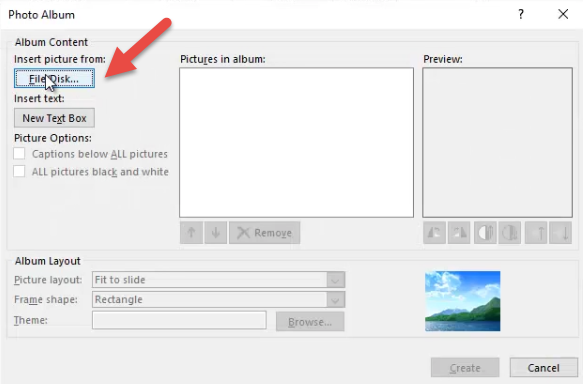
Select the photos from your computer
Note: You can hold down Ctrl while clicking several photos to select them individually
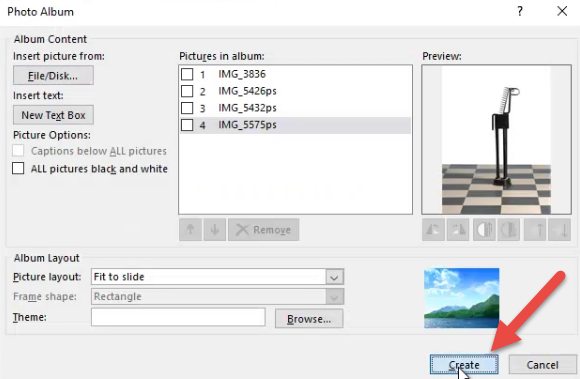
Click “Insert”

Click “Create”
2. Add transitions to your slideshow
Next you want to add transitions to your new photo album.
Click the first slide, then hold Shift while clicking the last slide to select the whole range of slides.
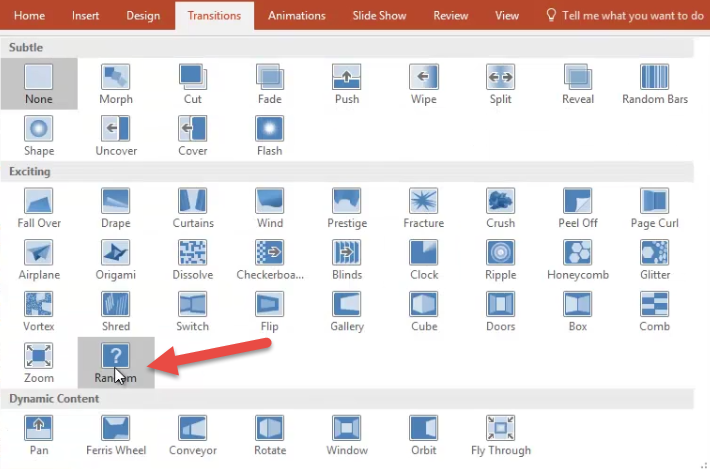
Go to “Transitions” → click on the arrow to open up more choices.

Click on “Random”.
3. Set the slides to advance automatically
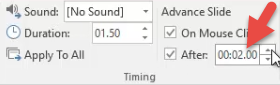
From the “Transitions” tab, check the “Advance Slide” “After” box.

Set it to 2 seconds (or whatever you want).
4. Set the slideshow to loop continuously
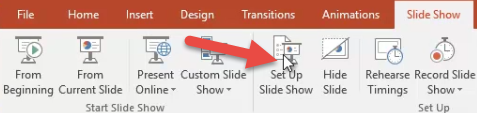
Go to “Slide Show” → “Set Up Show”.
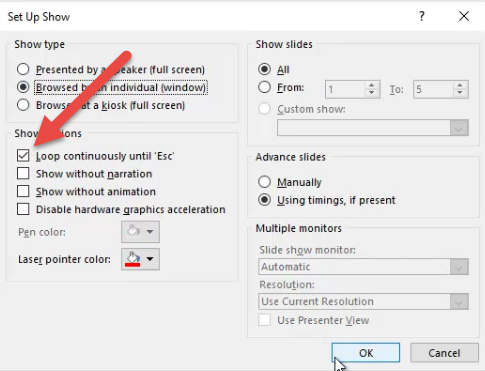
Turn on “Loop continuously until ‘Esc’”, then click “OK”.
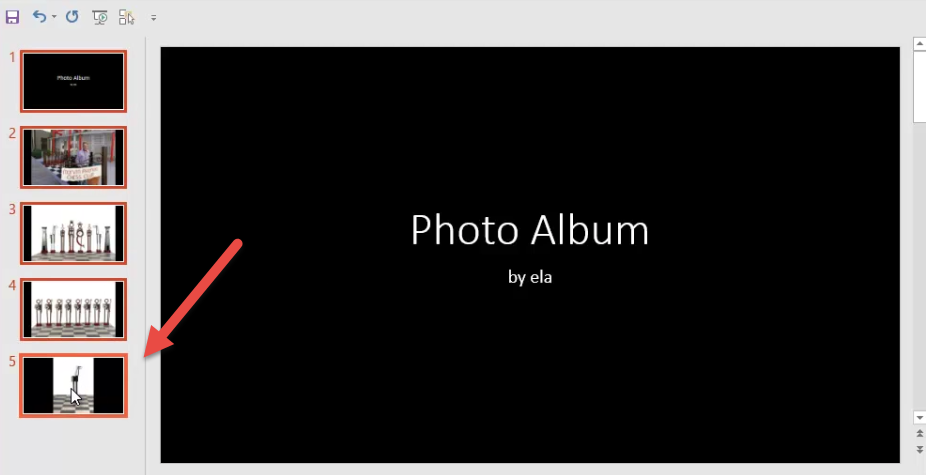
5. That’s it! Boom! Done in under 1 minute!
You’ve created a photo slideshow in PowerPoint in under 1 minute!
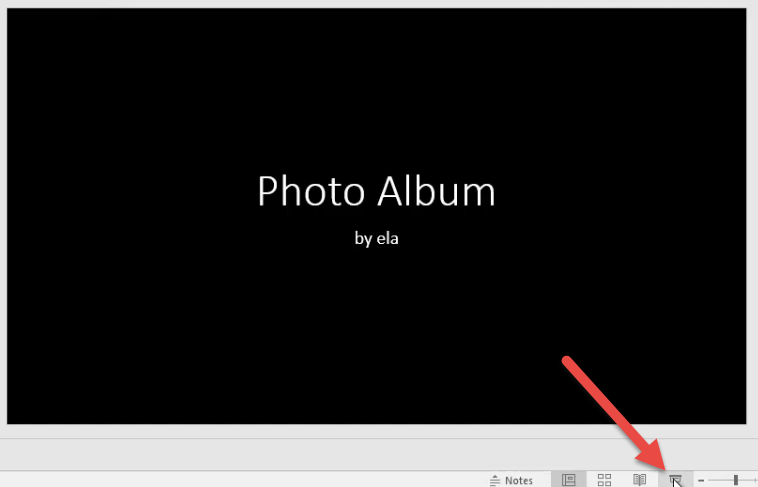
You can preview your slideshow with the preview button.
Advanced PowerPoint photo slideshow tips
The lesson above shows you how easy it is to create a photo slideshow in PowerPoint in under a minute.
But if you want to take it to the next level, you should continue reading below.
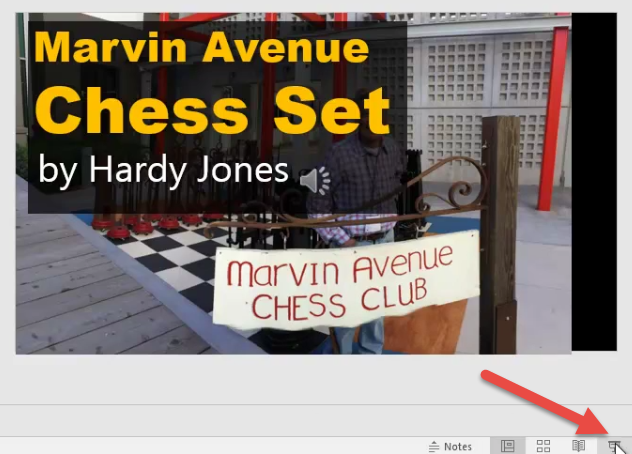
Advanced Tip 1: Create Custom Title Slide
The default title slide for a slideshow in PowerPoint is just a black slide with a text box.
Lame!
I’d rather delete it than use the default view.
Or better yet, why not use an image from the slideshow with a text overlay? That’s what I’ll show you how to do below!
To watch this part of the lesson as a YouTube video, click here.
[fve start=180]https://youtu.be/1B2Ix6ulrPg[/fve]
0. Start with the slideshow you created previously.
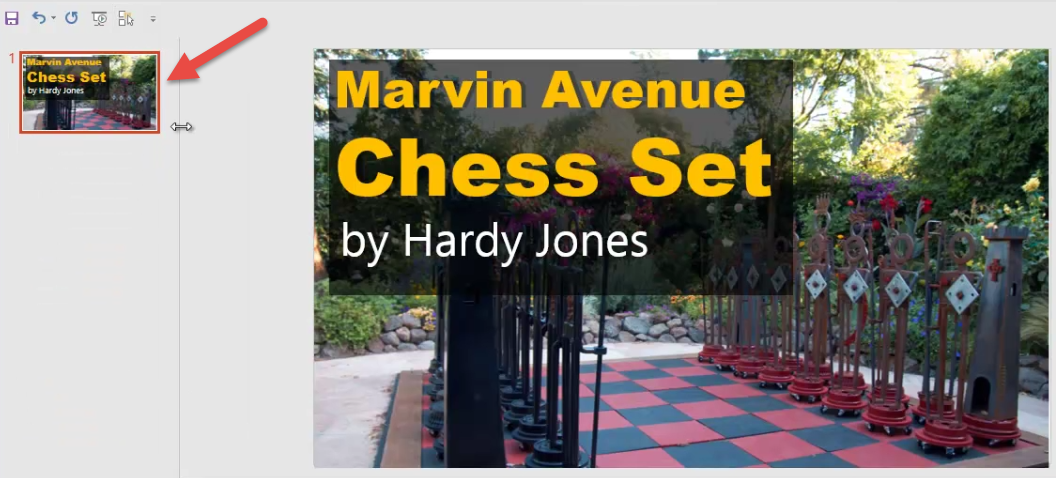
1. Copy and paste a the template slide
Note: You can download our free template here
The click the slide and using Ctrl + C to copy.
Then go to your own slide show, click on where you want to insert it, and hit Ctrl + V.
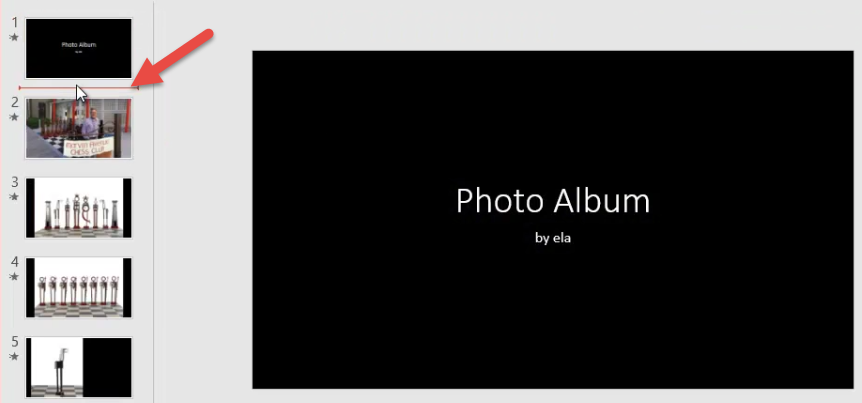
2. Click on the new slide to select it and customize it.
You can change the text as you please.

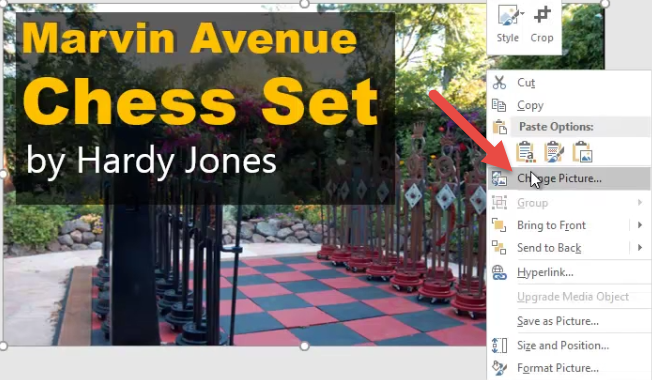
You can also change the image by right-clicking on the image → “Change Picture”.
Click on “Work offline”.
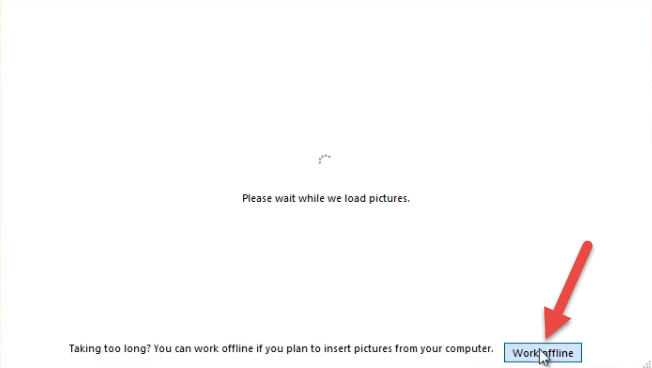
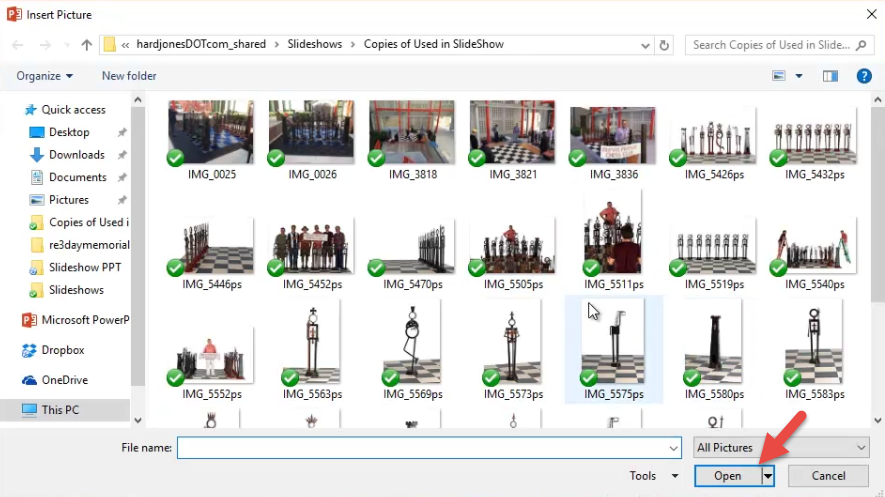
Then select a photo and click “Open”.
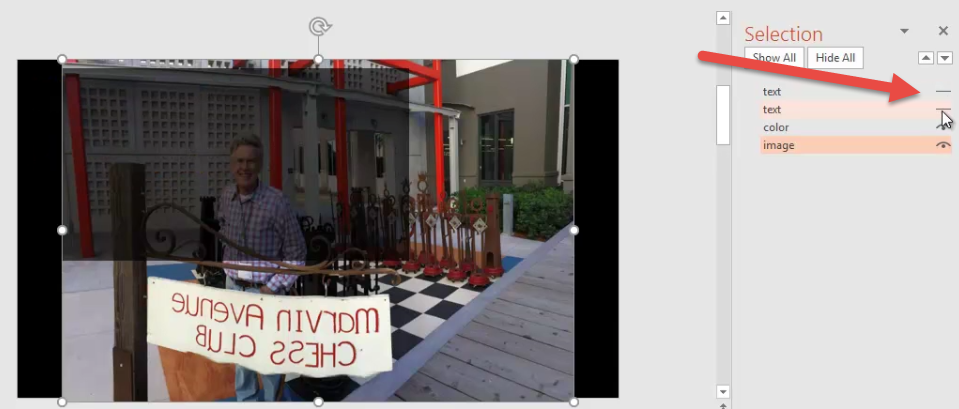
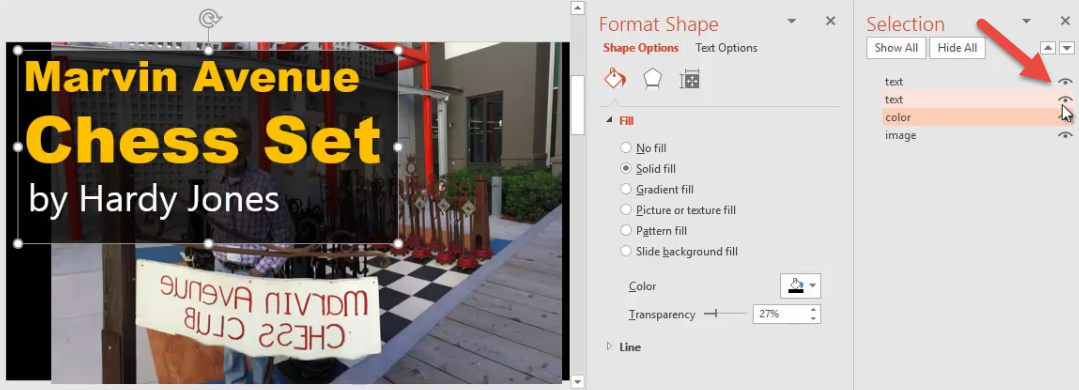
Click on the eye icons next to “text” in the “Selection” pane to hide the text.
Click on the box to select it → right-click → “Format Shape”.
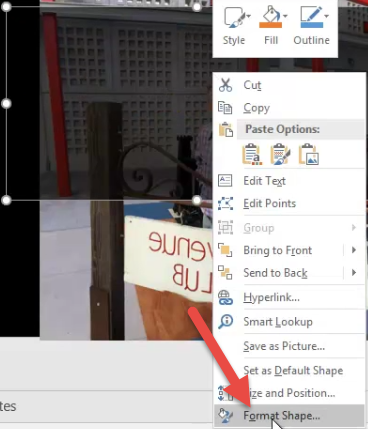
Adjust the transparency depending on how bright or dark your background photo is.

Click on the eye icons for “text” again to show the text and see the effect.
Advanced Tip 2: Add Music
To watch this part of the lesson as a YouTube video, click here.
0. Start with the slideshow you created in MS Powerpoint.
1. Insert the music
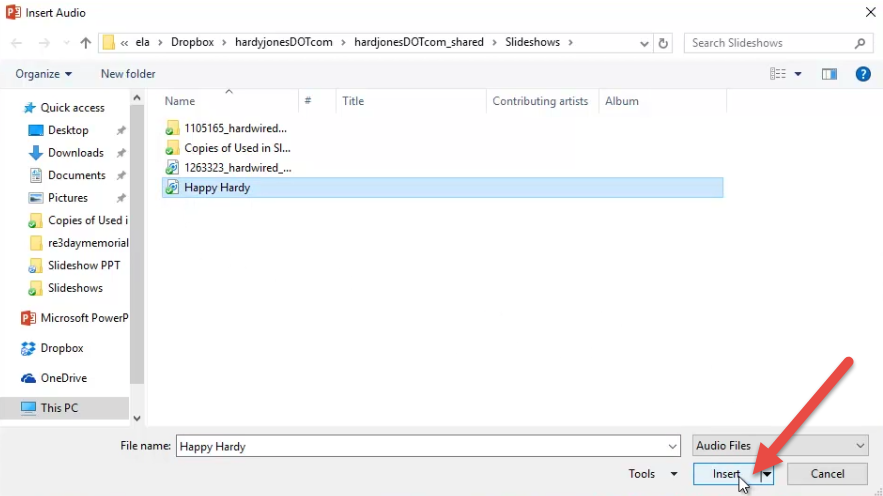
Go to “Insert” → “Audio” → “Audio on My PC”.

Select a music file and click “Insert”.
2. Adjust the playback settings
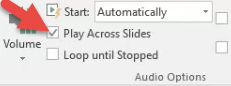
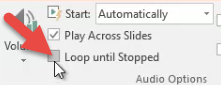
Go to “Playback” → select “Automatically” for “Start” so that the music plays on its own.

Check the box for “Play Across Slides”.
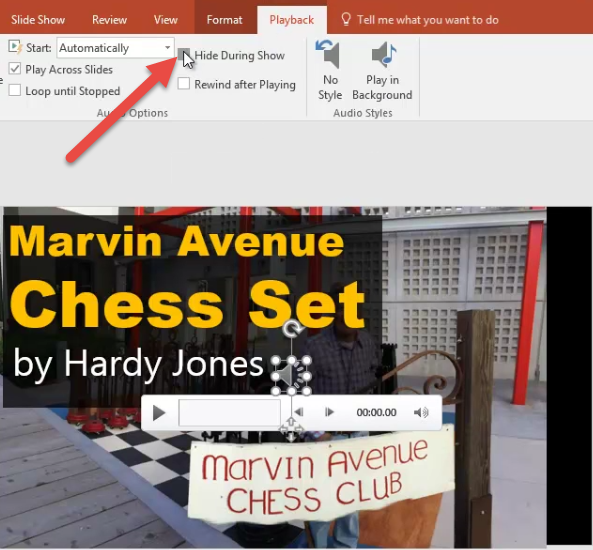
To hide the audio icon on the slide during the show, click on it to select it, then go to “Playback” → “Hide During Show”.
You can loop the music if you want by checking the box for “Loop until Stopped”. This is optional.
3. Preview what it sounds like by clicking the preview button.
Advanced Tip 3: Transitions
To watch the part of the tutorial as a YouTube video, click here.
0. Start with the slide show you created in MS Powerpoint.
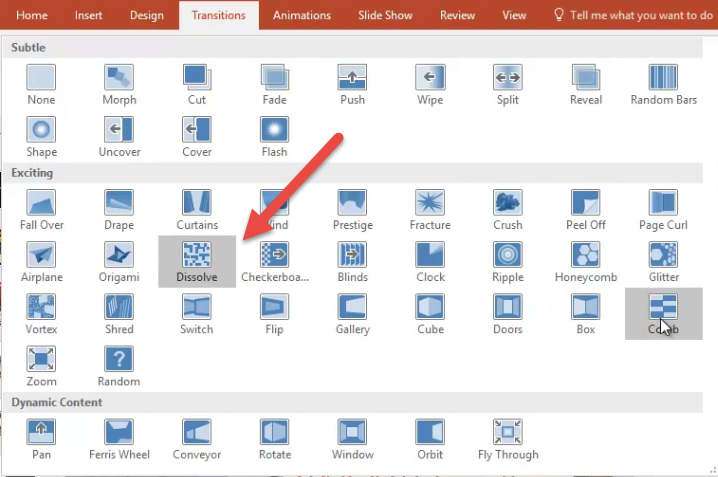
1. Select a slide to control the transition to it (from the slide before it).
Go to “Transitions” → click the arrow for more choices.

Click on the transition style you want (this also previews them so you can see what they look like).
Advanced Tip 4: Image Quality
To watch this part of the tutorial as a YouTube video, click here.
0. Start with the slide show you created in MS Powerpoint.
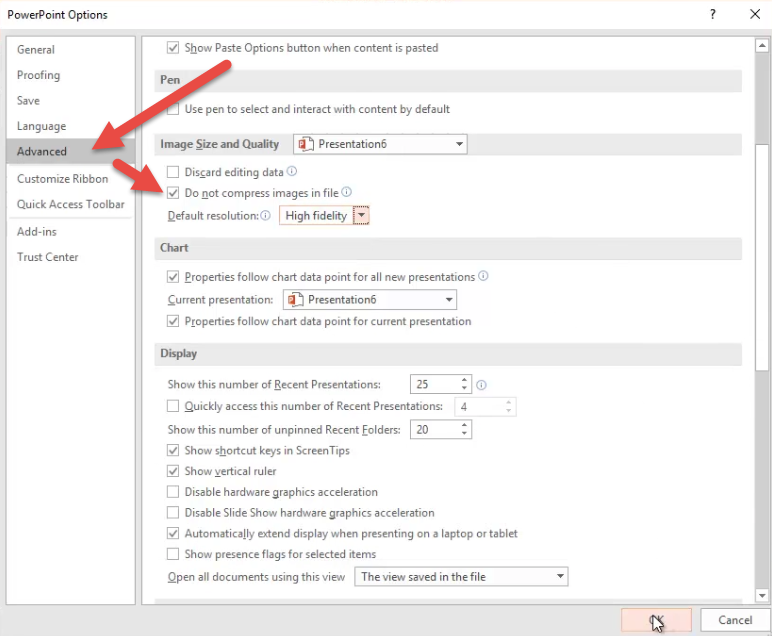
1. Turn off the compression of images
Go to “File” → “Options”.

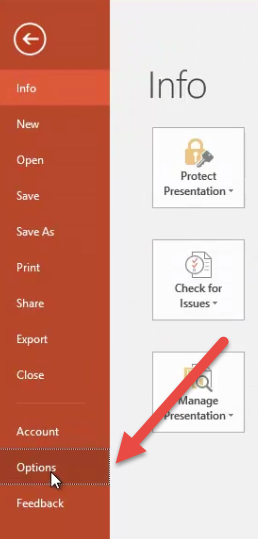
Then click on the “Advanced” tab and check the box for “Do not compress images in file”. (Directly beneath it, leave the “Default resolution” at “High fidelity” for good quality.) Turning off image compression helps a lot with zoom transitions of photos and when you enlarge photos, so that they don’t look pixelated.
Advanced Tip 5: Scaling Images
To watch this part of the tutorial as a YouTube video, click here.
0. Start with the slideshow you created in MS Powerpoint.
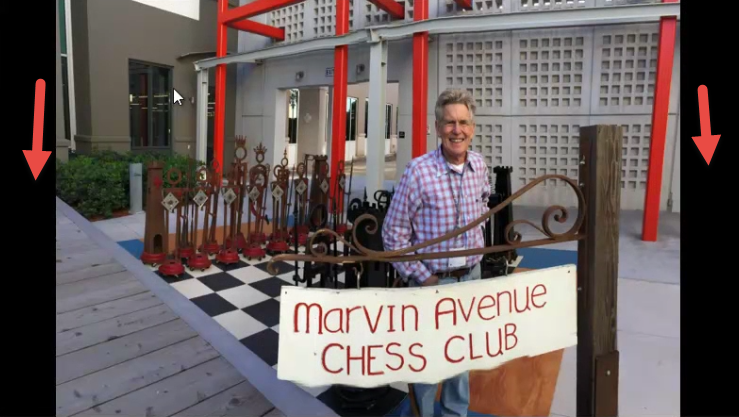
Scaling photos will allow you to get rid of the empty spaces to the sides, like in the photo beneath.
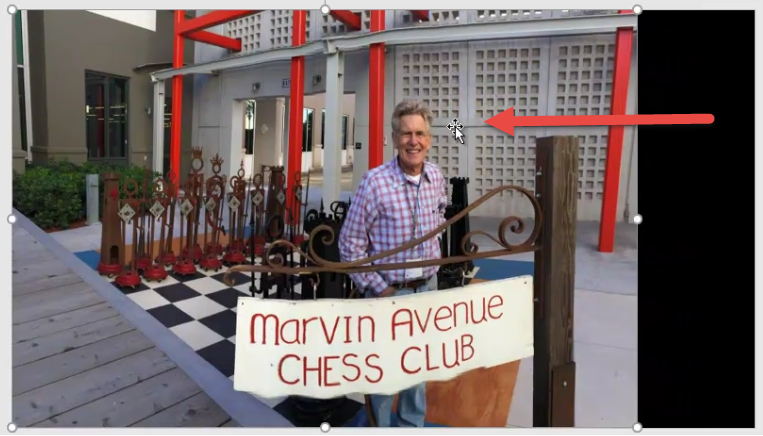
1. Increase the size of the image to fill the workspace
Drag the image to the left (hold down left click on it) and align its left side with the edge.
Note: You may want to zoom out a little to make the next step easier.
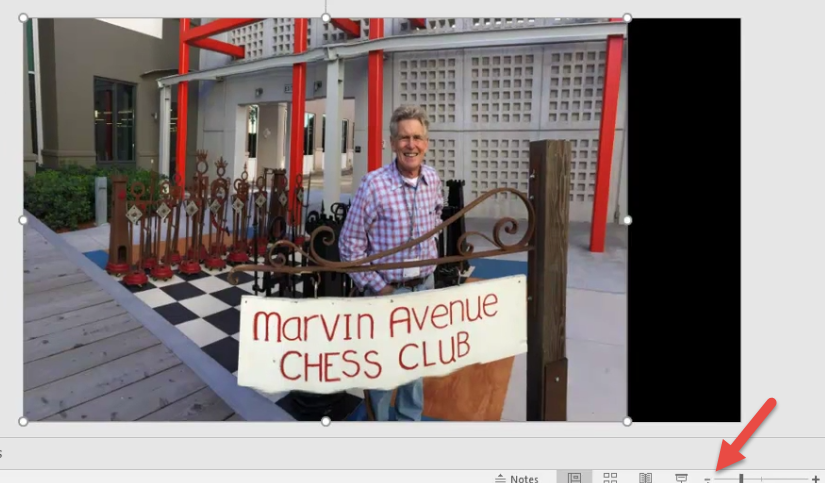
Hold down shift and drag the lower right corner to resize it until it completely covers the empty space on the right. (Holding down shift keeps the image in proportion when resizing it.)
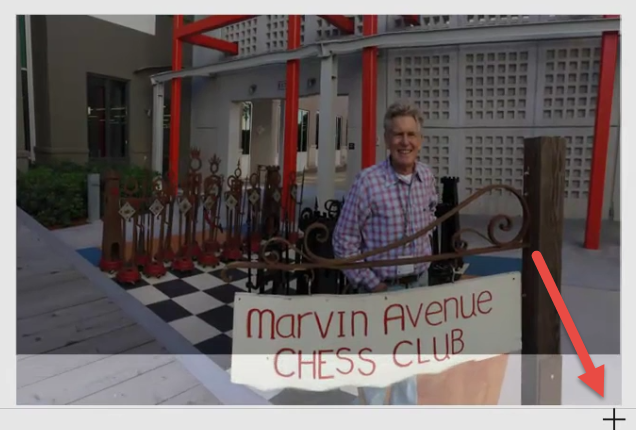
Click on the image and drag it up a bit to position it as you like.

Note: I like to use the thumbnails on the left pane to see what the positioning looks like.
If you’re a perfectionist, you can optionally also crop the overhanging part of the image if you wish by going to “Format” → “Crop”. It’s not really necessary, though.

2. Consider adding multiple photos for portrait oriented images
The image scaling method above is best suited to landscape pictures. If you have a portrait picture, you might wish to try using 2 or more pictures instead to cover up the empty spaces.
Advanced Tip 6: Add “Ken Burns” Pan Zoom Effect
To watch this part of the tutorial as a YouTube video, click here.
A “Ken Burns” effect is adding some motion to the photos in a storytelling slide show. It’s an in-slide effect, unlike a transition. In this example, the slide starts zoomed in, then zooms out.

0. Start with the slide show you created in MS Powerpoint.
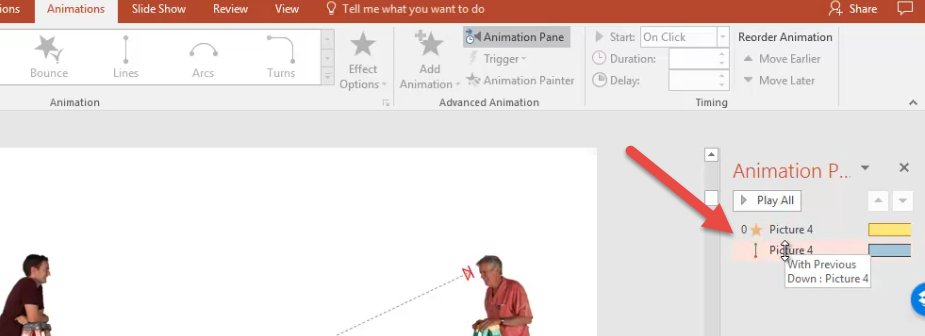
1. Create both a “grow/shrink” and a motion path effect to the image
Go to “Animations” → “Animation Pane”

In the Animation Pane, there are 2 things that need to be set up: a grow-shrink animation and a motion path. You then start them at the same time so they both move and grow. (See video linked in show notes on how to do this in detail as this takes some tweaking.)
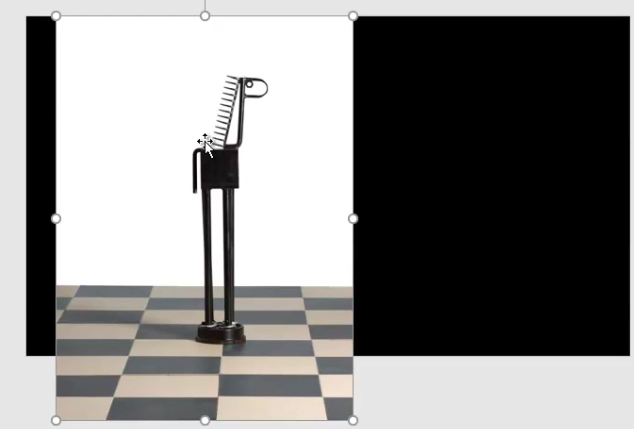
The image will actually need to be much larger than the viewable area.
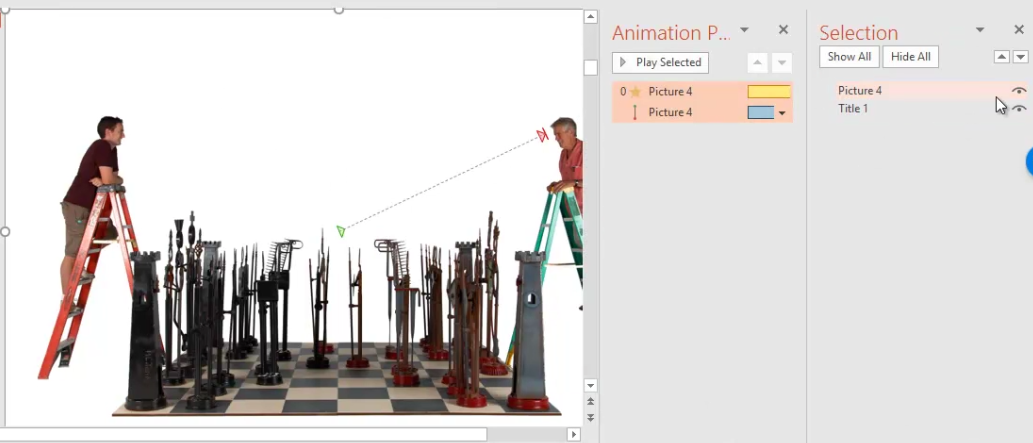
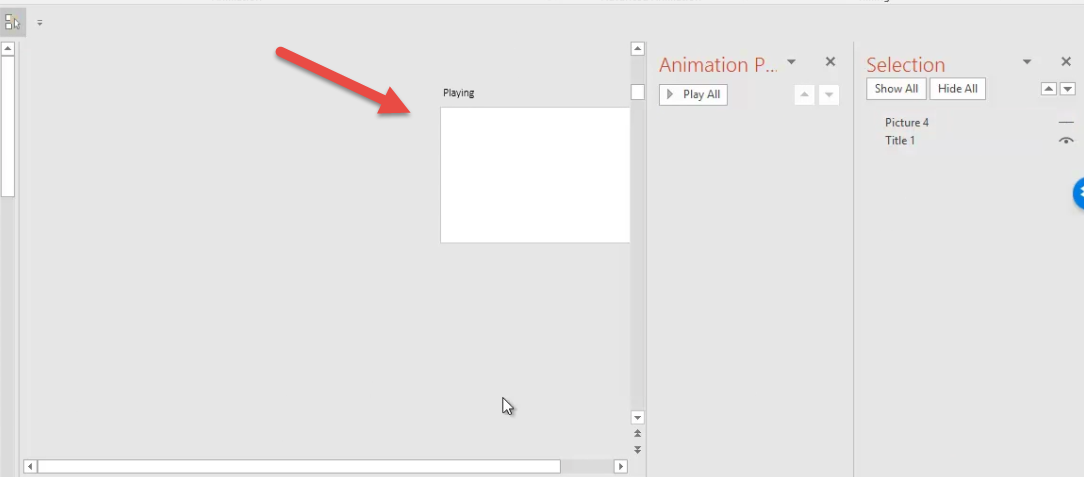
To compare the image size to viewable area, go to the Selection Pane and click the eye icon for the picture. This hides it.
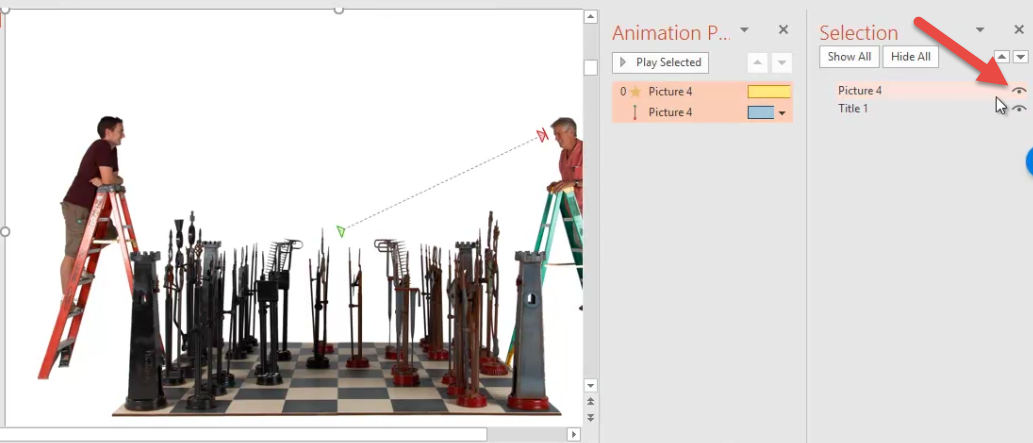
You can now see the viewable area, which is quite small in comparison.
Advanced Tip 7: Add Scrolling Credits
To watch this part of the tutorial as a YouTube video, click here.
0. Start with the slideshow you created in MS Powerpoint.
Scrolling credits are the credits you list at the end of the video, auto-scrolling up.

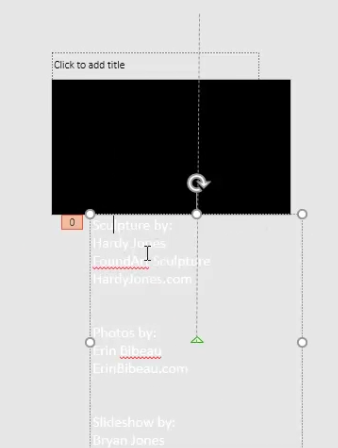
1. Add a background color and a text box
Draw a black rectangle (or any color you wish) using the “Insert”->”Shape”->”Rectangle”
Create a text box with a contrasting color and insert your credits using “Insert”-> “Shape” -> “Textbox”
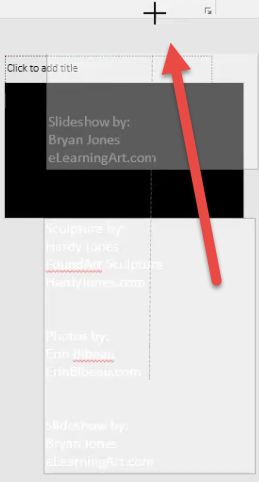
Move the text box below the entire slide
3. Add a line motion path animation to the text box
Note: Powerpoint actually has its own functionality for setting up credits, but it tends to stop in the middle if the credits are long. So it’s more reliable just using a the line motion path described below.
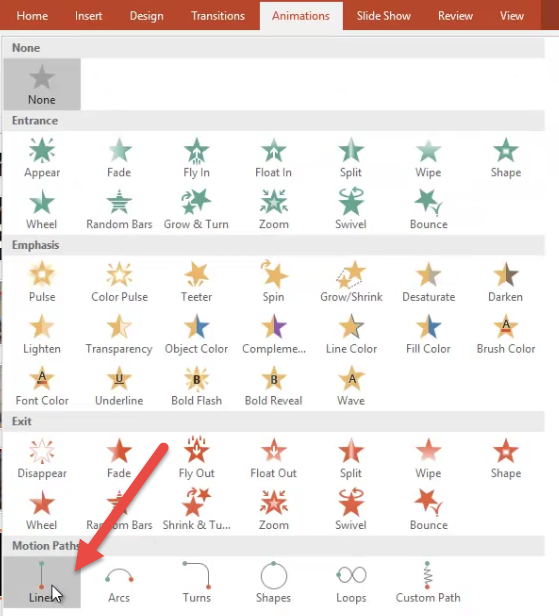
Click on the text box to select it. Then go to “Animations” → click on the arrow to expand the selection of animations.

Select “Lines” under “Motion Paths”.
3. Adjust the animation settings
The line will appear as a small vertical line with a green dot (where it starts) and red dot (where it ends).
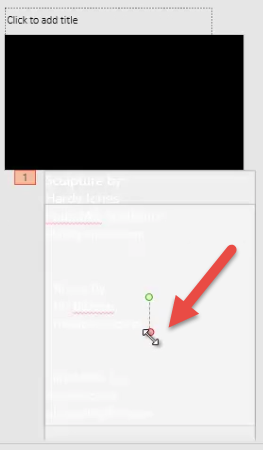
You want it to travel up off the screen (scrolling up), so click on the red dot and drag it up above the slide.
Set the duration by going to “Animations” → “Duration”. The duration will depend on how long your credits are.

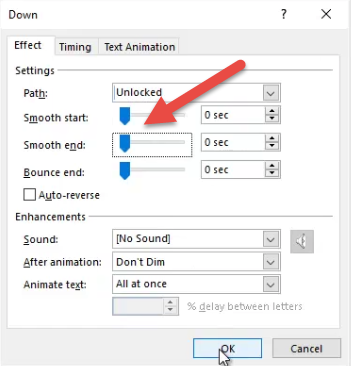
Remove the “smooth start” and “smooth end” by going to “Animations” → “Animation Pane”.

In the Animation Pane, click on the arrow for the text box → “Effect Options”.
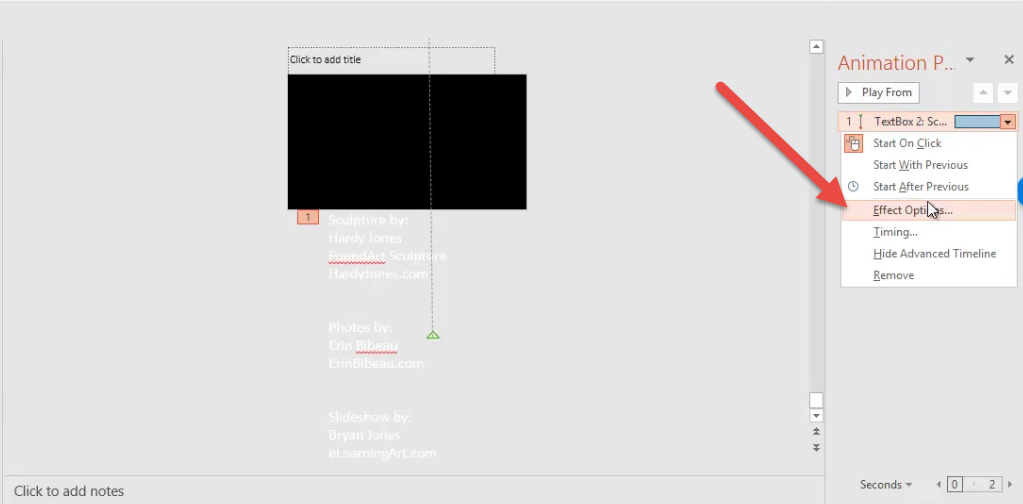
Set “Smooth start” and “Smooth end” to 0 seconds. Click OK.
Advanced Tip 8: Save Slideshow As Video
To watch this part of the tutorial as a YouTube video, click here.
One of the hidden features of PowerPoint is that you can save it out as a video. In my case, I wanted to save it as a video and upload it to YouTube. But you can also use it for other purposes as well.
0. Start with the slide show you created in MS Powerpoint.
1. Save your Powerpoint slideshow as a video
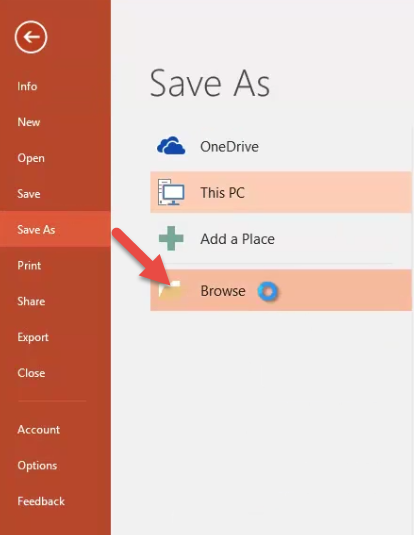
Go to “File” → “Save As” → “Browse”.

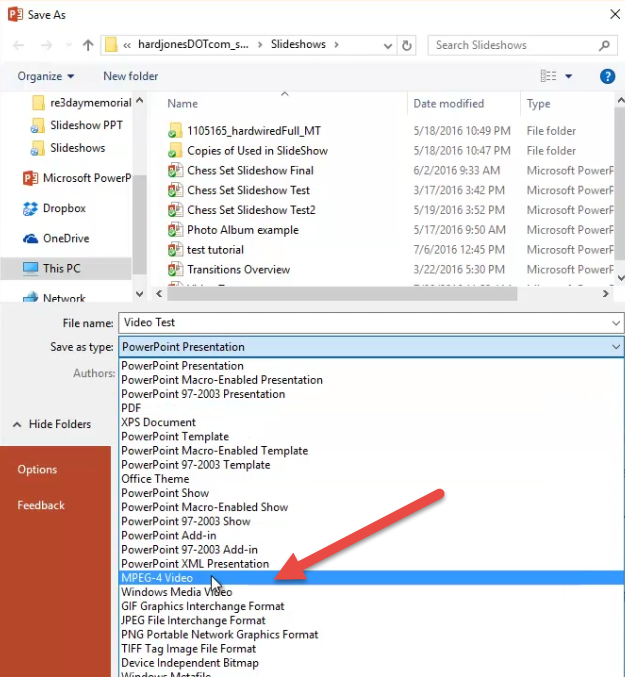
Under “Save as type”, change it from the default “PowerPoint Presentation” to “MPEG-4 Video”. (MP4 is a video format that’s compatible with Youtube.) Click “Save”.
You can track the progress for video conversion at the bottom. It usually takes a few minutes, but can take longer depending on the length of your video and the speed of your computer.

Once your video is complete, navigate back to the folder where you saved it.
Bonus Templates and Files
If you’ve made it this far, you’re a rockstar and you deserve something special. 🙂