

Are you asking yourself: “Where is my Mac snipping tool?”
Mac’s screenshot tool is not like Windows’ snipping tool, but don’t fear we’re here to help!
In this blog post, we’ll explain how to screenshot on your Mac and what features it provides. Plus, we’ll show you some third-party options that take your screenshots to the next level.
So whether you need a simple how-to guide, or simply want to review your options, we’ve got you covered.
Let’s dive in!
Snagit: The best snipping tool for Mac
Snagit’s comprehensive, yet easy-to-use feature set makes it the go-to screen capture tool for professionals.
Try it for Free!
What is the screenshotting tool on Mac?
Bring up the Screenshot toolbar on your Mac by pressing Shift + Cmd + 5. You should see this pop up on your screen:

Each icon on the toolbar serves a different purpose. You can capture a part of your screen, full screen, and even screen record. This allows you to take a video of your screen rather than a picture.
Using keyboard shortcuts to capture your screen
When you press a combination of keys – shift, command, and a number by default – you can activate certain capture settings.
- Press Shift + Cmd +3 to capture your entire screen.
- Press Shift + Cmd + 4 to turn your mouse pointer into crosshairs and select a portion of the screen or a specific window.
What features are in Mac’s screenshotting tool?
Mac has different options to edit your captures before and after you snip them.
Use the Options menu to select different settings. For example, you could choose to set a timer and show or hide the cursor in your capture.
Screenshots are saved to your desktop by default. In MacOS Mojave or later, you can change the settings to save your captures wherever is most convenient!
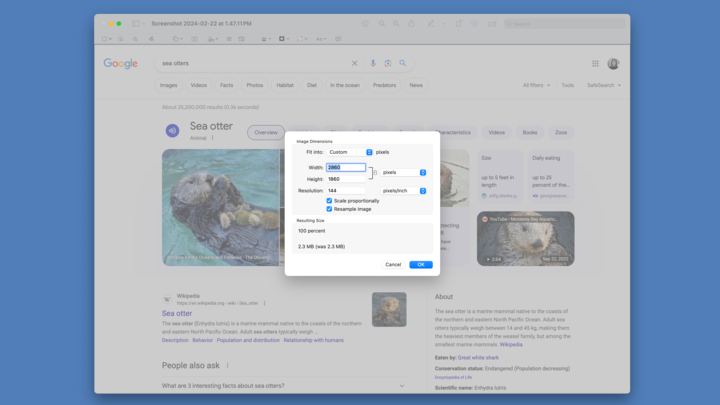
After capturing your screen, open your screenshot, and add small annotations by drawing, adding text, and creating shapes. Plus, crop and resize your image to fit your needs.
The best snipping tool for Mac: Snagit
While the built-in option on your Mac is great for the basics, if you take a lot of screenshots, it’s worth considering alternative screen capture tools like Snagit.
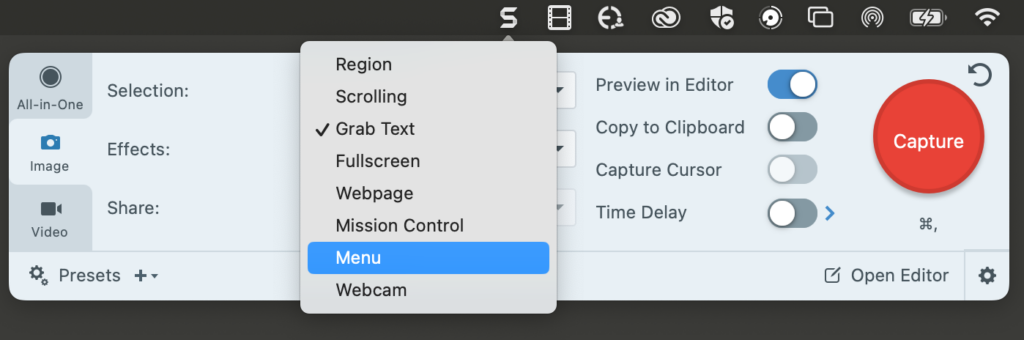
Capturing your screen is so easy with Snagit. Just open the menu and click the red Capture button.
Snagit can record your screen, grab text from your screen, take a scrolling screenshot, and much more. The capture options are (almost) endless.
Snagit’s easy-to-use editing features make a huge difference
Mac built-in tools can draw arrows, add text boxes, and include shapes, but Snagit goes further.
With Snagit, you can use text recognition to edit the text right on the screenshot! Plus, use Smart Move to move around elements, and transform busy screenshots into easy-to-understand visuals with Simplify.

It’s easy to use and convenient when you need to rearrange a few elements on a page.
And, when you are looking to add privacy to your captures, blur out information wherever you need!
Snagit takes your screen recording to the next level
With Snagit, you can record your screen, camera, and audio at once. This feature makes giving presentations super easy. Plus, draw on your screen while you record to add clarity and instruction to your video.
Snagit’s Video from Images feature takes presentations to another level. After you’ve taken a screenshot of the data you want to share, turn it into a video to provide further information to your team.
Plus, you can make fun GIFs of your videos to celebrate any occasion with your team.

Sharing with Snagit
Once you’ve got your screen capture, you’ll want to share it with your team. Snagit makes it easy! Just press the Share Link button and a unique link will be copied to your clipboard. Simply paste that link anywhere and send it to whoever.
The recipient does not need to have Snagit themselves to watch, react, and comment on the video. You can truly communicate with anyone.
Don’t let built-in tools hold you back
Snagit’s comprehensive, yet easy-to-use feature set makes it the go-to screen capture tool for professionals.
Try it for Free!
Share