25th Jan 2023
The best Google Slides add-ons: Part II
Our team has been test-driving a whole host of new Google Slides add-ons and we know you’ll love having some of these in your back pocket!
You’re probably familiar with PowerPoint by now – from school presentations with triple cartwheeling animations to home-made lockdown quizzes on Zoom. Most of us have been playing around with it from an early age. But not everyone’s had the chance to discover Google Slides. Granted, moving to a new platform is like switching from a Windows PC to a MacBook – all the functions seem to be in the wrong place. But we’re here to tell you why Google Slides could be the place to be for your university group presentations, and to share a few of our favourite techniques to help you make the most of it.
When it comes to collaborating at university, Google Slides is your best ally. No more going copy-crazy trying to find the most up-to-date version of your work. Everything can be edited in real time by multiple people – and most importantly, without the whole world crashing down around you.
If you’re not familiar with what Slides has to offer, we’ve got some handy tutorials on how to use some of its most helpful functions when you’re working on a group project.
Share
First thing’s first, if you’re working on a group project, one of you needs a Google account. This is free and simply requires an email address to sign up.
Once you’ve created your account. Open Google Slides with a fresh slide deck. You then want to add your teammates into the deck so you can all start working on it. To do this, click the yellow Share button at the top right of your screen, type in the email addresses of your teammates, then click Done.
Read more: How to share your Google Slides presentation
Version history
Version history lets you revisit previous renditions of your slide deck at any time and even restore previous versions if you prefer them. While Google Slides automatically saves copies of your work as you make edits, you can also save versions yourself and edit the titles e.g. ‘Draft 1’, ‘Draft 2′.
To do this, go to File > Version History > Name Current Version.
When you want to access these previous versions go to File > Version History > See Version History. Then select the version you want to revisit from the tab down the right-hand side. If you’d like to reinstate that version, click the yellow button at the top of the page labelled Restore This Version. Just be aware that you’ll be changing the whole deck. If you simply want to carry changes from a particular slide, click on the slide and copy and paste it into your current version.
To exit version history, click the back arrow at the top left corner of the screen.
Comments
You can easily select words, shapes and pretty much anything on your slide, then attach a comment to it. Let’s imagine you wanted to leave a reminder for yourself to fix a graph, or even let one of your teammates know exactly what you’re referring to when you say “Is this meme class-appropriate?” – all you have to do is select the item in question, click the comment icon (which looks like a speech bubble with a plus inside of it) from the Quick Access toolbar, and write your comment.
If you want to tag a particular person in the comment, just type @ and write their email address. This will send a notification to their email that they’ve been tagged, so you don’t have to chase them.
Profile icons
Profile icons at the top right of the page are an immediate indicator that someone else is in the slide deck at the same time as you. These might appear as little images, or simply an initial, and you can hover over the icon to see the email that that particular profile belongs to.
A useful thing to know about these icons is that if you have a super long presentation, and you want to know which slide someone is looking at, simply click their profile icon and it will whizz you to the slide they’re on. Whether they want you following them is something we’ll have to leave to your discretion.
Chat window
To start a live chat with someone who’s in the deck, click the grey chat icon right next to the profile icons. This will open up a sidebar that allows you to send messages to your team. These messages will be visible to anyone who’s using the file at the time. The chats aren’t saved, so if you close the file then reopen it, you won’t be able to see the chat from previous occasions. This function is really just a quick-fire way to send messages in real-time.
You can find out everything you need to know about Slides functionality with our ultimate guide.
We’re not all born designers. And so transforming basic text and bullet points into a polished academic presentation isn’t always a piece of cake. That’s why we want to give you some simple tips and tricks that’ll make your content as visually interesting and cohesive, as it is informative.
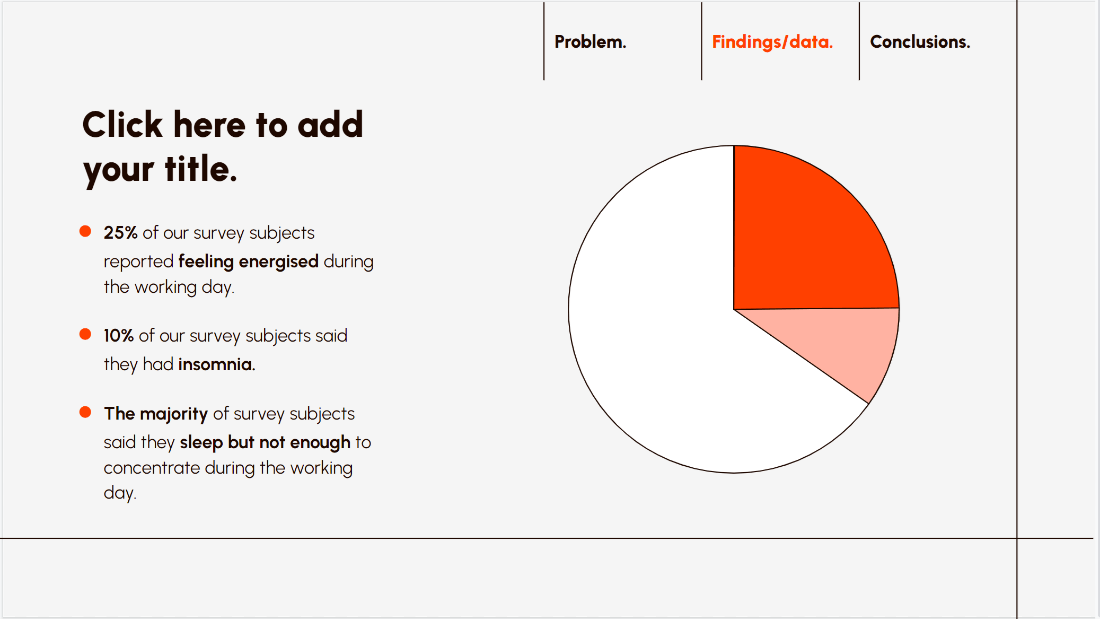
Breadcrumbs
Hansel and Gretel began at the edge of the forest and, before they knew it, wound up at the witch’s hut. How did they get there?
When we talk about breadcrumbs in a presentation, we refer to something that creates a consistent signal within the deck that helps your audience understand exactly where they are on the journey, but also leads them to the final destination. Whether you’re a witch with a house of candy or an undergrad with a theory, make sure you take your audience on the smoothest journey possible, connecting all the dots for them.
To create a breadcrumb, you could begin with a menu page, outlining the main topics you’re about to cover, and colour-code these topics.
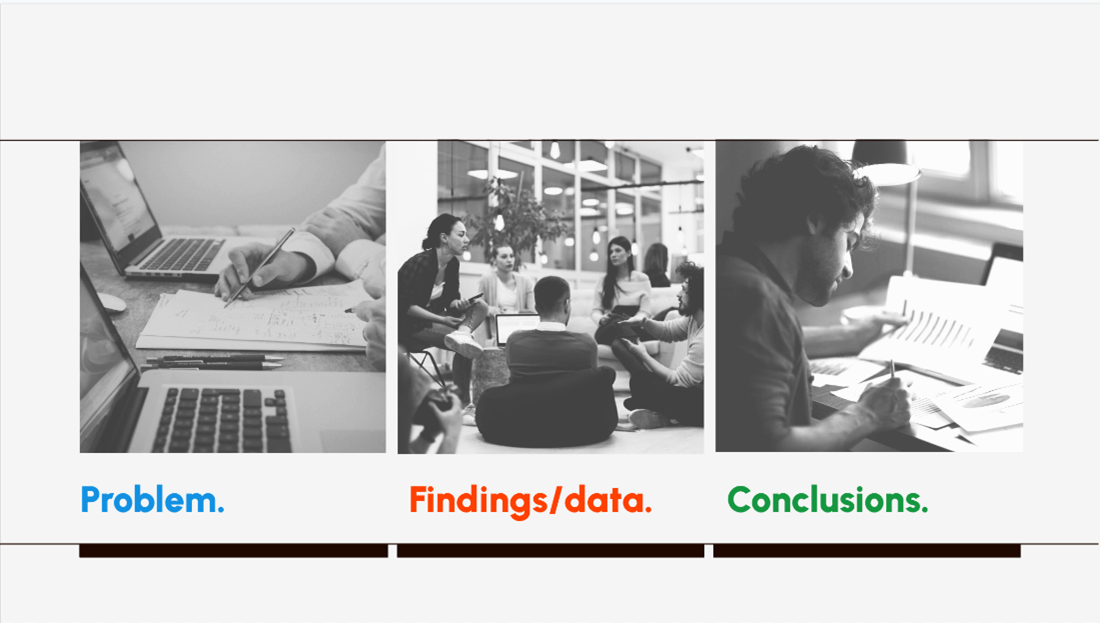
Then, as you delve into each topic (like a chapter), you keep the colours associated with that particular topic.
This is a really nice feature to have within a deck because it demonstrates how each slide relates to the specific section, but also shows where it is rooted in the overall picture.
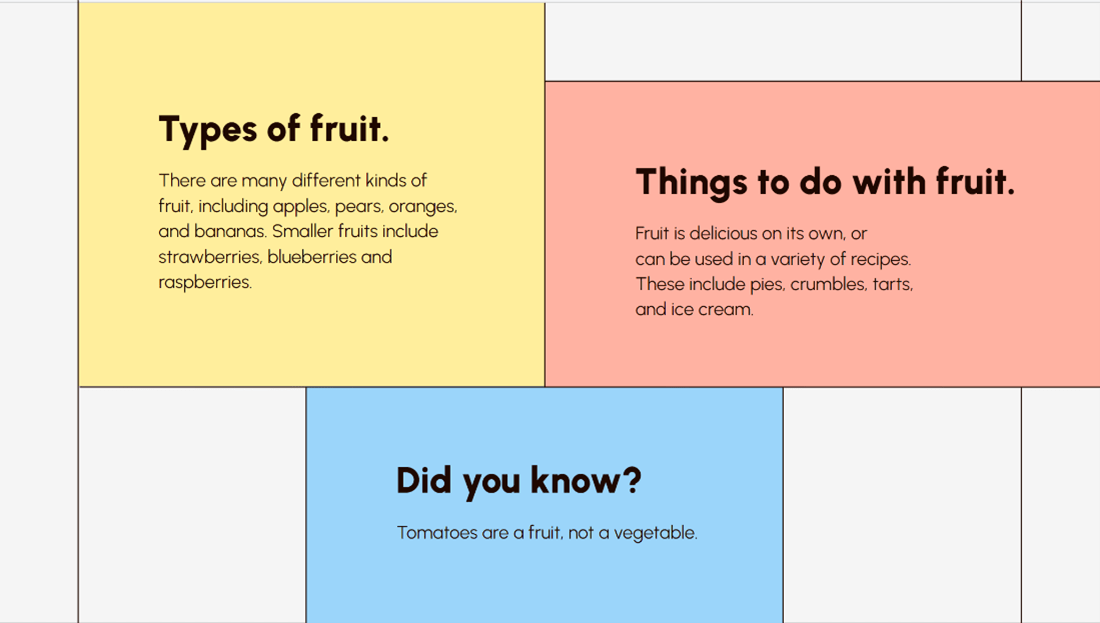
Panels
Panels can be a bit of a cheat code for keeping a text-heavy slide, while making it easier on the eye. By breaking up your slide into sections that are more visually appealing, you make the content less intense and easier to digest.
Compare these two:
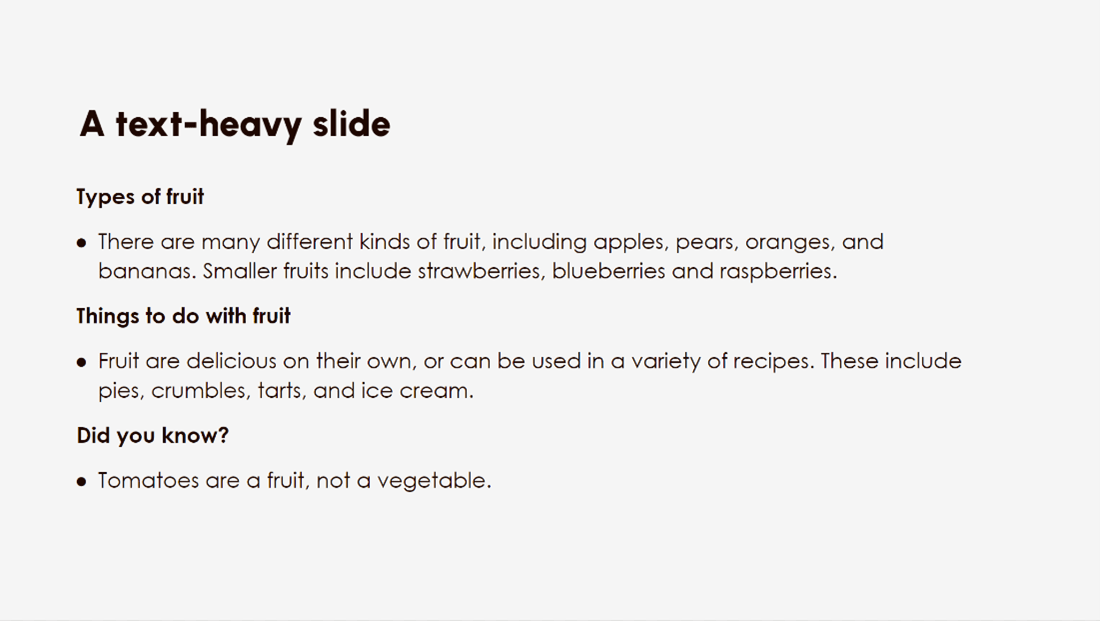
Better structure and use of colour break up the text and make it easier to read and present.
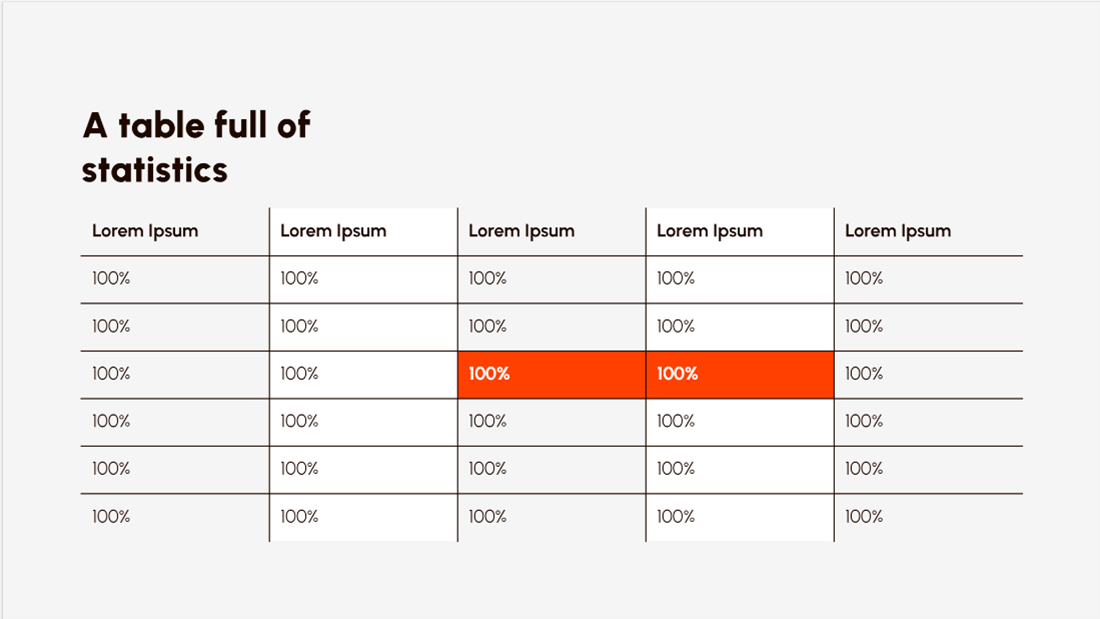
Highlight important data
This is a really simple way to draw attention to part of your slide that might be difficult to point to (no matter how fun it is to play with the red light on the clicker). For example, this simple highlight quickly draws attention to a couple of cells in the table, showing the audience what’s important:
Images
Use high-quality photos to really make your presentation sing. No one wants a pixilated photo or some cringey clipart. So check out unsplash.com for plenty of free images, or thenounproject.com for some icons. If you’re studying life sciences, biorender.com is an excellent resource for creating scientific figures, so check whether your institution already has a subscription, or take advantage of a free basic account.
For tips on how to choose images and why, click here.
You’ve created your presentation now. The hard part’s over! But have you thought about how this is all going to play out for your viewers? There are two things it’s worth looking at next, and that’s adding some animations to your slides, and practicing the script.
Animations
In most circumstances, you don’t want wacky transitions and animations – this can be viewed as amateur or over-the-top. However, when done tastefully, animations can really make a presentation sing. Better yet, they can be used to help tell the story as accurately and dynamically as possible. Say, you put an image on the slide, then at a certain point in your speech you want to bring in an arrow to direct the viewer’s gaze somewhere in particular. Well, you need animation!
To bring in elements with animation, click on the item you want to animate. Then go to Insert > Animation. This will open up a motion panel and you can select your desired effects within it.
Find more ways to make the most of Google Slides animation features here.
Present mode
You’ve got your elite presentation at the ready, all you need now is to practice what you’re going to say. If you haven’t already, it’s a good idea to put some cues or excerpts from your script in the speaker notes under each slide. That way you always have something to fall back on if you forget your words.
To make sure that the rest of the world doesn’t see them when you present, simply click the dropdown arrow next to the Slideshow button at the top right of your screen, then select Presenter View. And voila! You can click through your slides on one computer screen and have your notes on another!
So that concludes our quick-stop tour of Google Slides for university. For access to our ultimate guide to Google Slides, click here. Otherwise, best of luck with your academic presentations! We hope this helped.
To get started right away, have a go at using our Google Slides template.
Leave a commentOur team has been test-driving a whole host of new Google Slides add-ons and we know you’ll love having some of these in your back pocket!
Google Slides templates are a great starting point to improve the look and feel of your presentation. They’re fab as they’re accessible and low cost, but it’s important to remember that even well-designed presentations can be ineffective if the content is text heavy.
As presentation nerds, we at BrightCarbon have had plenty of opportunity to get to know ins and outs of Google’s browser-based presentation tool. This guide will cover everything you need to know about Google Slides - from the very basics to the most advanced features - and will provide you with the know-how to make brilliant slides, quickly and easily.
Join the BrightCarbon mailing list for monthly invites and resources
Tell me more!The launch was a success! Thank you so much for delivering even against the extreme turnaround time.
Mila Johnson InComm